Nail art isn’t just for the pros anymore; anyone can create stunning designs at home with a little creativity and some basic supplies.
In this article, we’ll explore 10 easy nail art techniques that even beginners can master.
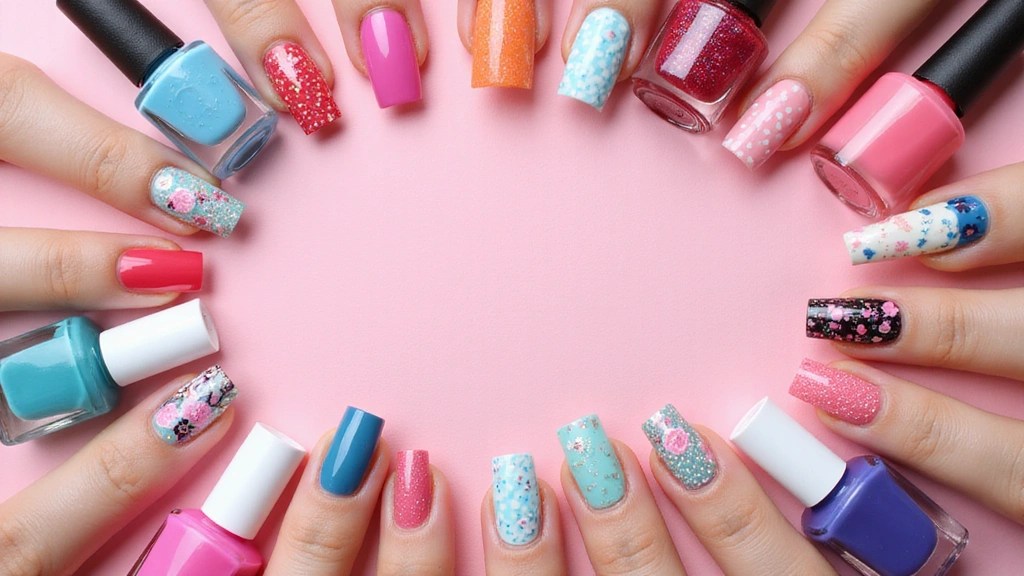
From vibrant ombre effects to playful polka dots, these designs will help you express yourself through your fingertips.
Get ready to transform your nails into a canvas of creativity with these fun techniques!
Contents
- 1. Ombre Delight
- 2. Dazzling Glitter Tips
- 3. Polka Dot Fun
- 4. Floral Fantasy
- 5. Stripes Galore (Beginners Can Do This!)
- 6. Marble Effect
- 7. Geometric Shapes
- 8. Color Block Magic
- 9. Negative Space Art
- 10. Stamping Magic
1. Ombre Delight
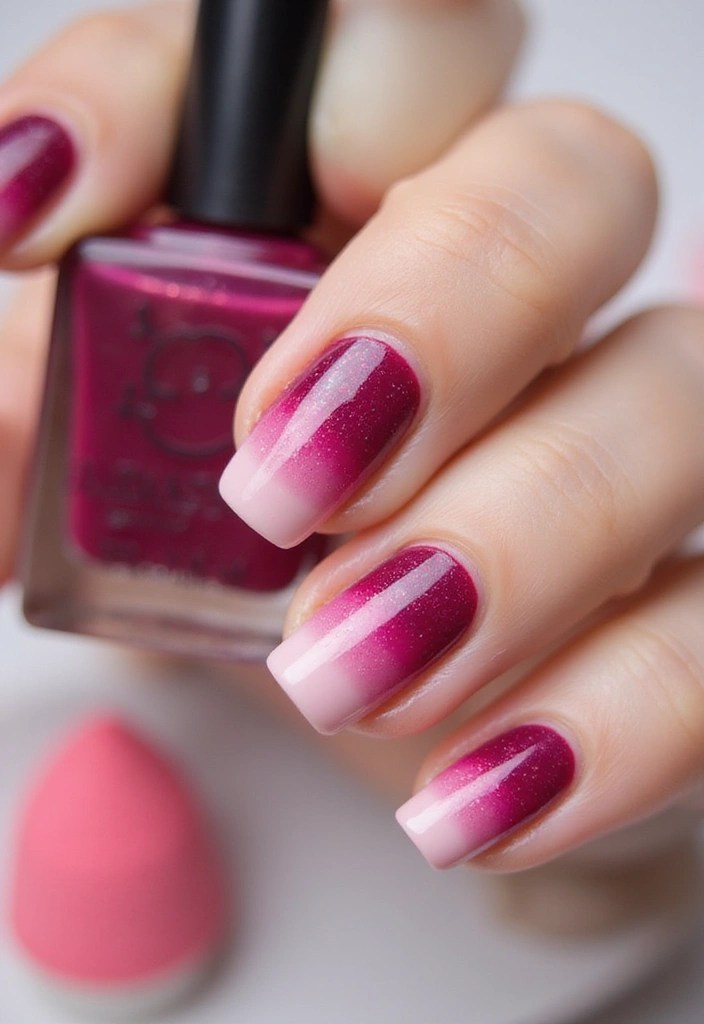
Ombre nails are a stunning way to blend colors and create depth on your nails.
To achieve this look, you’ll need at least two shades of the same color or complementary colors. Start with a base coat, then apply the lighter shade on the top half of your nails and the darker shade at the tips.
Using a makeup sponge, gently dab the two colors together where they meet for that perfect gradient effect. Finish with a top coat to seal your masterpiece.
Tips: Use a clear nail polish to clean up any mistakes around the cuticles. If you want to mix it up, try using three colors for a more complex ombre!
For a stunning visual, imagine a set of nails transitioning from a soft pink at the base to a deep magenta at the tips, shimmering under the light.
Product Recommendations:
• Nail polish set in complementary colors
2. Dazzling Glitter Tips

Add a touch of glam to your nails with glitter tips!
This technique is super simple and perfect for any occasion, whether you’re dressing up for a party or just want to feel fancy. Start by painting your nails with your favorite base color. Once dry, take a small brush or a makeup sponge and dip it into loose glitter.
Apply the glitter to the tips of your nails, gradually fading it down towards the base. Seal it all in with a clear top coat for that extra shine!
Unique insight: Try using colored glitter for a fun twist, like gold or holographic glitter for a party look.
Visualize nails with a soft lavender base and sparkling silver glitter tips, perfectly catching the light.
Product Recommendations:
3. Polka Dot Fun
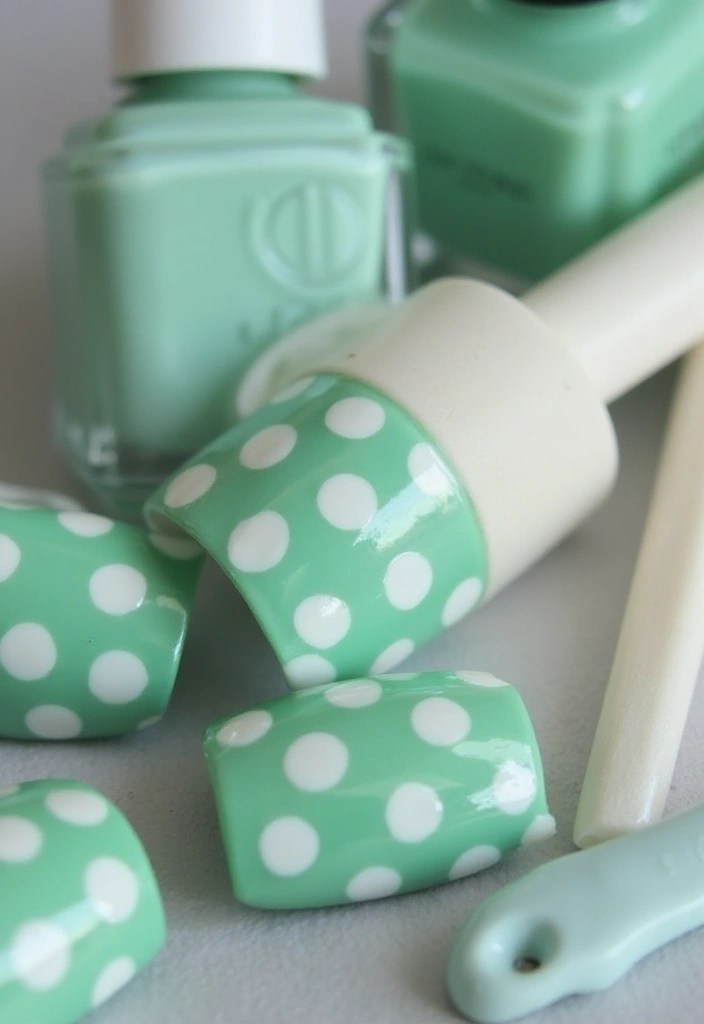
Polka dots are classic and super easy to achieve, making them ideal for beginners!
You can use a dotting tool or even a toothpick to create this playful design. Start with a solid base color, then dip your tool into contrasting polish and gently dot it onto your nails.
You can create a uniform pattern or mix up the sizes for a more whimsical look. Don’t forget to finish with a top coat to protect your design!
Tip: Use a light base for a striking contrast with darker dots, or vice versa.
Imagine nails with a soft mint green base adorned with white polka dots of varying sizes, looking fresh and fun.
Product Recommendations:
4. Floral Fantasy
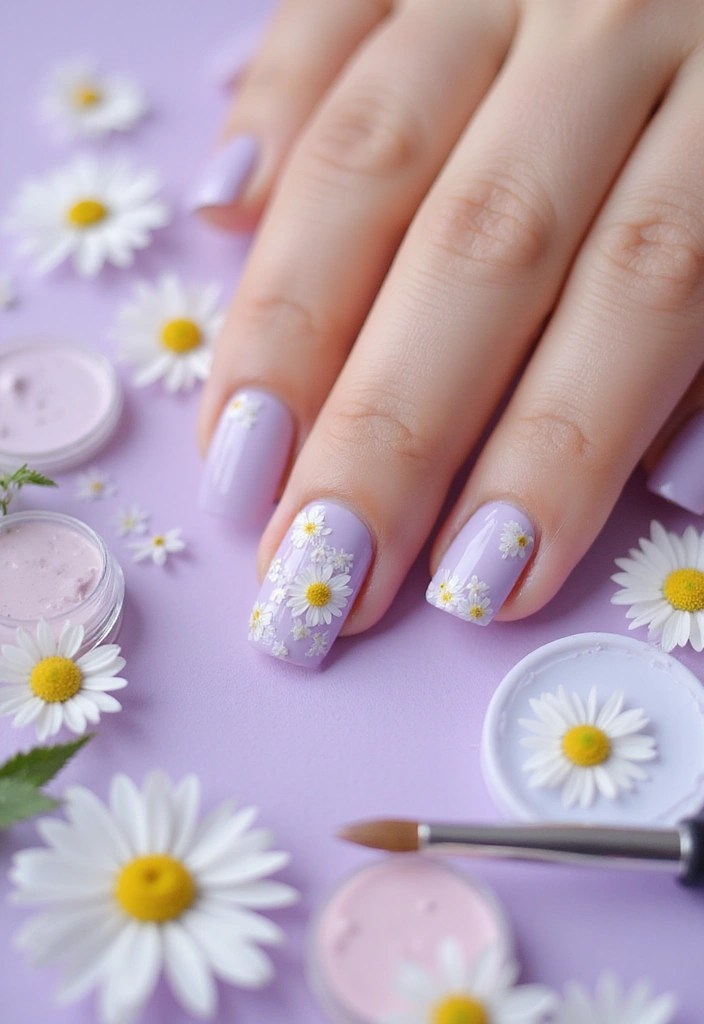
Bring a touch of nature to your nails with floral designs!
Start by painting your nails with a pastel base color. Once dry, use a fine nail art brush to create simple flowers. You can make little petals and add a dot in the center for a cute look.
Don’t be afraid to mix colors for the flowers; a combination of pink, yellow, and white can create a beautiful garden effect on your nails. Seal it all with a top coat for longevity!
Insight: For added dimension, try using 3D nail art stickers to complement your design.
Imagine a light lavender base with delicate white daisies, their centers painted in sunny yellow, gently blooming across the nails.
Product Recommendations:
• Pastel Nail Polish Collection
5. Stripes Galore (Beginners Can Do This!)
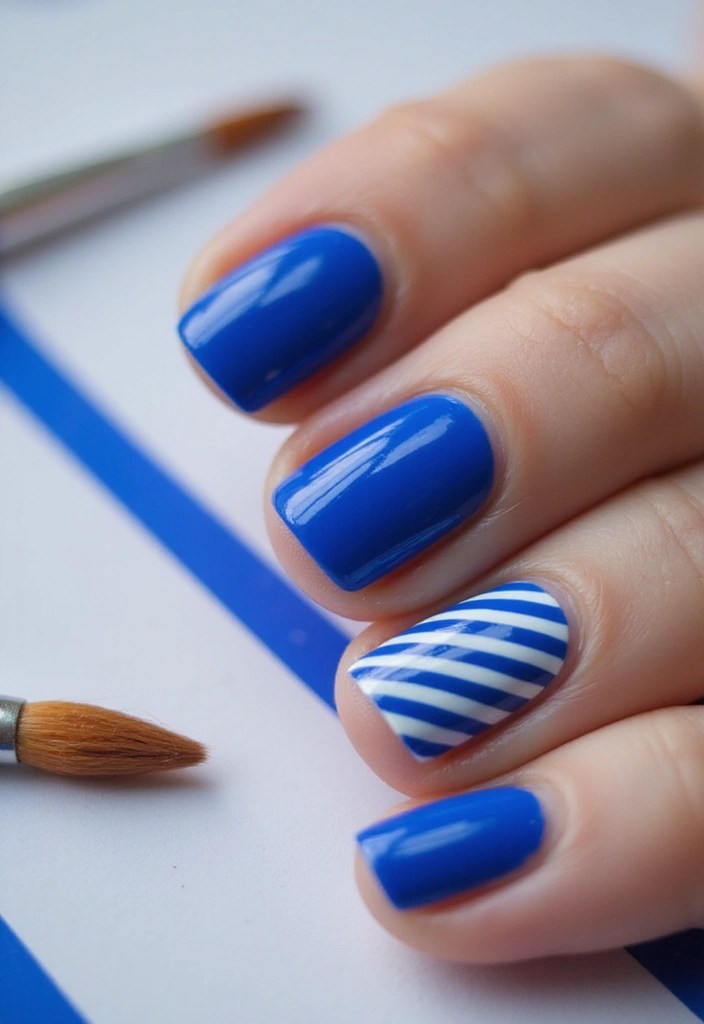
Stripes are a timeless look that can be as simple or intricate as you want!
To create this design, start with a base coat in your chosen color. Once dry, use nail tape or a striping brush to apply lines in contrasting colors. You can create horizontal, vertical, or diagonal lines for different effects.
For a fun twist, try mixing thick and thin stripes! Finish with a glossy top coat to tie everything together.
Tip: Make sure your base coat is completely dry before adding the stripes to avoid smudging.
Picture a stunning set of nails with a royal blue base and crisp white stripes running diagonally, looking chic and modern.
Product Recommendations:
6. Marble Effect
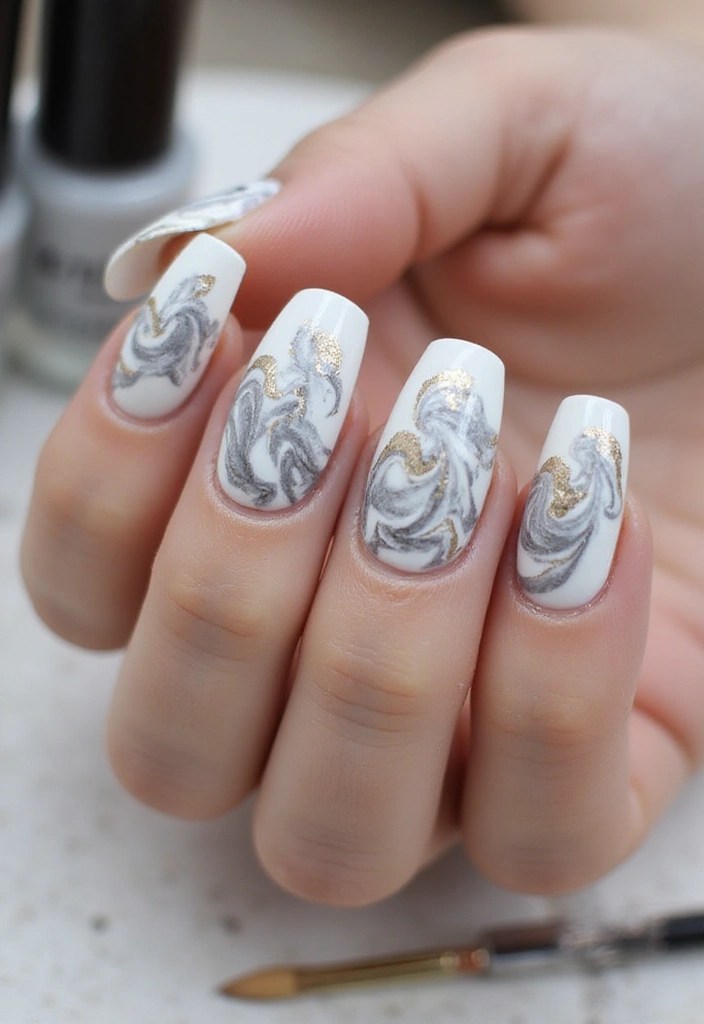
Marble nails are a sophisticated and trendy look that can be achieved easily at home.
To create this effect, start with a white base coat. Then, using a thin brush or a toothpick, swirl in shades of grey, black, or even gold. This can give your nails a chic, marble-like appearance.
Don’t forget to blend the colors gently to avoid muddying them up! Finish with a top coat to protect your design.
Insider tip: Using a water marble technique can yield even more stunning results, but it does take a bit of practice.
Imagine nails with a striking white base beautifully marbled with grey and gold, giving off an elegant vibe.
Product Recommendations:
7. Geometric Shapes
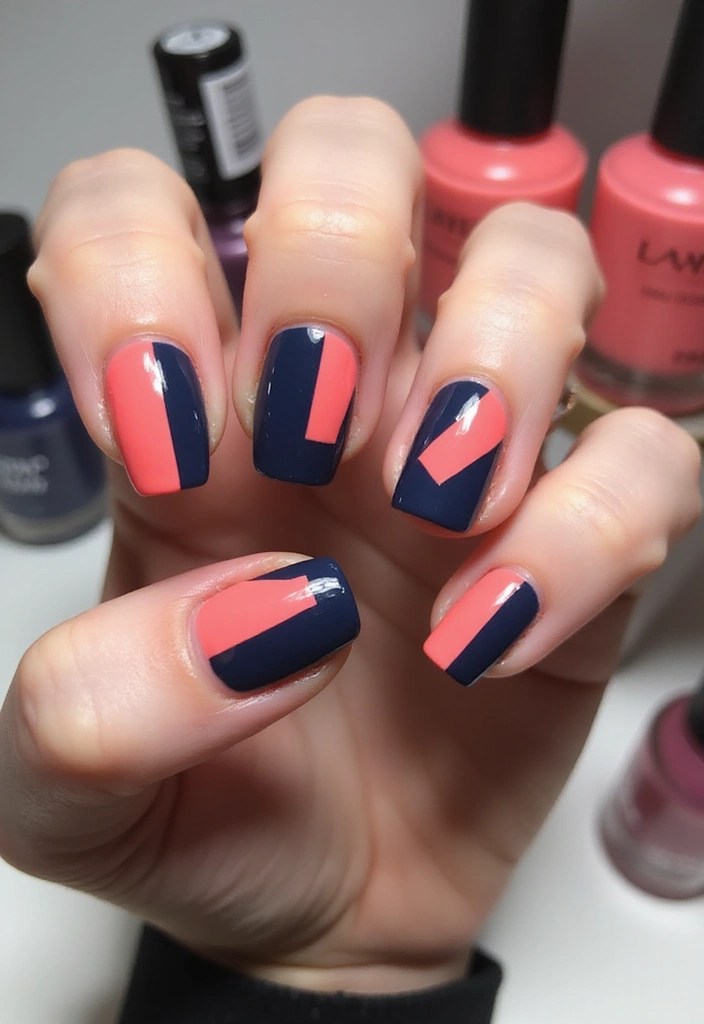
Geometric designs are not only modern and chic, but they also allow for endless creativity!
Start with a solid base color, then use striping tape to create shapes like triangles, squares, or even chevrons. Fill in the shapes with contrasting colors for a bold look.
This technique can be as intricate or simple as you want, making it perfect for beginners and advanced nail artists alike. Don’t forget to seal with a clear coat!
Visualize nails with a deep navy base adorned with bright coral triangles, creating a striking contrast that is sure to turn heads.
Product Recommendations:
8. Color Block Magic
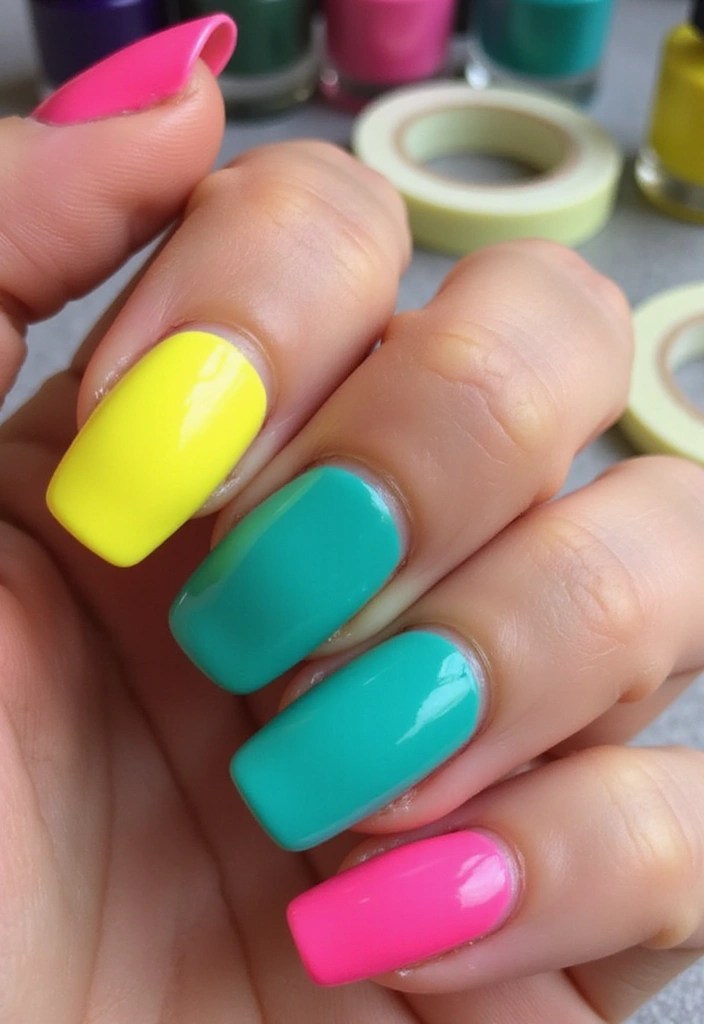
Color blocking is a fun way to mix and match your favorite shades for eye-catching nail art.
To achieve this look, paint your nails with a solid base color and allow it to dry completely. Then, use tape to section off areas of your nails and paint those sections with different colors.
This technique allows for endless combinations, so don’t be afraid to experiment! Finish with a top coat to make it pop.
Tip: Consider using matte and glossy finishes for even more visual interest!
Imagine nails with sections of bright yellow, teal, and hot pink, creating a playful and vibrant look.
Product Recommendations:
• Nail tape for precision designs
• vibrant nail polish set with bright colors
9. Negative Space Art
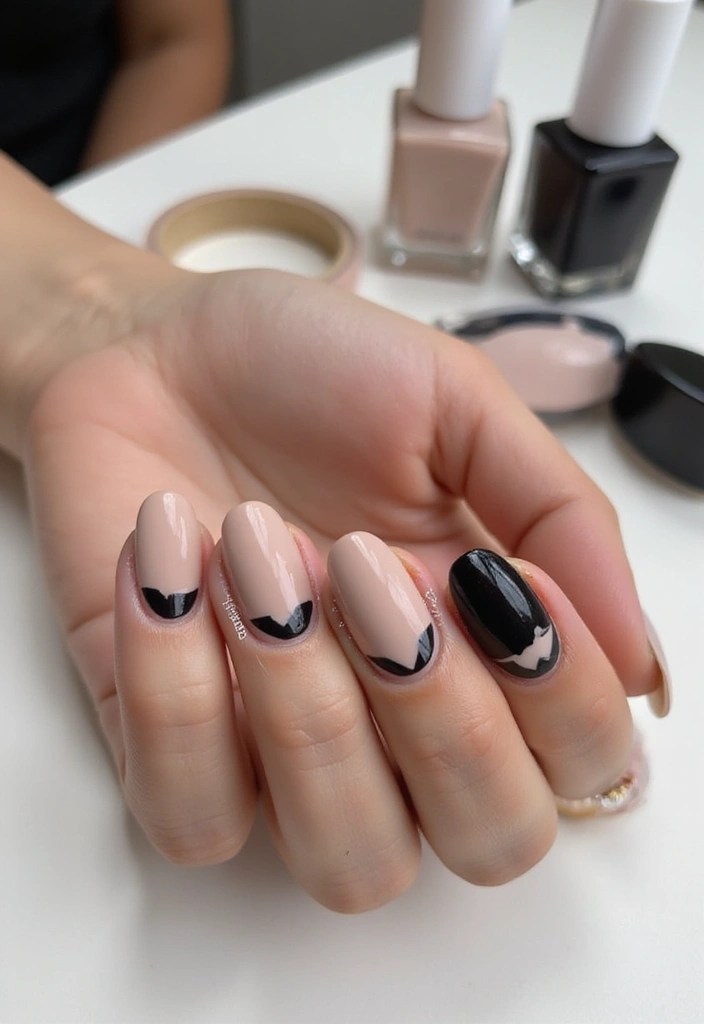
Negative space nail art is all about leaving parts of your nails bare for a chic and minimalist look.
Start with a clear or nude base coat. Then, use nail tape to create shapes or lines, painting only the exposed areas with color. This technique works great for creating stripes, triangles, or even floral designs!
It’s a trendy way to keep your nail art simple yet stylish. Don’t forget to finish with a top coat!
Visualize nails with a nude base featuring bold black triangular shapes, creating a stunning contrast that’s sure to impress.
Product Recommendations:
10. Stamping Magic
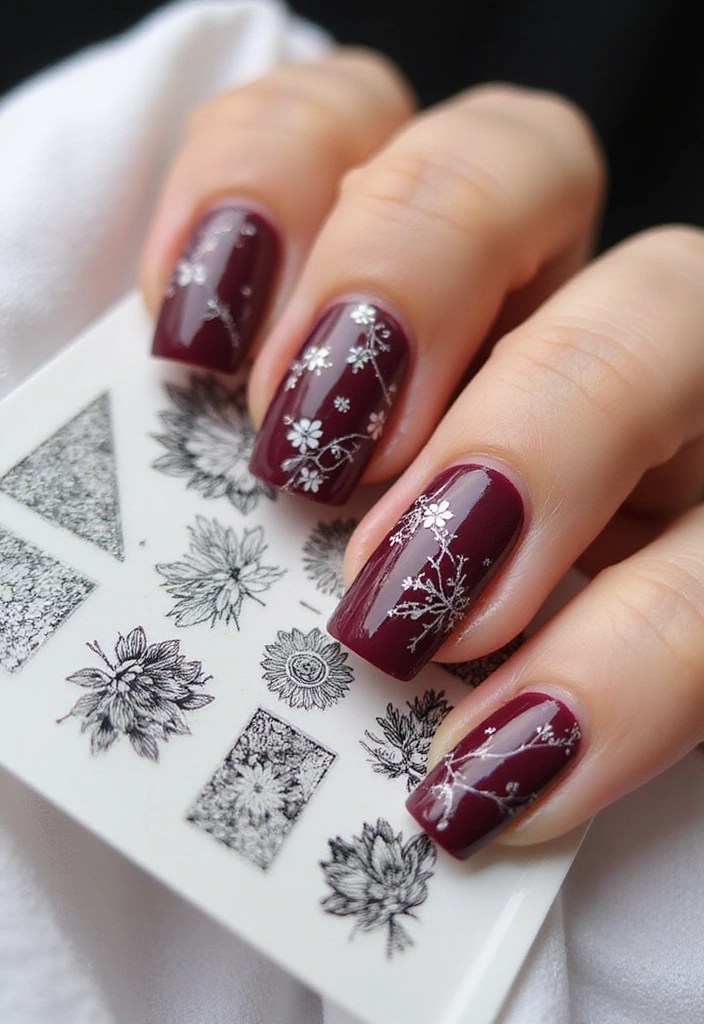
Nail stamping is a fun way to create intricate designs without the hassle of freehand painting.
You’ll need a stamping kit that includes plates with various designs, a scraper, and a stamper. Start by applying a base coat, then use your stamping plate to pick up the desired design with polish.
Press the stamper onto your nail, and voila! A perfect design every time. This technique is great for adding detailed patterns to your nails.
Tip: Experiment with different colors to create unique looks!
Imagine nails adorned with delicate floral patterns stamped in white on a deep burgundy base, looking elegant and sophisticated.
Product Recommendations:
• Konad Nail Art Stamping Plates
• Clear Jelly Stamper and Scraper Set
Conclusion

There you have it! Ten easy nail art techniques that can elevate your manicure game to new heights.
From ombre to stamping, there’s something for everyone, regardless of skill level.
So gather your supplies, unleash your creativity, and let your nails do the talking!

Leave a comment