Nail art is more than just polish; it’s a canvas for your creativity, especially for special occasions! Whether you’re gearing up for a wedding, birthday bash, or a fancy dinner, having the right nail design can add that extra sparkle to your look.
From elegant florals to dazzling geometric patterns, special occasions deserve nail art that speaks volumes. Each of these eight ideas is designed to catch the eye and make your hands the center of attention. So, let’s unlock some inspiration for your next big event with these creative designs that are sure to impress!
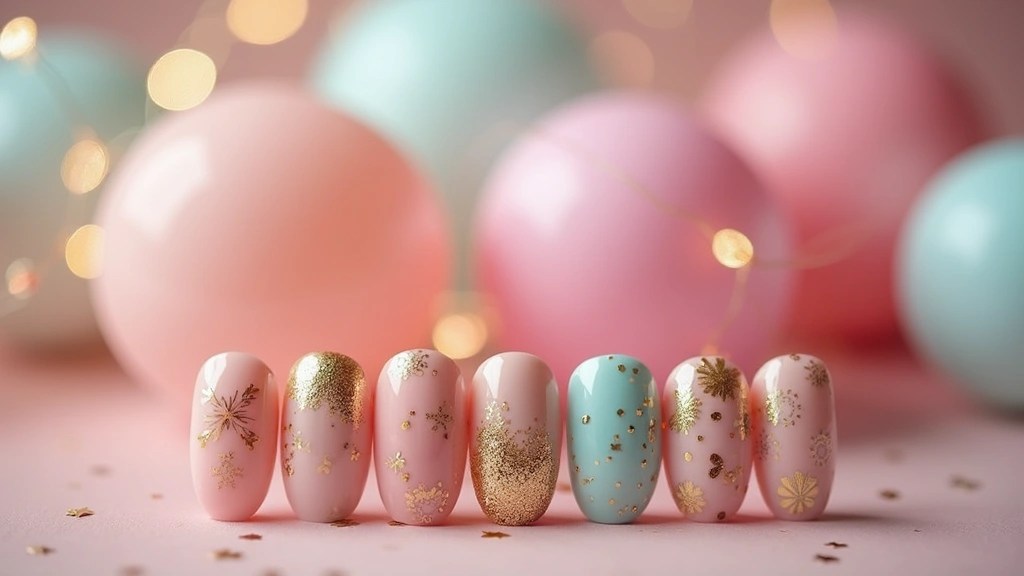
Imagine a bright, vibrant image of beautifully manicured hands showcasing various nail art designs against a soft, blurred background of celebratory decorations like confetti or soft lighting. Soft pinks, golds, and whites dominate the palette, highlighting the creativity and elegance of the nail art.
Contents
- 1. Chic Floral Elegance
- 2. Dazzling Glitter Gradient
- 3. Classic French Twist
- 4. Geometric Glam
- 5. Sparkling Rhinestones
- 6. Ombre Delight
- 7. Abstract Art
- 8. Minimalist Chic
1. Chic Floral Elegance
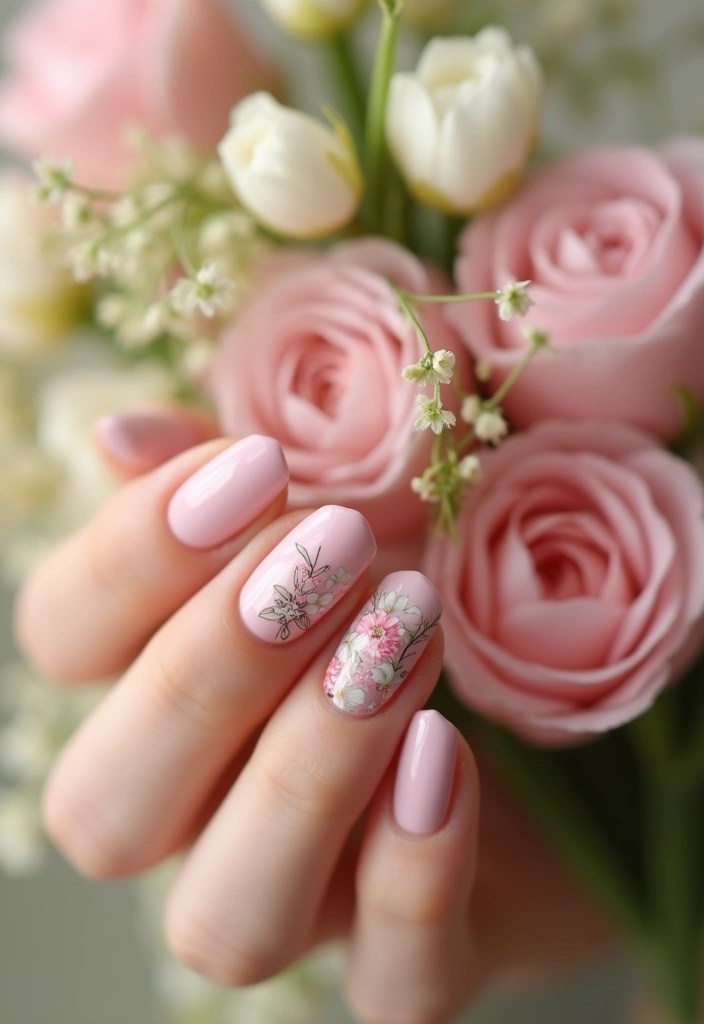
Floral designs are timeless and perfect for occasions like weddings or garden parties. Imagine delicate flowers painted on a nude or pastel base, with tiny leaves and even glitter accents to create a dreamy vibe.
To achieve this look, start with a base coat to protect your nails. Then, using a fine brush, paint small flowers with soft colors like pink and lavender. You can add a dash of gold or silver glitter to the center of each flower for that extra glam factor. Finish with a top coat to seal the design and give it a glossy finish.
Tips to consider:
– Use a dotting tool for flower centers.
– Experiment with different flower shapes, like daisies or roses.
– Consider using nail stickers for a quicker option.
Floral nail art is versatile; you can use it for birthdays, anniversaries, or even a casual day out!
For achieving the perfect floral design, consider products like floral nail art pens, dotting tools, and quality base and top coats.
Product Recommendations:
2. Dazzling Glitter Gradient
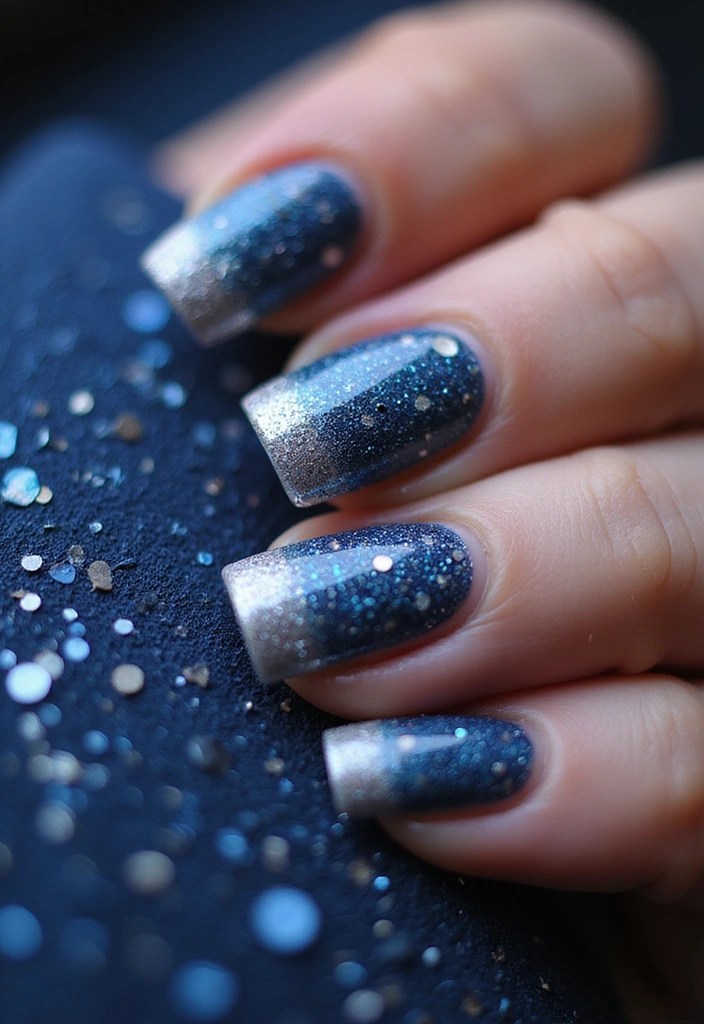
Glitter gradients are a showstopper, especially for evening events or parties where you want to sparkle! This design involves blending glitter from a solid color into a lighter shade, creating a mesmerizing ombre effect.
Start with a solid base coat in your favorite shade. Once dry, apply a lighter glitter polish from the tips of your nails down to the cuticle, gradually fading it out. You can use a makeup sponge for a smoother transition between colors. The key here is to layer the glitter until you reach the desired intensity.
This nail art is perfect for:
– Weddings
– Holiday parties
– New Year celebrations
A few tips:
– Choose colors that complement your outfit.
– Ensure the base color is completely dry before applying glitter.
– Seal the look with a high-quality top coat to keep it intact and shiny.
For this glamorous look, grab glitter nail polishes, makeup sponges, and a reliable top coat to ensure your nails stay dazzling all night.
Product Recommendations:
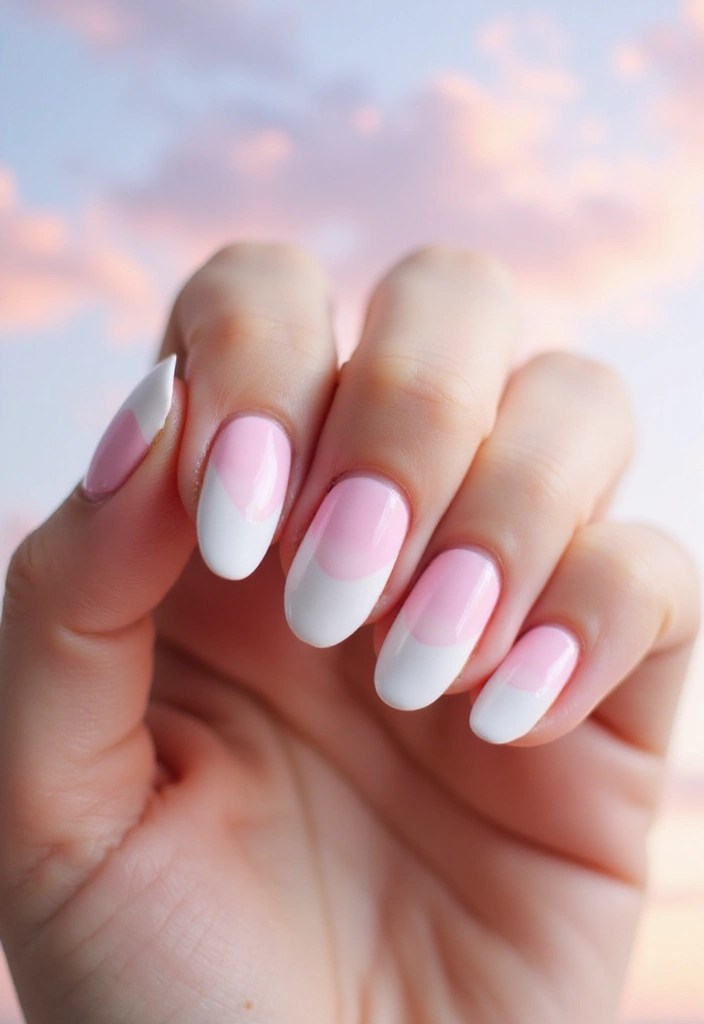
3. Classic French Twist

The classic French manicure gets a modern twist! Instead of the usual white tips, why not try vibrant colors or even metallics? This design is ideal for formal events or when you want a polished look that’s not too flashy.
Start with a nude or light pink base coat. Once dry, choose a bold color for the tips—think bright red, royal blue, or even shiny gold. Use nail tape for clean lines, or freehand it if you’re feeling adventurous. To finish, apply a top coat for shine and protection.
Why this design works:
– It’s chic and sophisticated.
– It’s versatile for any occasion.
– The colorful tips can match your outfit.
A few tips:
– Experiment with different shapes for the tips, like almond or stiletto.
– Use nail art tape for straight lines.
– Try mixing different colors for a fun twist!
For this elegant look, consider quality nail polish sets, nail tape, and a good top coat to keep everything in place and shiny.
Product Recommendations:
• Nail polish set with vibrant colors
• high-quality top coat for shine and protection
4. Geometric Glam

Geometric designs are bold and trendy! Perfect for those who want their nails to make a statement at any event. This design can range from simple lines to intricate shapes and patterns, providing a modern touch to your nail art.
Start with a solid base color. Once dry, use striping tape or a fine brush to create shapes like triangles, squares, or even abstract designs. You can play with contrasting colors for an eye-catching effect or stick to a monochromatic theme for a more chic vibe. Finish with a top coat to seal everything.
What makes this design special:
– It’s unique and artistic.
– You can customize it according to your outfit.
– It’s a great conversation starter!
Tips:
– Don’t be afraid to mix and match colors.
– Use a steady hand or tape for clean lines.
– Consider matte top coats for a trendy look.
For this stylish geometric art, grab striping tape, a variety of nail polishes, and a good top coat to maintain your design.
Product Recommendations:
• high-gloss top coat for nails
5. Sparkling Rhinestones
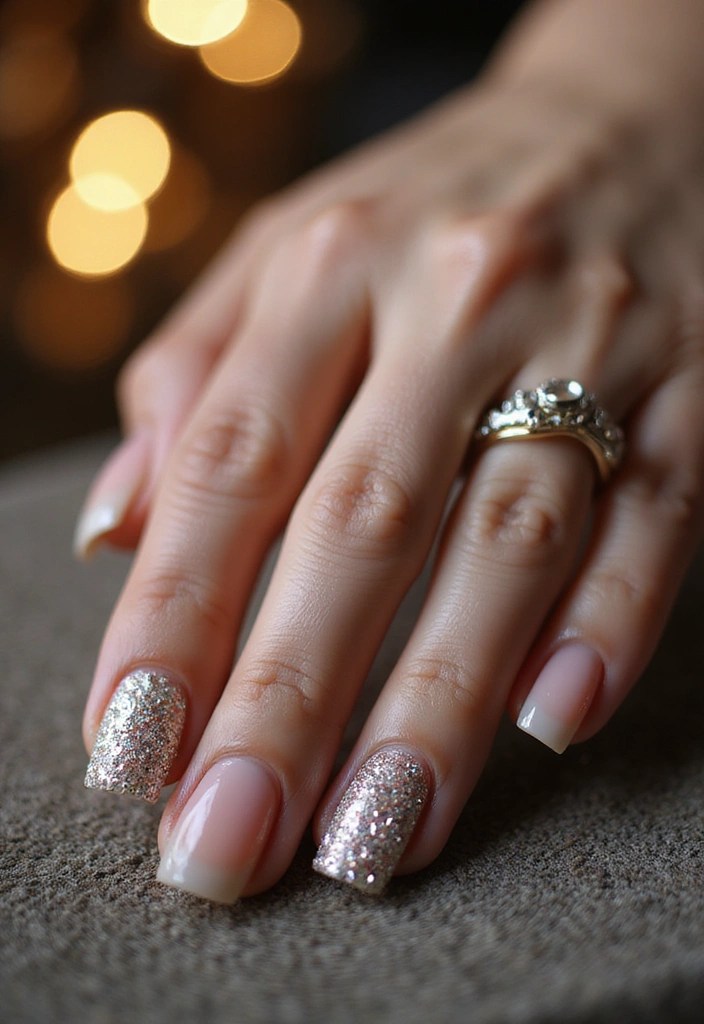
Rhinestones add an instant touch of glamour to any nail design! Perfect for special occasions like proms or formal events, these little gems can be used to enhance any look.
Start with a solid base color. Once it’s dry, apply a layer of nail glue or clear polish where you want to place the rhinestones. Use a dotting tool or tweezers to carefully place rhinestones onto your nails. You can create patterns or simply scatter them for a more randomized look. Seal everything with a top coat to keep those gems in place!
Why rhinestones?
– They add sparkle and shine.
– They’re perfect for a glamorous look.
– You can customize your designs with various sizes and colors.
Tips:
– Don’t overload your nails; a few strategically placed stones look best.
– Choose stones that complement your outfit.
– Ensure everything is completely dry before applying the top coat.
To achieve this glamorous look, consider getting a rhinestone kit, nail glue, and a good top coat.
Product Recommendations:
6. Ombre Delight
Ombre nails are a fun way to combine colors and create a stunning effect for any occasion! This technique involves blending two or more colors seamlessly for a beautiful gradient.
Start with a base coat in your chosen color. Using a makeup sponge, dab on the second color at the tips and blend it down toward the cuticle. For a more dramatic effect, you can add a third color! The key is to blend well to avoid harsh lines. Seal it all with a top coat to keep your nails looking fresh and vibrant.
Why you’ll love ombre nails:
– They’re customizable with any color combo.
– They add a fun twist to traditional nail designs.
– They work for casual outings or formal events!
Tips:
– Experiment with contrasting colors for a bold look.
– Use a light hand when applying the second color.
– Make sure each layer is dry before moving to the next.
To achieve this delightful ombre effect, consider purchasing a makeup sponge, a variety of nail polishes, and a quality top coat.
Product Recommendations:
7. Abstract Art
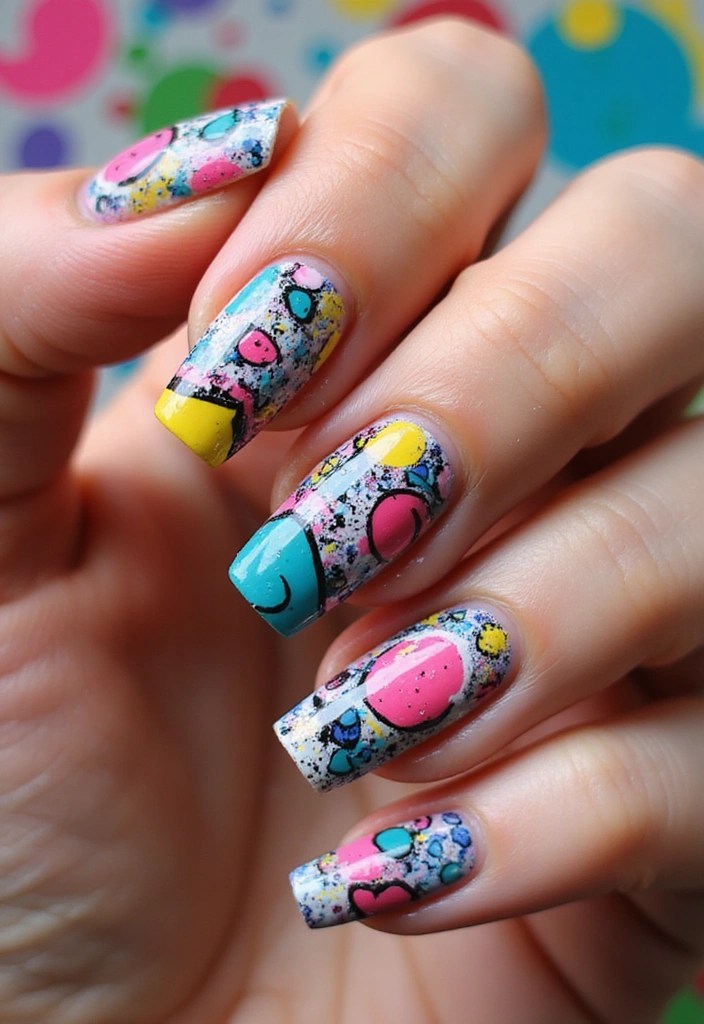
Abstract nail art is all about creativity and self-expression! This design allows you to let your imagination run wild, making it perfect for art lovers and those who want to stand out.
Start with a solid base color. With a fine brush or nail art pens, create random shapes, swirls, or lines using contrasting colors. There are no rules here! You can mix and match colors, play with negative space, and even add glitter for a bit of flair. Seal with a top coat to protect your masterpiece.
Why choose abstract art?
– It’s a unique way to express yourself.
– You can create endless designs.
– It’s exciting and fun!
Tips:
– Don’t overthink it; just have fun!
– Use a steady hand for more intricate designs.
– Allow each layer to dry before adding more paint.
For your abstract nail art, stock up on nail art pens, a variety of nail polishes, and a reliable top coat to keep your design intact.
Product Recommendations:
• color nail polish collection
8. Minimalist Chic
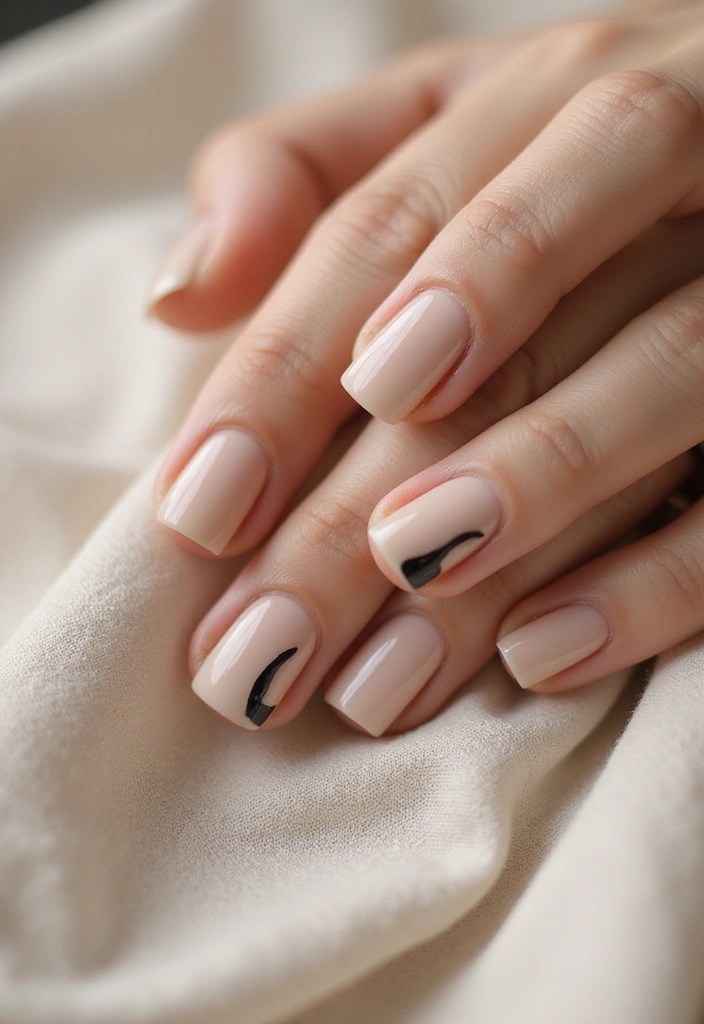
Sometimes, less is more! Minimalist nail art is perfect for those who prefer a clean, elegant look for special occasions. This style focuses on simple designs, often using neutral colors or subtle accents.
Start with a light base color like beige or pale pink. You can add a simple line at the tip or a small dot near the cuticle in a contrasting color. Another idea is to try negative space designs, where you leave part of the nail bare for an elegant touch. Seal it with a top coat for a polished finish.
Why go for minimalist?
– It’s sophisticated and timeless.
– It complements any outfit.
– It’s quick and easy to achieve!
Tips:
– Stick to two colors for a clean look.
– Use a fine brush or nail tape for precise lines.
– Make sure to use a good top coat for longevity.
For achieving minimalist chic nails, consider investing in a good base and top coat, nail tape, and a couple of neutral nail polishes to start your collection.
Product Recommendations:
• Nail tape for precise designs
• high-quality base and top coat
Conclusion

Whether you’re dressing up for a wedding, a birthday, or just a night out, these nail art ideas can elevate your look and make your hands the star of the show. With creativity and a bit of practice, you can master these designs and express your unique style.
So, which nail art are you excited to try for your next special occasion? Share your experiences and let your creativity shine!

Leave a comment