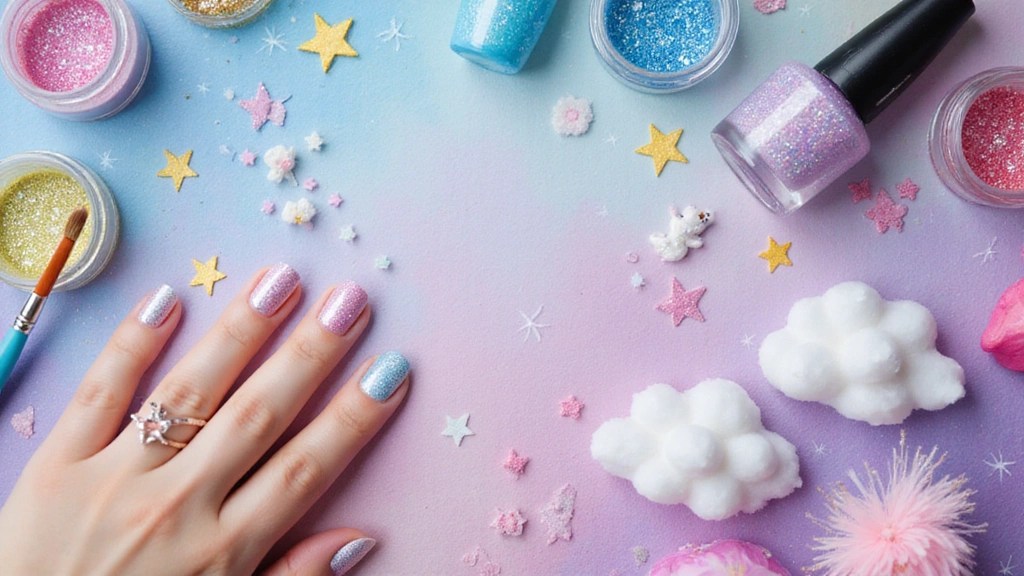
Nail art is the perfect way to express your personality and creativity, and what better theme than enchanted designs to bring a little magic to your fingertips?
Whether you’re preparing for a special occasion or just want to add some sparkle to your everyday look, these beginner-friendly enchanted nail art ideas are here to inspire you. Each design is simple enough for newbies but includes a sprinkle of whimsy that will definitely turn heads. Let’s get those crafting tools ready because your enchanted nails journey starts here!
Contents
- 1. Twinkling Galaxy Nails
- 2. Fairy Tale Florals
- 3. Mystical Moon Phases
- 4. Whimsical Unicorns (You Won’t Believe This One!)
- 5. Enchanted Forest Scene
- 6. Starry Night Sky
- 7. Enchanted Gemstone Nails
1. Twinkling Galaxy Nails
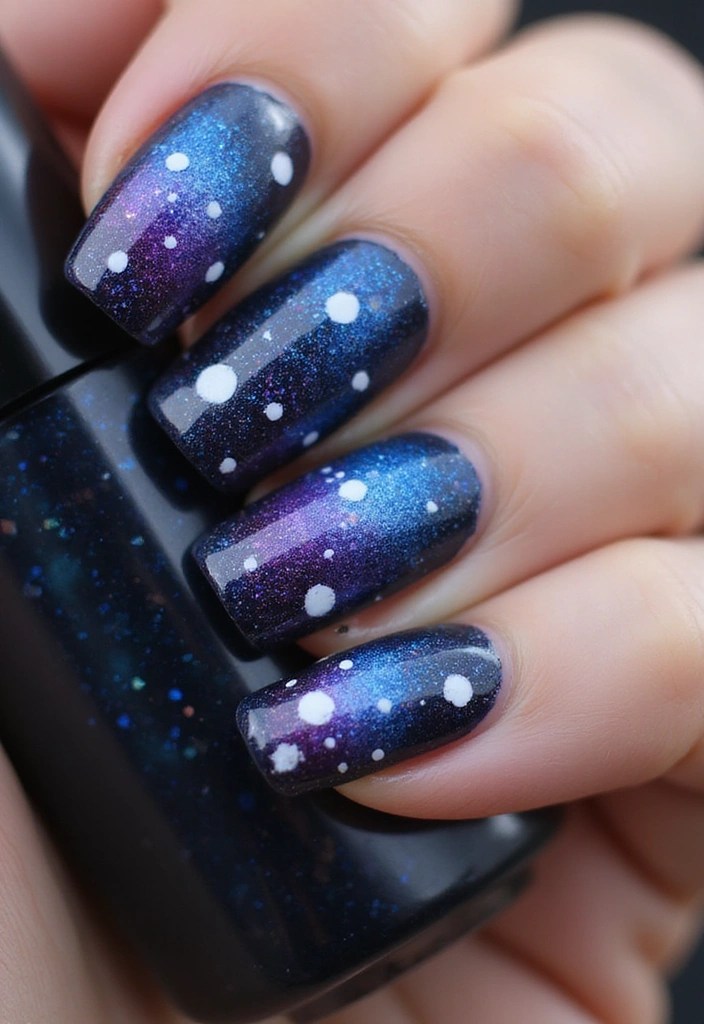
Get ready to embrace the universe right at your fingertips with twinkling galaxy nails. This design captures the beauty of outer space with deep blues, purples, and sparkly silver accents. To achieve this look, start with a black base coat as your canvas. Once dry, gently add dabs of navy and plum polish, allowing them to blend for a nebula effect.
For creating those dazzling stars, a thin brush or a dotting tool like the nail art dotting tools will be invaluable. These tools help you apply small dots of white polish effortlessly, and for an extra twinkle, don’t forget to sprinkle on some glitter. Remember, it’s about the whimsical effect, so don’t stress if it isn’t perfect! After everything dries, finish with a glossy top coat for that stellar shine.
For an added twist, consider using a glow-in-the-dark nail polish for a fun nighttime surprise that will make your nails truly enchanting!
Also, to achieve a more blended galaxy effect, use a nail art makeup sponge to dab colors onto your nails. It’s a simple technique that can elevate your design. Lastly, small pieces of tape can be a great trick to keep your cuticles clean during application.
Enjoy creating your cosmic masterpiece!
2. Fairy Tale Florals
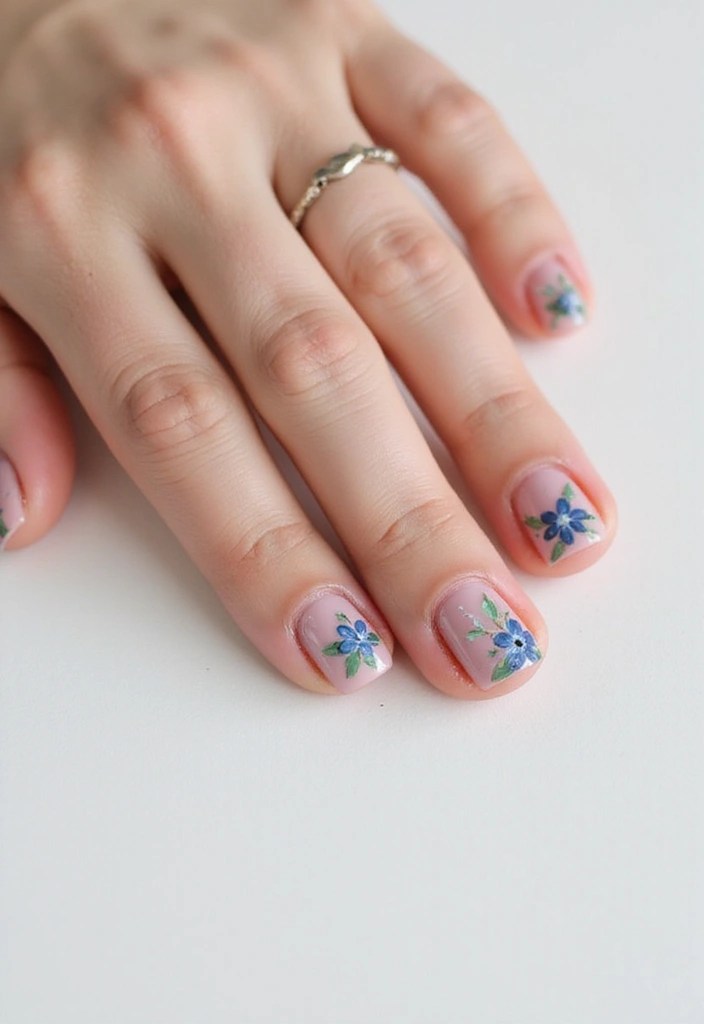
Flowers are a classic choice for nail art, but fairy tale florals take it to a magical level. Think soft pastels and delicate designs that evoke images of enchanted gardens. Start with a light pink or baby blue base coat. Once dry, use a fine brush from a nail art brush set to paint tiny flowers using white and yellow polishes.
Adding tiny green leaves and a touch of gold will enhance the fairy touch. These dainty nails are perfect for spring weddings or just to feel feminine and pretty every day! If you’re a bit nervous about freehand designs, consider using nail art stickers for an easier application that still looks stunning.
For a dreamy finish that resembles a vintage fairy tale, apply a matte top coat after your designs are complete. This will give your nails a soft, enchanting look that you’ll absolutely love!
3. Mystical Moon Phases
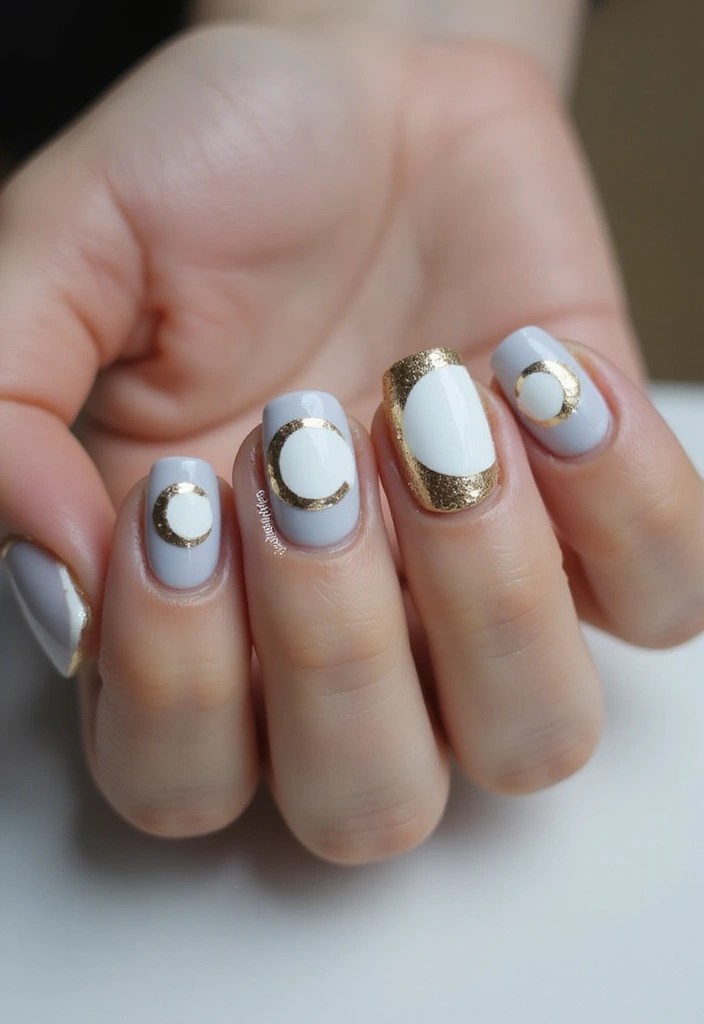
Bring the celestial wonders to your nails with mystical moon phase designs. This trend is not only beautiful but also surprisingly straightforward. Start with a pale gray or beige base. Once dry, use a dotting tool set to create crescent moons and full moons in white or gold.
The magic lies in the combination of shapes — play with different sizes to create a sequence of moon phases across your nails. This design works wonders for both everyday wear and special occasions.
For more precise lines, consider using a thin striping brush set which makes it easier to achieve the intricate details of your moon phases.
Additionally, applying a matte top coat will give your design a soft, ethereal finish, enhancing the mystical vibe.
– Unique Insight: This design can also symbolize a personal journey, making it meaningful when shared with friends.
4. Whimsical Unicorns (You Won’t Believe This One!)
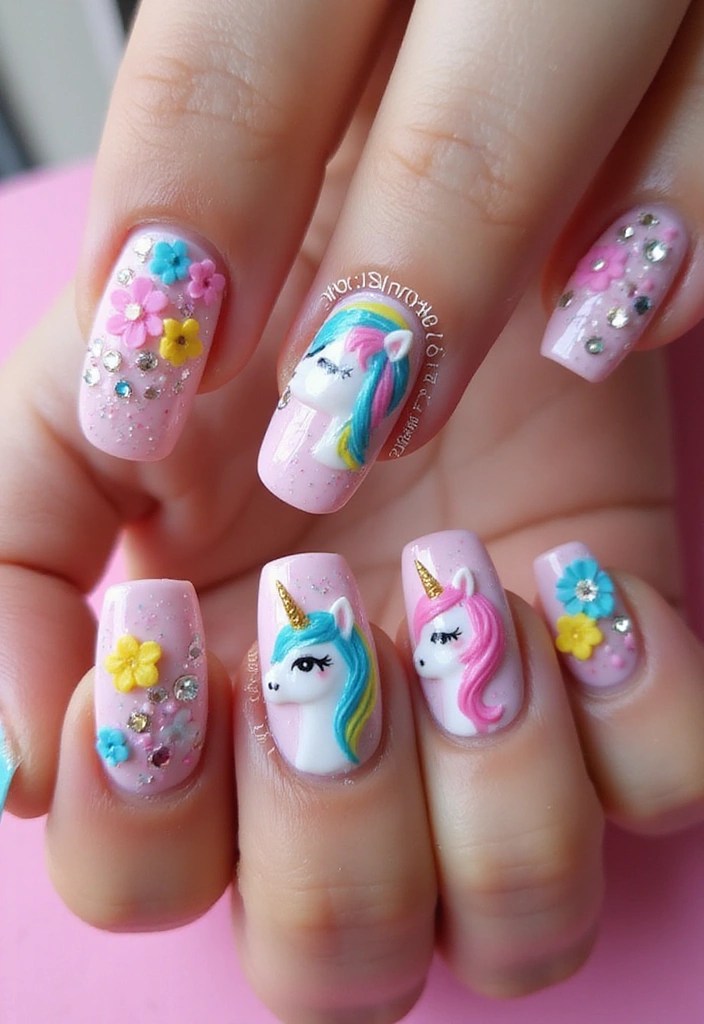
Prepare for magic with whimsical unicorn nails! This design is a little more colorful and allows for personal expression. Start with a soft pink or lilac base coat. Once dry, create a simple unicorn silhouette on one or two accent nails using white polish.
For the mane, use vibrant colors like aqua, yellow, and purple to paint streaks flowing from the unicorn’s head. To achieve those fine details, consider using the Nail Art Brush Set. This set includes a variety of brushes perfect for painting intricate designs and small details, ensuring your unicorn looks just as magical as you envision.
Don’t forget to add sparkles or rhinestones for extra glitter! The Rhinestones for Nail Art will elevate your design with its array of colors, adding that extra touch of whimsy and shine. Use your creativity to decide where to place these gems.
The great part about this design is that it’s totally open to interpretation — feel free to make it as whimsical as you want! As a unique insight, consider adding a little gold star on a few nails to enhance the magical theme.
For a finishing touch, apply a clear top coat like Clear Top Coat Nail Polish. This will help the colors pop and keep everything intact for longer, ensuring your enchanting manicure lasts through all your magical adventures.
– Tip: Use a toothpick to outline small details on the unicorn.
– Trick: A clear top coat will keep your design looking fresh and vibrant.
5. Enchanted Forest Scene

Step into the woods with an enchanted forest scene on your nails. This design allows you to portray a mini landscape complete with trees, stars, and maybe even a little fairy. Start with a dark green base for a woodland effect. Using a small brush, like the nail art brushes set, you can paint simple tree shapes in darker shades of green or brown, making it easier to achieve those detailed designs you have in mind.
Add tiny white dots for stars and some whimsical touches like mushrooms or flowers using bright colors. The nail art dotting tools can be especially helpful for creating those delicate details, allowing you to easily add more intricate designs to your enchanted forest. This design is perfect for those who love nature and fantasy!
– Pro Tip: Use nail art brushes for more detailed artwork.
– Unique Insight: This style is great for mixed manicures — pair it with solid colors on others!
– Trick: A matte top coat nail polish can give a rustic, woodsy finish, enhancing the overall enchanted theme.
6. Starry Night Sky
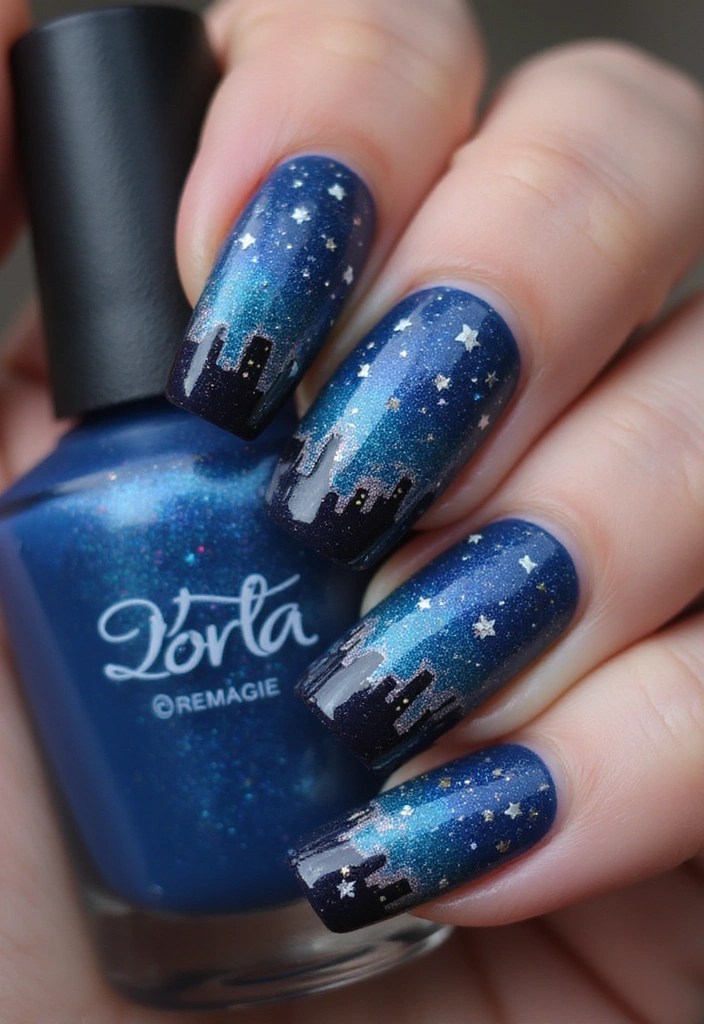
Capture the magic of a starry night sky with this enchanting nail art idea. Start with a deep navy blue base for a stunning backdrop that reflects the cosmos. Once it’s dry, use a thin brush or a nail art pen, like the Nail Art Brush Set, to draw an array of stars in gold or silver. This set provides precision, making it easier to create those delicate celestial details. For a shimmering effect, consider adding a touch of glitter polish to some of the stars. A great option is the Glitter Nail Polish, which enhances the sparkle of your design.
For a fun twist, you can paint a simple silhouette of a city skyline at the base of your nails. To achieve clean lines for the skyline, use nail tape. This will help you get a sharp contrast between the dark sky and the city, creating a striking and dreamy look.
To complete your celestial scene, add a tiny crescent moon. A glossy top coat will enhance the shine of your stars and give depth to the night sky, making your nail art truly enchanting.
7. Enchanted Gemstone Nails
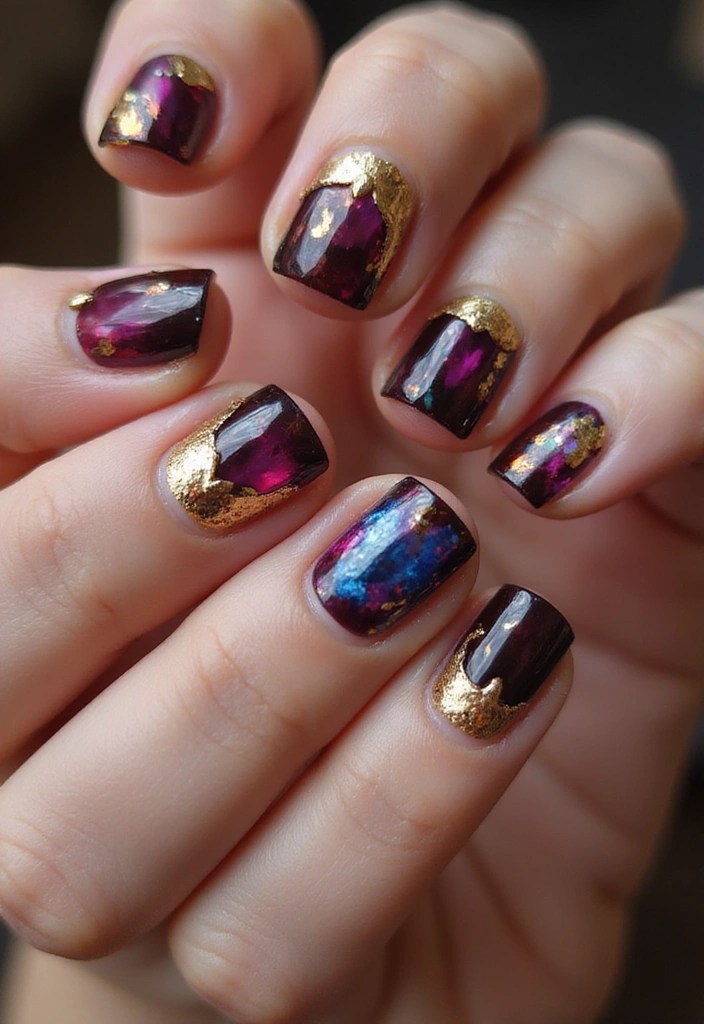
Finish your enchanted nail art journey with dazzling gemstone-inspired designs. Use rich jewel tones like emerald green, ruby red, and sapphire blue as your base. The trick is to layer different colors to create a gem-like appearance. For precision and detail, consider using the Nail Art Brush Set, which includes a variety of brushes perfect for painting in lighter and darker shades to add those essential facets.
Try adding a touch of gold trim around the edges for a luxurious finish! This look not only sparkles but also adds a touch of elegance to your nail art game. To achieve a seamless blend of colors, the Nail Art Sponge Applicators are a fantastic tool. Their design makes it easy to create that ombré effect, enhancing the gem-like quality of your nails.
– Tip: Use a sponge technique to blend colors for a more seamless gem effect.
– Unique Insight: These designs can be mixed with other themes, such as a single gemstone as an accent on a floral nail.
– Trick: A glossy top coat will make the colors shine much more. To achieve that glossy finish, try Glossy Top Coat Nail Polish. This top coat will not only add shine but also protect your artwork.
With these products and tips, your enchanted gemstone nails will truly be a showstopper!
Conclusion
Creating enchanted nails is all about mixing creativity with a bit of practice. Each of these designs offers a world of wonder at your fingertips, perfect for beginners eager to craft their unique nail art styles.
So why not try out a few of these enchanting ideas and let your nails tell a magical story? Share your creations and let the world see your beautiful, whimsical designs!
Note: We aim to provide accurate product links, but some may occasionally expire or become unavailable. If this happens, please search directly on Amazon for the product or a suitable alternative.
This post contains Amazon affiliate links, meaning I may earn a small commission if you purchase through my links, at no extra cost to you.

Leave a comment