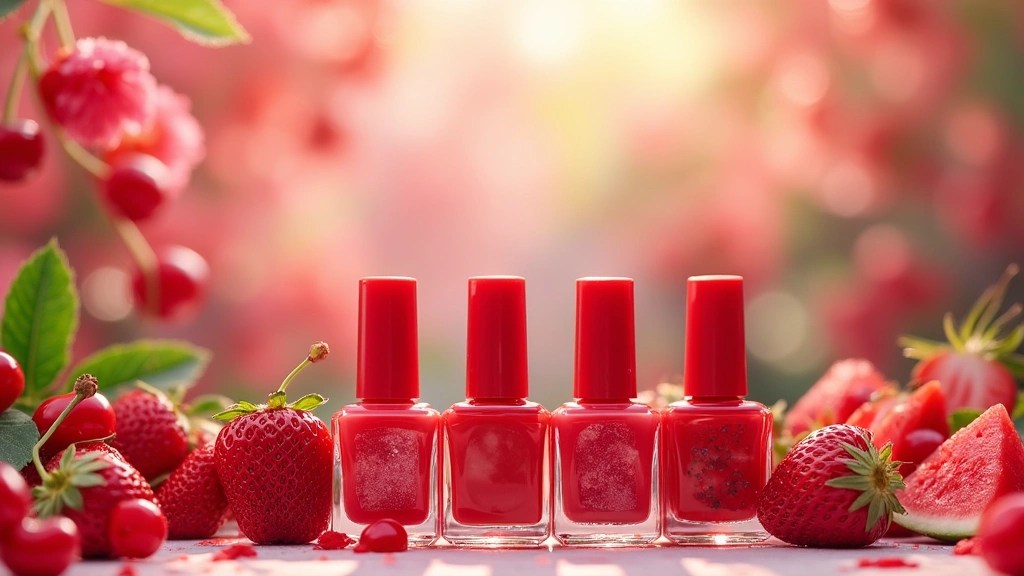
Summer isn’t just a season; it’s a vibrant celebration of colors, flavors, and fun! When you think of summer fruits, juicy reds come to mind—think strawberries, cherries, and watermelons. These luscious hues can easily inspire a nail art trend that is as refreshing as a chilled glass of lemonade on a hot day.
In this article, we’ll dive into 7 stunning glossy red short oval nail designs that capture the essence of those summer fruits. Each look is perfect for showing off your playful side while keeping things chic and stylish. Get ready to turn heads and show off your creativity with these easy DIY nail art ideas that you can replicate at home. Let’s bring out those juicy red vibes!
Contents
- 1. Strawberry Kisses
- 2. Cherry Bomb
- 3. Watermelon Slice Delight
- 4. Raspberry Jam
- 5. Tropical Paradise
- 6. Fruit Salad Medley
- 7. Summer Sunset
1. Strawberry Kisses
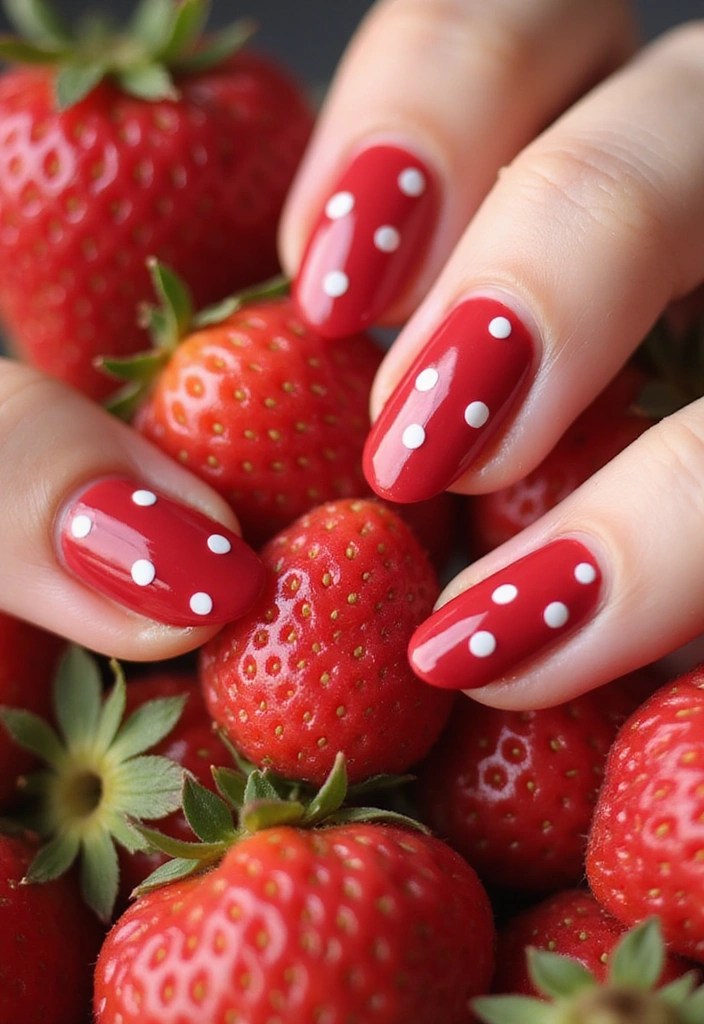
Inspired by the sweet and succulent strawberries of summer, this nail design features a rich, glossy red base topped with delicate white dots that mimic the seeds of the fruit. This playful look adds a touch of whimsy while remaining sophisticated.
To recreate this design, start with a high-quality red nail polish like the 60 Seconds Super Shine Nail Polish, Queen of Tarts. This polish ensures a smooth finish and vibrant color that captures the essence of strawberries beautifully. After applying two coats for depth, use a dotting tool to carefully place tiny white dots throughout your nails. The Dotting Tool Set is perfect for this task, allowing you to create precise dots that resemble the seeds on a strawberry.
For an extra bit of fun, consider adding a glossy top coat such as the Barry M Cosmetics Gelly Hi Shine Nail Paint Plumpy Top Coat to add that mouthwatering shine!
Here are a few tips for perfecting this look:
– Make sure to use a base coat to prevent staining.
– Practice your dotting technique on a piece of paper first to get the hang of it.
This design embodies the fresh and fruity spirit of summer, making your nails look irresistible.
2. Cherry Bomb
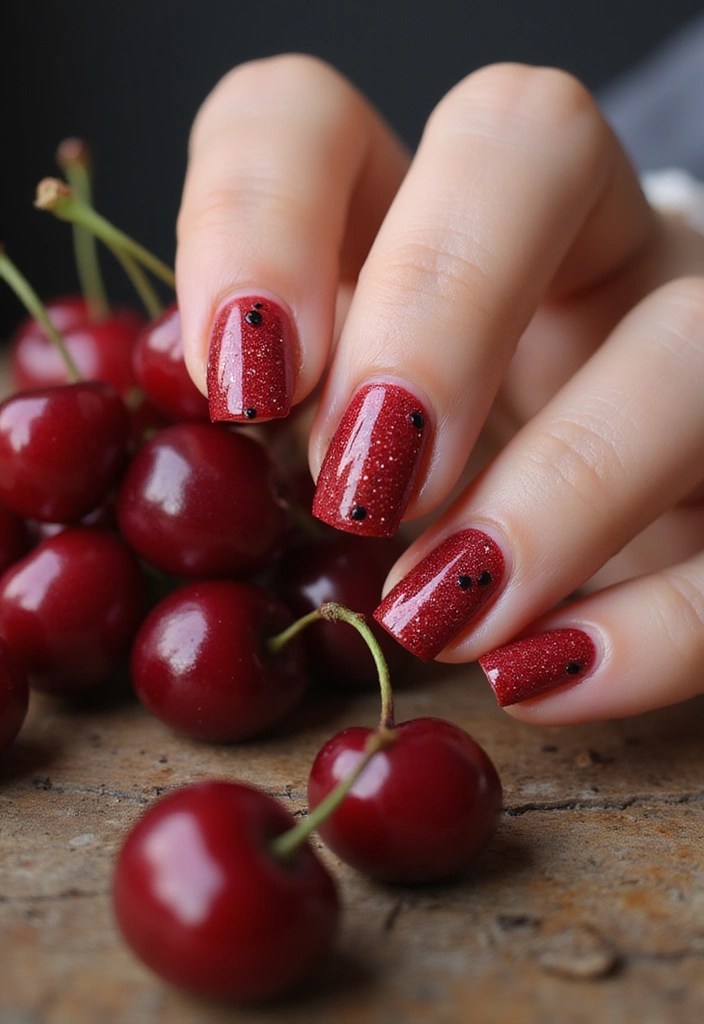
Cherries are iconic summer fruits, and this nail design captures their vibrant red hue perfectly. The glossy finish enhances the cherry vibe, making your nails look juicy and fresh.
Start with a base of Gemey Maybelline Colorshow Nail Polish – 45 Cherry on the Cake, which provides an ideal cherry-red polish that sets the tone. Then, add a thin layer of London Glitter Nail Polish Top Coat, Disco Diva for that extra sparkle, enhancing the juicy look of your nails. To amp up the fun, you can add a couple of small black dots to represent cherry pits, making this design playful and fun.
To ensure your manicure lasts longer, finish with Barry M Nail Paint 3 in 1 Base Coat, Top Coat, Nail Hardener All in One. This top coat not only extends the life of your polish but also adds a beautiful shine. You might also want to experiment with different glitter sizes for a unique twist, or combine with a matte finish on one or two nails for contrast.
This look will have everyone wondering if you just picked a fresh batch of cherries!
3. Watermelon Slice Delight
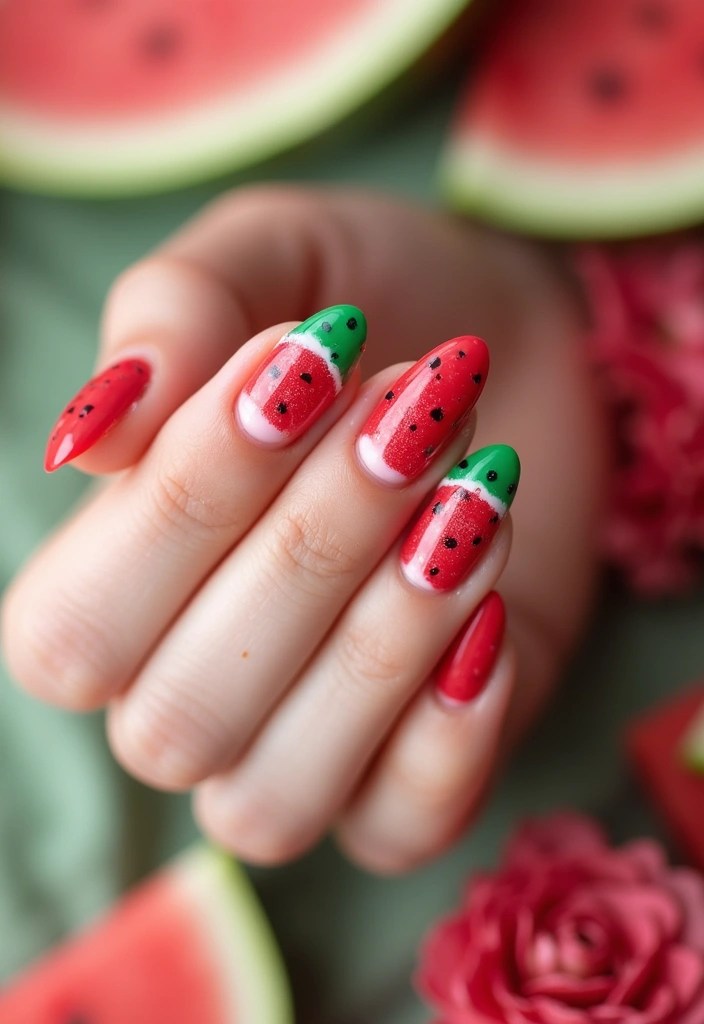
Celebrate summer with a fun watermelon slice design on your nails! This playful look incorporates various shades of red, green, and a hint of white, reminiscent of juicy watermelon slices.
Start with a red base coat, then use green polish to create a curved tip, resembling the outside of the fruit. Add white polish just below the green for that refreshing inner layer. Finish off with small black dots to represent watermelon seeds. This design is not only eye-catching but also a conversation starter!
To achieve clean lines and smooth finishes, consider using tools from the Nail Art Brush Set. The thin nail brushes in this set are perfect for getting precise curves and detailed designs, while the dotting tools make it easy to apply those little black seeds with precision.
Essential tips:
– Be patient when layering colors for a smooth finish.
– Use the Nail Art Brush Set for clean lines.
– Consider applying a matte topcoat for a trendy twist.
With this fun design and the right tools, every glance at your nails will have you dreaming about summer picnics!
4. Raspberry Jam

Bring the vibrant color of raspberries to your fingertips with a design that’s chic and fun. This glossy red look is enhanced with a cute raspberry-inspired pattern.
Start with a base of deep red polish, like essie Original Nail Polish, 50 bordeaux, which gives you a rich and bold color. Once it’s dried, delicately paint small raspberry shapes using a dotting tool, such as the Dotting Tool for Nail Art. This tool allows for precision and creativity, making it easy to create the perfect raspberry shapes with a lighter red or pink polish. Be sure to add tiny green leaves for a pop of color, giving your nails that extra fruity flair.
To finish your design, seal it with a glossy top coat like Barry M Cosmetics – Gelly Hi Shine Nail Paint – Plumpy Top Coat. This top coat enhances shine and longevity, ensuring your beautiful nail art stays vibrant for days.
Keep in mind:
– Choose complementary shades for the raspberries to stand out.
– A steady hand will help in creating perfect shapes.
With this fun twist, your nails will practically be begging for a summer berry feast!
5. Tropical Paradise
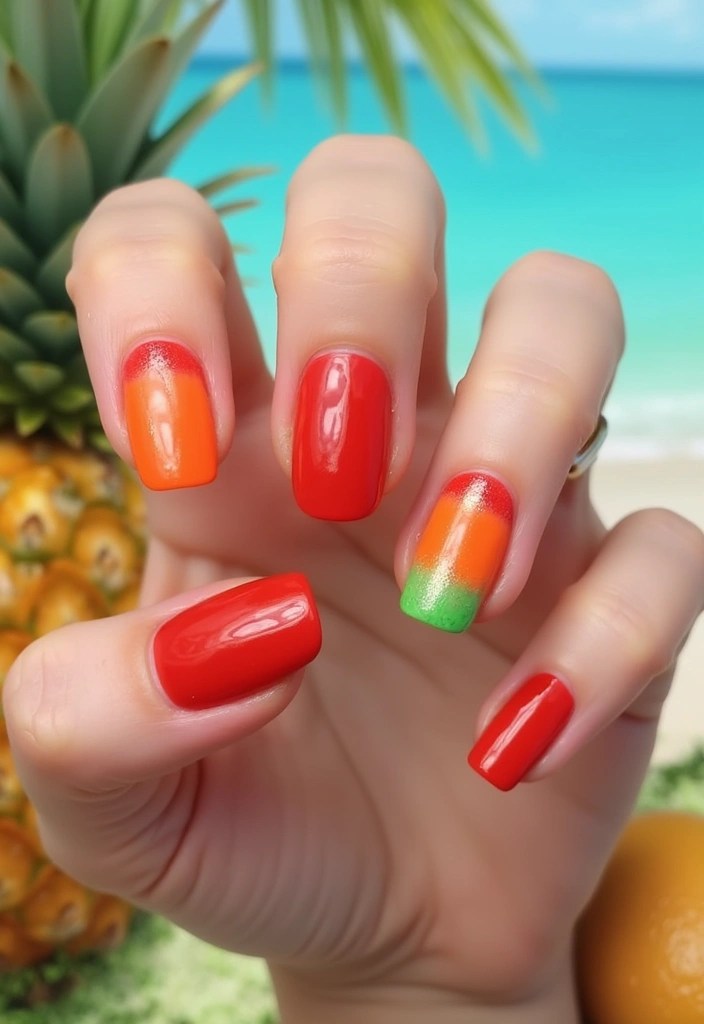
Why not mix up your nail art with a tropical flair? This design combines glossy red polish with hints of orange and green to mimic tropical fruits like papaya and mango.
Begin with a rich red base coat, then layer on small splashes of orange using a makeup sponge for a gradient effect. A great option for achieving that seamless ombré look is the nail art sponge applicators, which help you create a variety of gradient nail art patterns effortlessly. Finish off with small green leaf accents on the tips to complete this tropical-inspired look. This design is vibrant and perfect for summer vacations, instantly transporting you to a sunny beach!
To enhance the glossy finish, be sure to apply a generous coat of high-gloss top coat nail polish. This product adds a professional shine while protecting your design, ensuring your tropical paradise nails stay stunning all season long.
If you want to get creative with the green leaf accents or any other detailed designs, the nail art brush set is perfect for precise painting and dotting, allowing you to customize your look with ease.
A tropical paradise on your nails will keep your summer vibes alive all season long!
6. Fruit Salad Medley
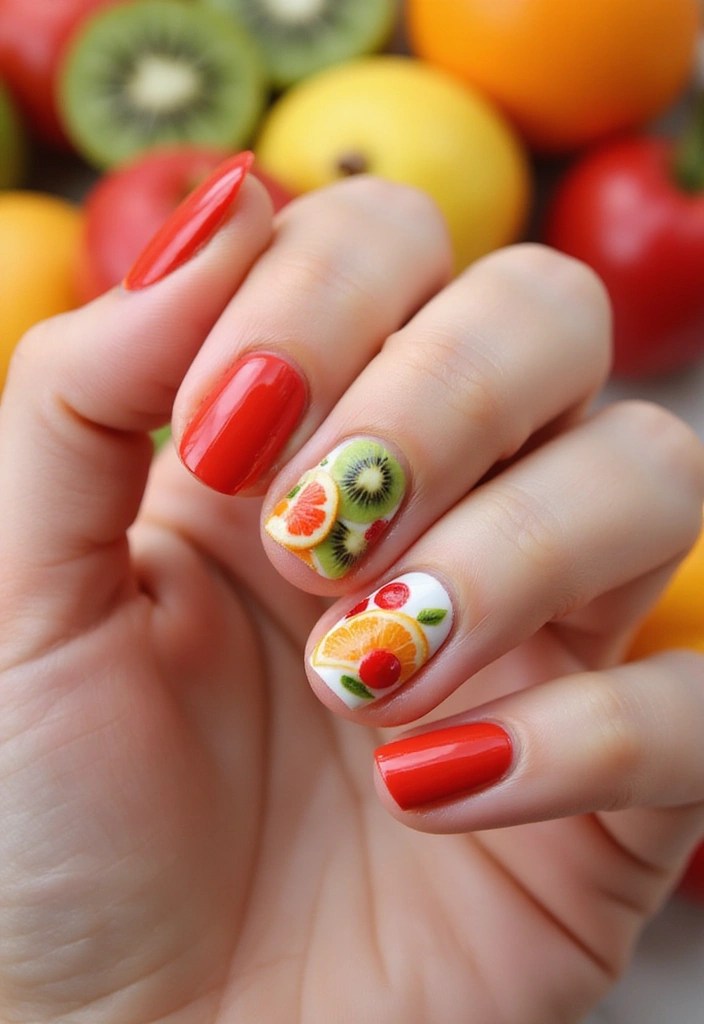
For those who can’t decide on just one fruit, why not combine a fruit salad on your nails? This fun mix-and-match design features different fruity patterns on each nail, showcasing the vibrant colors of summer.
Start with a base of glossy red on all nails. Enhance your designs by using a thin nail brush, like the Detail Nail Art Brush Set, which is perfect for painting small representations of various fruits such as slices of kiwi, orange, and berries. Each nail can have a unique theme, allowing for creativity and individuality!
Don’t forget to finish off your design with a shiny top coat, like the Glossy Top Coat Nail Polish, to give your fruity creations a delicious finish.
This nail art style is perfect for summer adventures, giving you a taste of your favorite fruits with every gesture. Plus, if you’re feeling extra creative, consider using tools like the Nail Art Stamping Kit to add even more intricate designs. Remember, it’s all about fun, so don’t be afraid to make each nail unique!
7. Summer Sunset
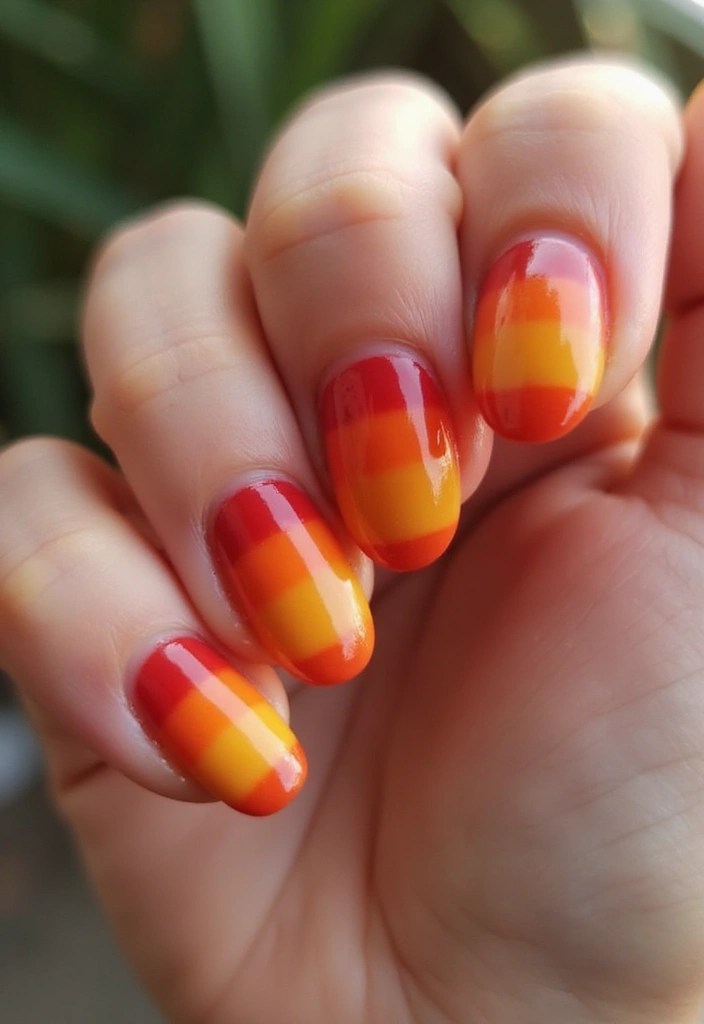
Capture the essence of a summer sunset with this stunning red ombre nail design. The glossy red polish can transition into shades of orange or pink, mimicking the warm hues of a setting sun.
For this look, start with a base of red nail polish, like the 60 Seconds Super Shine Nail Polish in Queen of Tarts, which provides a vibrant, glossy finish perfect for that summer glow. Then, use a sponge to blend in orange or pink at the tips for a beautiful gradient. An ombre nail sponge can help you achieve a flawless transition, allowing you to create a variety of gradient patterns effortlessly.
Make sure to let each layer dry before adding the next for a smooth finish. Practicing on a piece of paper will help you get the ombre technique down. To finish off, seal the look with a glossy top coat, like the Barry M Cosmetics Gelly Hi Shine Nail Paint Plumpy Top Coat, which enhances the shine and depth of your design.
With this beautiful sunset-inspired look, you’ll shine wherever you go, embodying the warmth and beauty of summer evenings!
Conclusion
These 7 juicy red nail looks celebrate the vibrant colors and playful spirit of summer fruits. Whether you prefer strawberries, cherries, or tropical vibes, there’s a design here for every nail art enthusiast.
Dive into the world of DIY nail art and let your creativity flow with these trendy designs! Don’t forget to share your renditions and keep the summer spirit alive—your nails are bound to be the talk of the town!
Note: We aim to provide accurate product links, but some may occasionally expire or become unavailable. If this happens, please search directly on Amazon for the product or a suitable alternative.
This post contains Amazon affiliate links, meaning I may earn a small commission if you purchase through my links, at no extra cost to you.

Leave a comment