Red square acrylic nails are the ultimate form of self-expression, merging elegance with a bold attitude that’s hard to resist.
These nails are not just a beauty trend; they’re a statement that says you know what you want and how to showcase it. When you step out with these stunning red talons, you’ll feel unstoppable. The variety in styles, designs, and finishes means there’s something for everyone, whether you’re drawn to a classic look or something more adventurous. This list will take you on a journey through breathtaking designs that will inspire your next manicure appointment.
Contents
- 1. Classic Crimson
- 2. Glitter Glam
- 3. Matte Marvel
- 4. Floral Fantasy
- 5. Ombre Bliss
- 6. Abstract Art
- 7. Chrome Effect
- 8. Rhinestone Elegance
- 9. Negative Space
- 10. Seasonal Themes
- 11. Personal Touch
- 12. Textured Designs
- 13. Geometric Patterns
- 14. Minimalist Chic
- 15. The Bold and the Bright
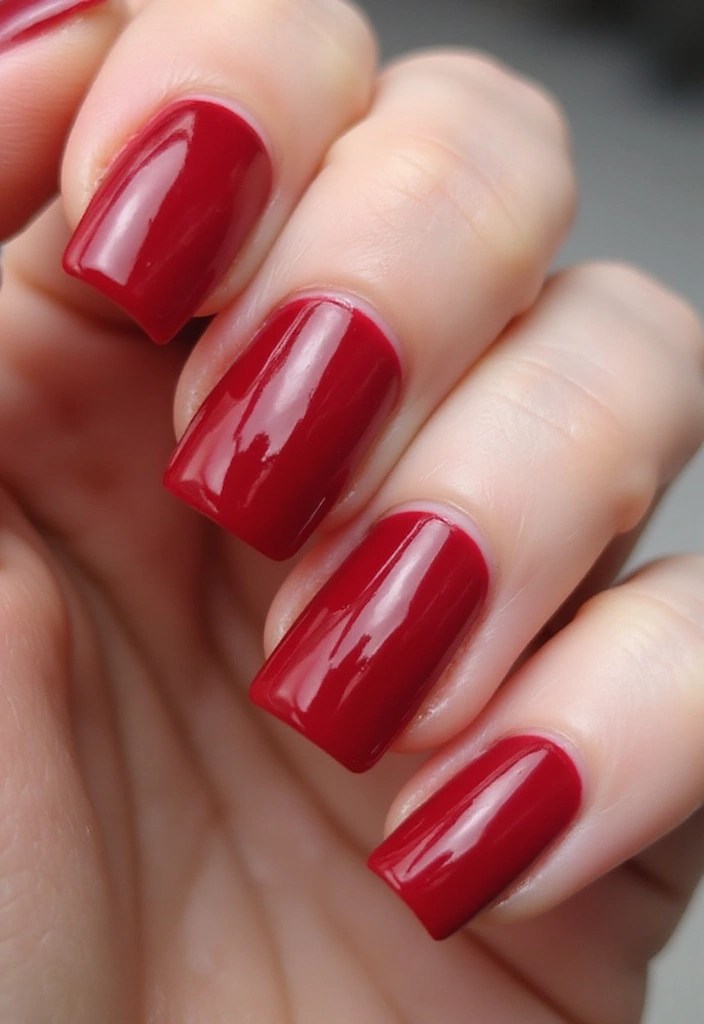
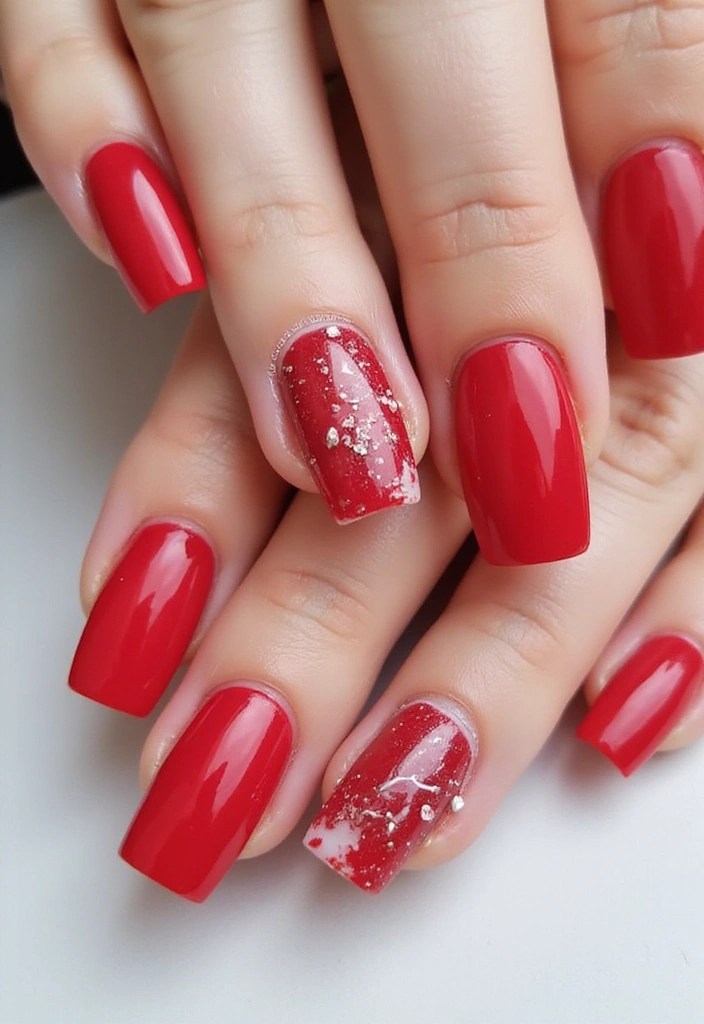
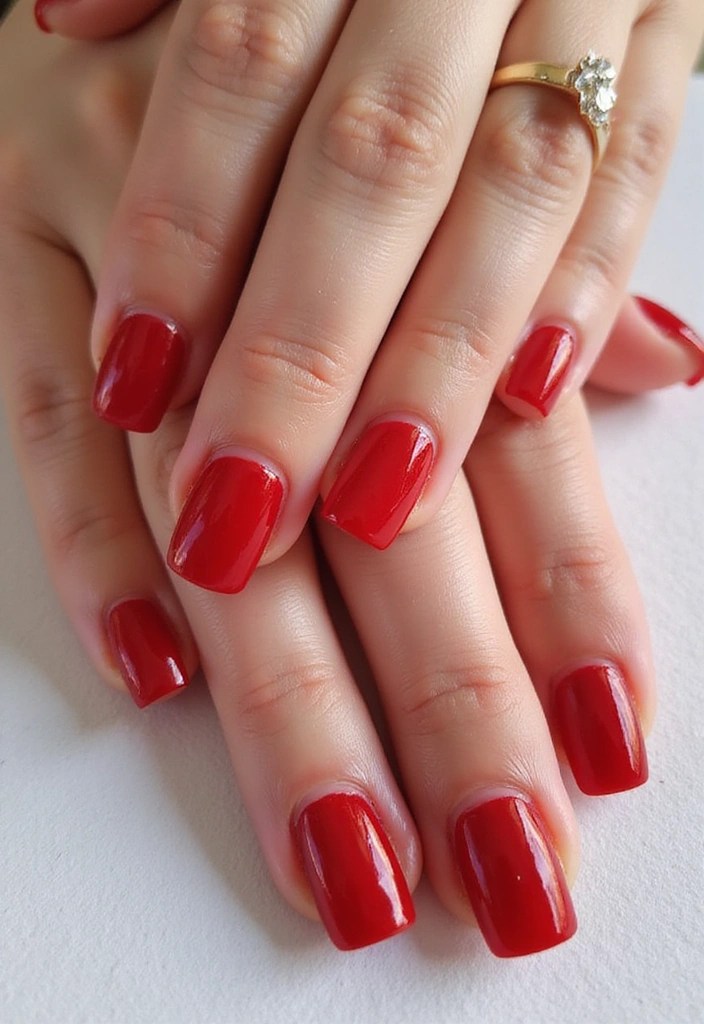
1. Classic Crimson

Nothing beats the timeless appeal of classic crimson square acrylic nails. This design boasts a rich, deep red shade that suits every skin tone and occasion. Whether you’re heading to a fancy dinner or a casual outing with friends, these nails effortlessly elevate your look.
This design is all about simplicity and elegance, making it perfect for anyone who loves a touch of sophistication. To enhance the classic vibe, consider adding a glossy top coat like Barry M Nail Paint, 54, a 3-in-1 base coat, top coat, and nail hardener that provides that mirror-like finish you desire.
Here are some tips to keep in mind:
– Choose a high-quality acrylic that holds its color well; the Saviland Acrylic Nail Kit is perfect for this purpose, offering acrylic powder and liquid that ensure vibrant color and durability for your nails.
– Keep your nails well-shaped; square nails need to be perfectly filed for that chic look. A reliable nail file set will help you achieve the ideal shape with precision.
– Pair your nails with minimalistic jewelry to let your nails do the talking.
The classic crimson design never goes out of style, and it’s a favorite among nail art enthusiasts for a reason.
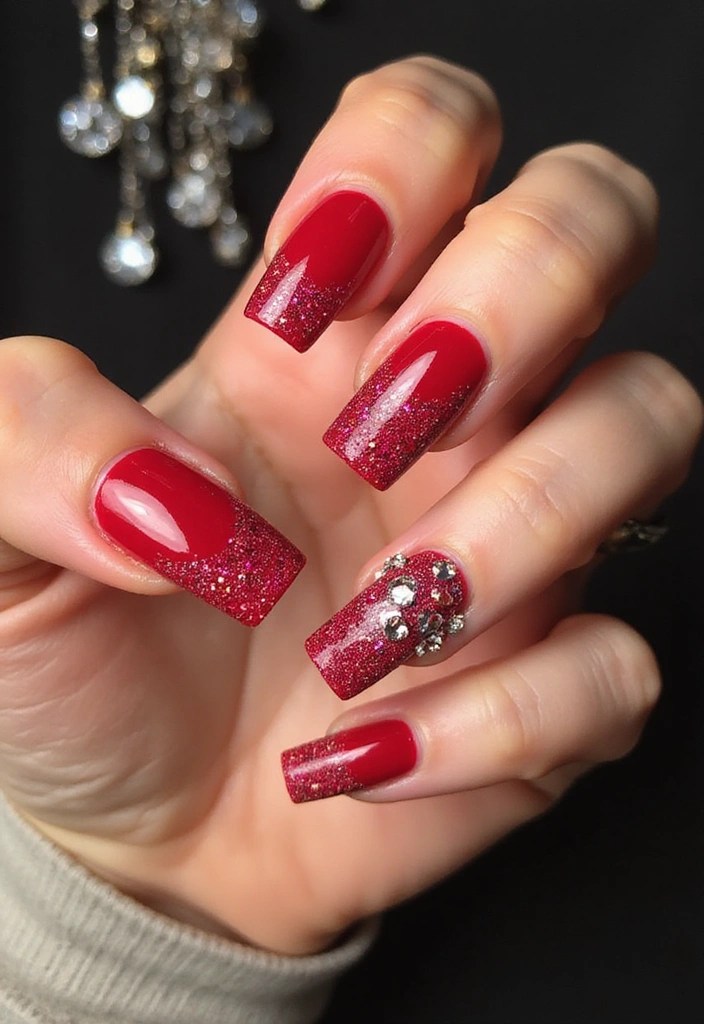
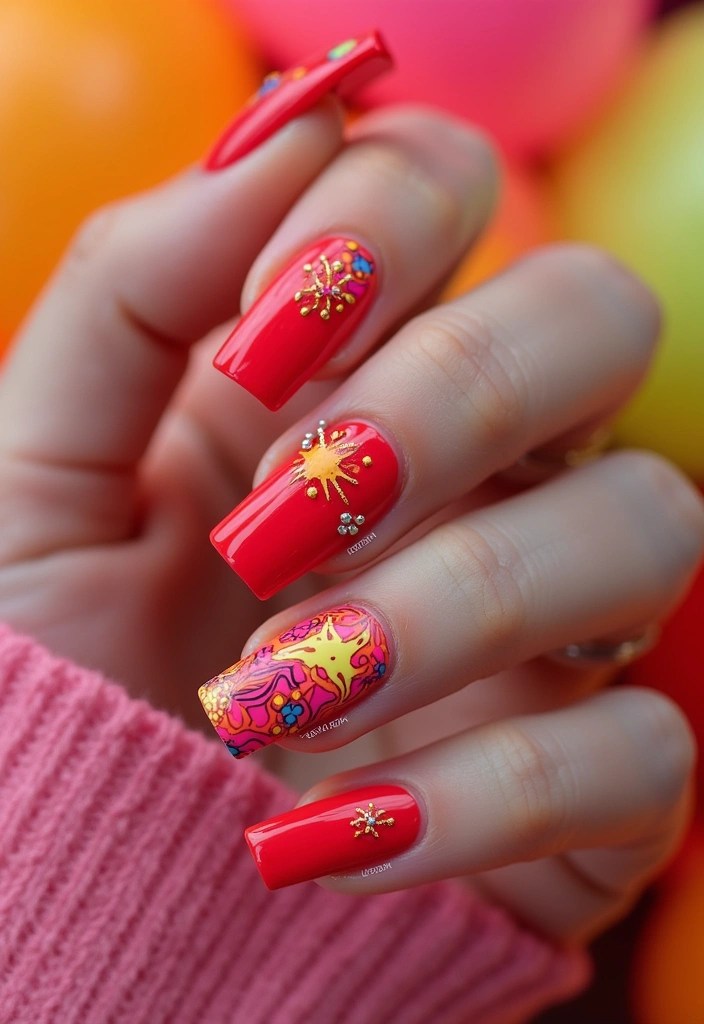
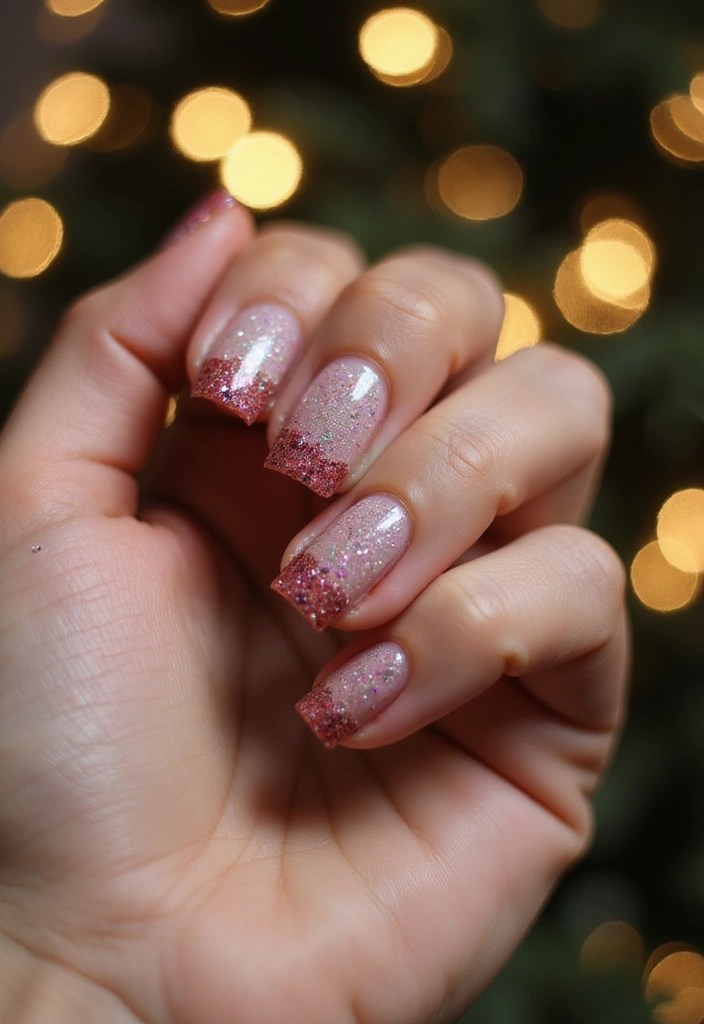
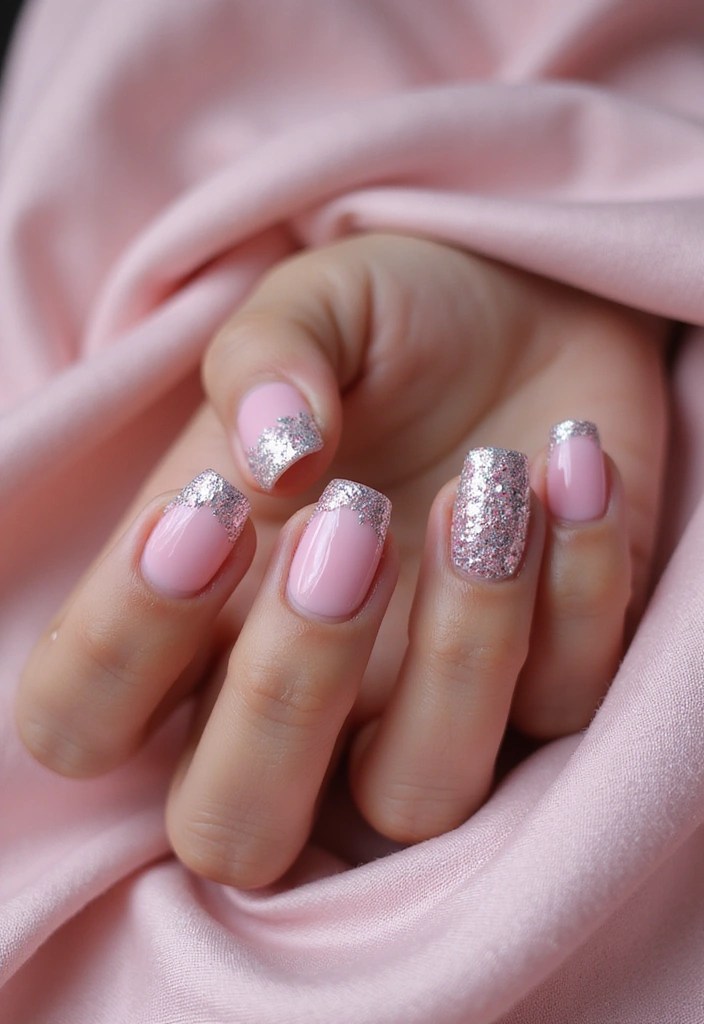
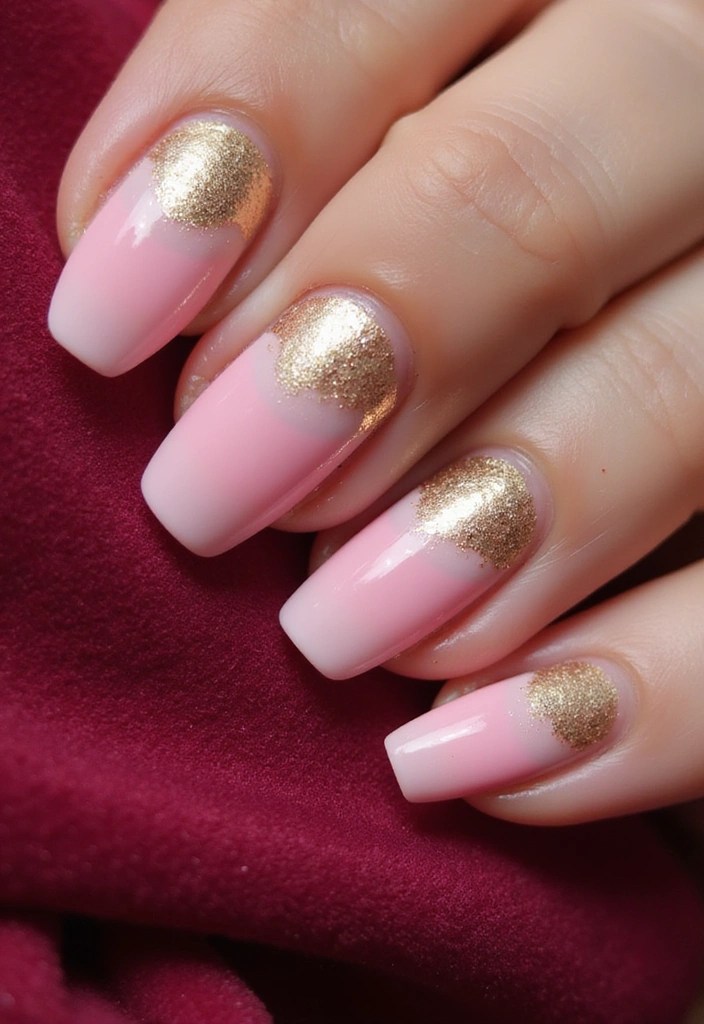
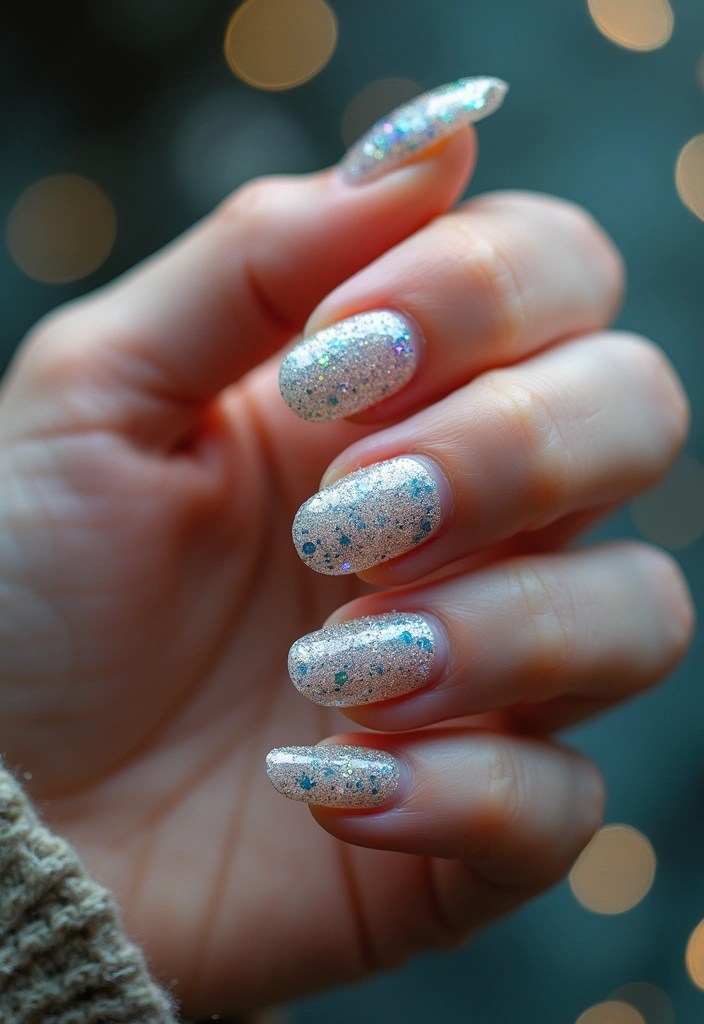
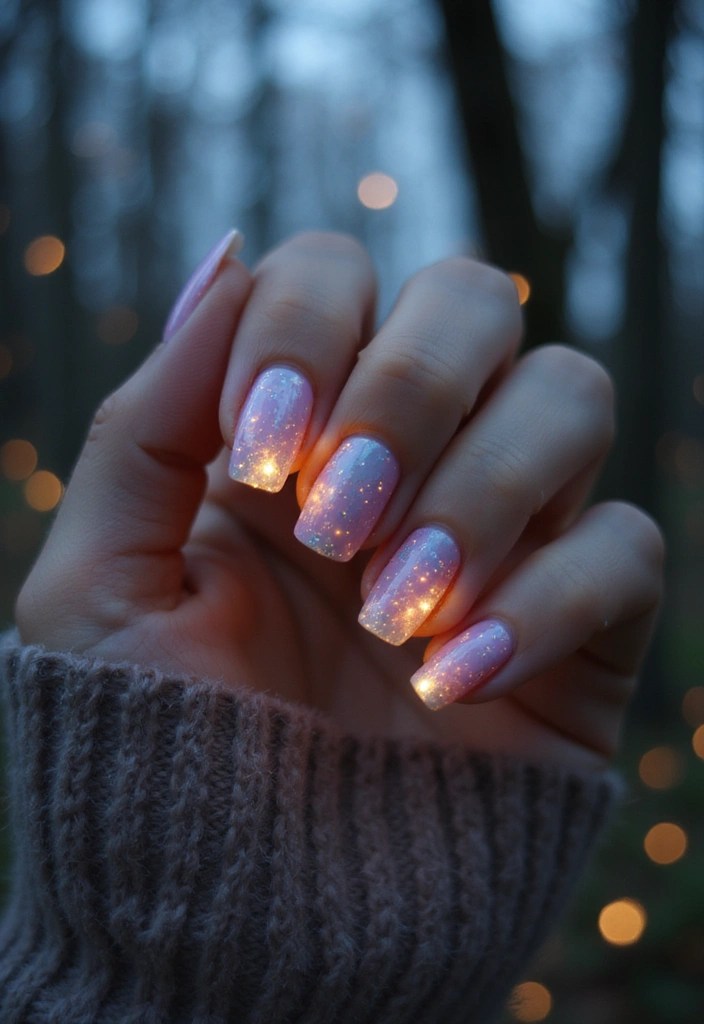
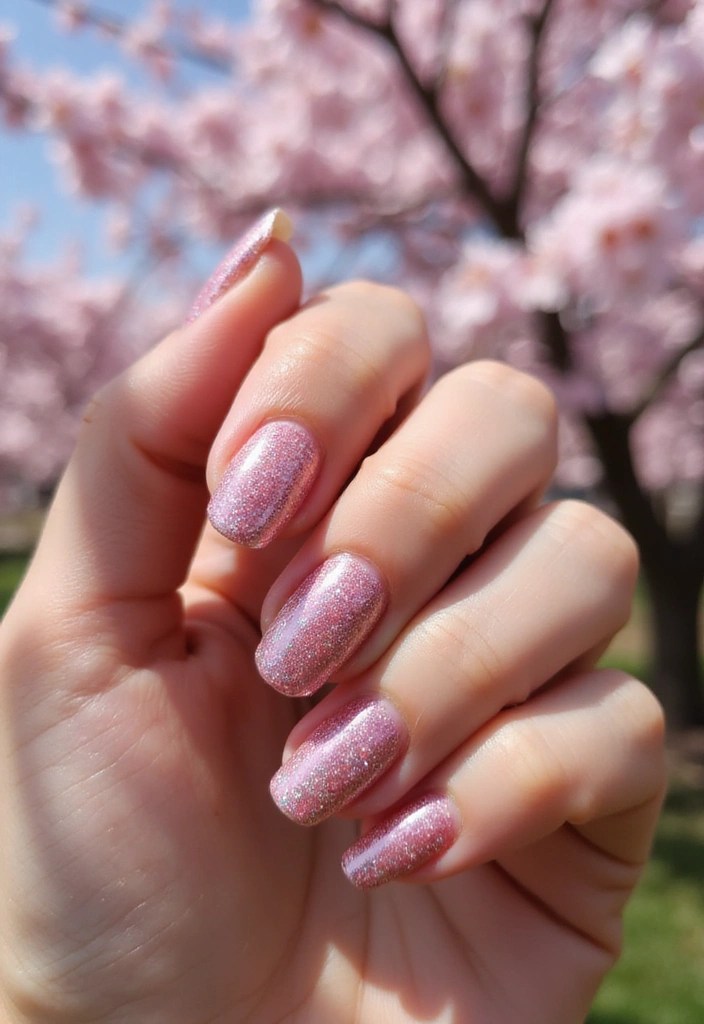
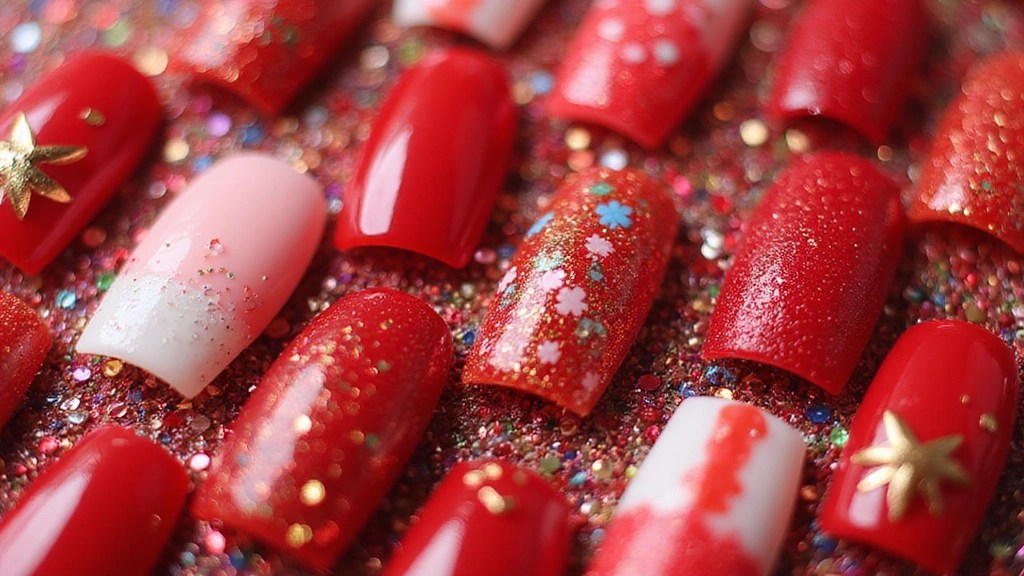
2. Glitter Glam

Want to add a little sparkle to your life? Glitter glam red square acrylic nails are the way to go! This design incorporates a dazzling mix of fine and chunky glitters layered over a base of vibrant red.
The result? A show-stopping look that draws attention and amps up any outfit! To achieve the perfect glitter effect, layering is key. Start with a solid red base, then carefully apply glitter to your tips or create a full glitter fade. Here are some handy tips to help elevate your glitter game:
– Ensure you seal the glitter with a top coat, like the Barry M nail paint, 54, 3 in 1 base coat, top coat, nail hardener all in one, to prevent it from chipping. This versatile product will give your nails a durable finish while enhancing that glittery shine.
– Consider using different shades of glitter to create depth and dimension. The London glitter nail polish top coat, Disco Diva is perfect for adding that extra sparkle and variety to your design.
– For a unique twist, try mixing gold or silver glitter with red for a festive vibe. If you’re planning to do a full acrylic application, the Saviland acrylic nail kit offers everything you need, including acrylic powder and liquid to ensure you have a solid base for your dazzling manicure.
When you rock glitter glam nails, expect compliments to pour in!
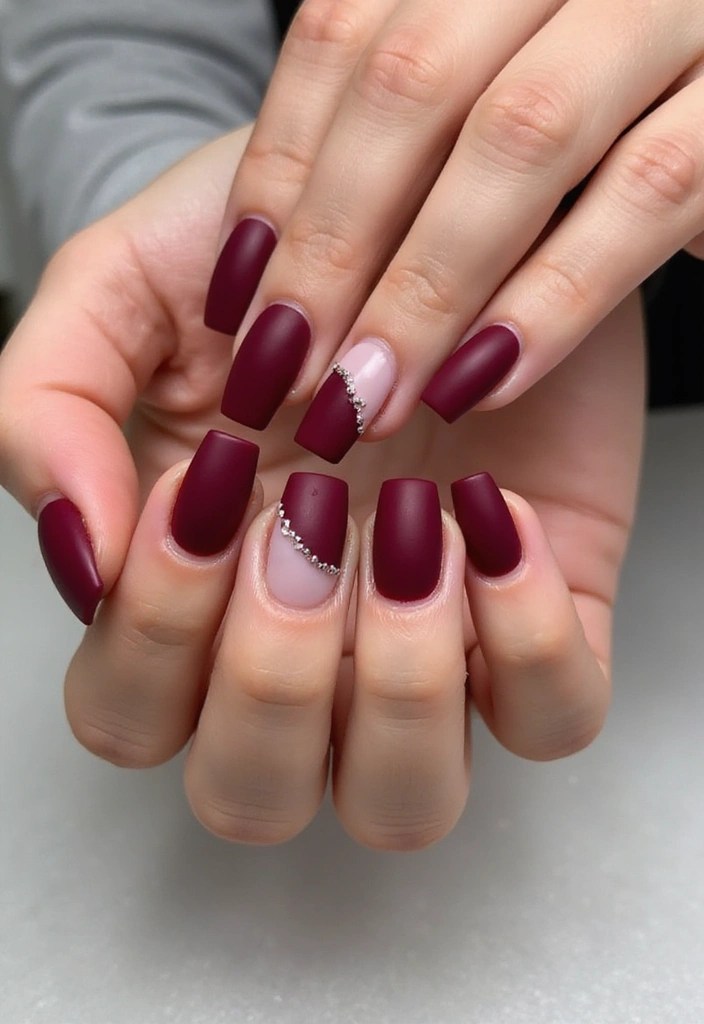
3. Matte Marvel

If you’re looking for a chic twist on the classic red nails, matte red square acrylics will captivate you. The matte finish offers a modern, edgy vibe that’s uniquely appealing.
This style is perfect for making a statement without being overly showy. Pair them with a glossy top coat on just a couple of nails for contrast; it creates an ultra-cool effect! To achieve that perfect matte look, you can start by using the Beetles No Wipe Matte Top Coat Gel Polish. This matte top coat seals in the color and ensures a long-lasting finish, helping you get that smooth matte effect effortlessly.
Additionally, keeping your nail shape sharp and clean is essential to showcase the matte effect, so consider using the Saviland Acrylic Nail Kit. This kit includes everything you need for acrylic application and nail extension, giving you the tools to create beautifully shaped nails.
To amp up your design, try adding minimalist line art or geometric designs in white or black with the help of the nail art brushes set. These double-ended brushes are perfect for detailed painting and drawing, allowing you to get creative with your matte marvels.
Matte marvels are trending big time, and it’s no wonder why—these nails are all about understated elegance.
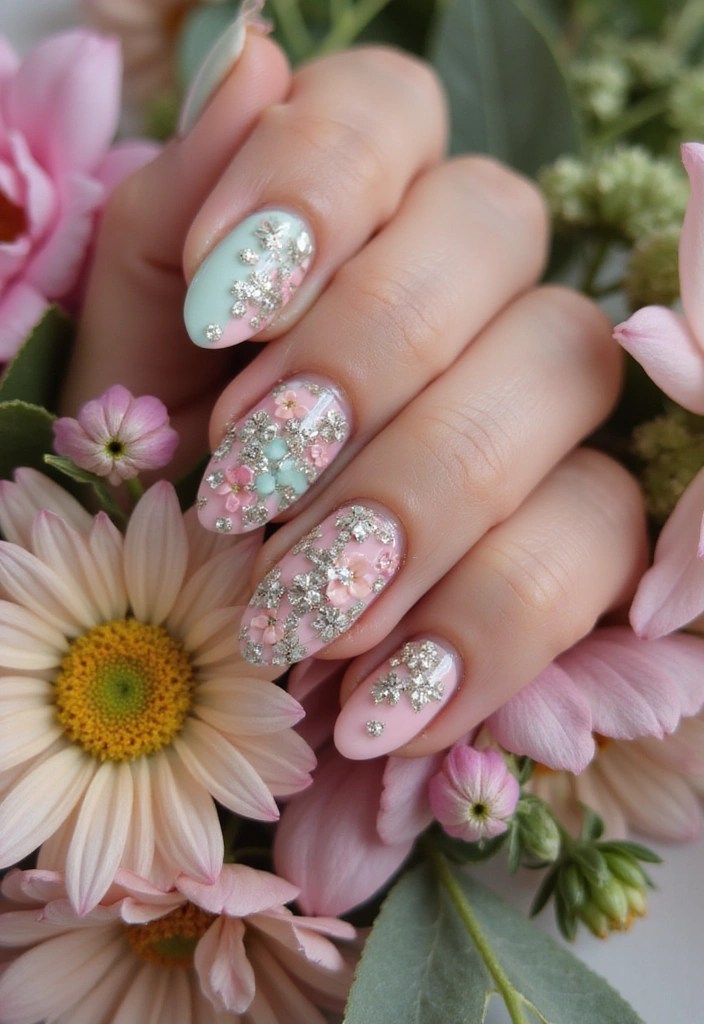
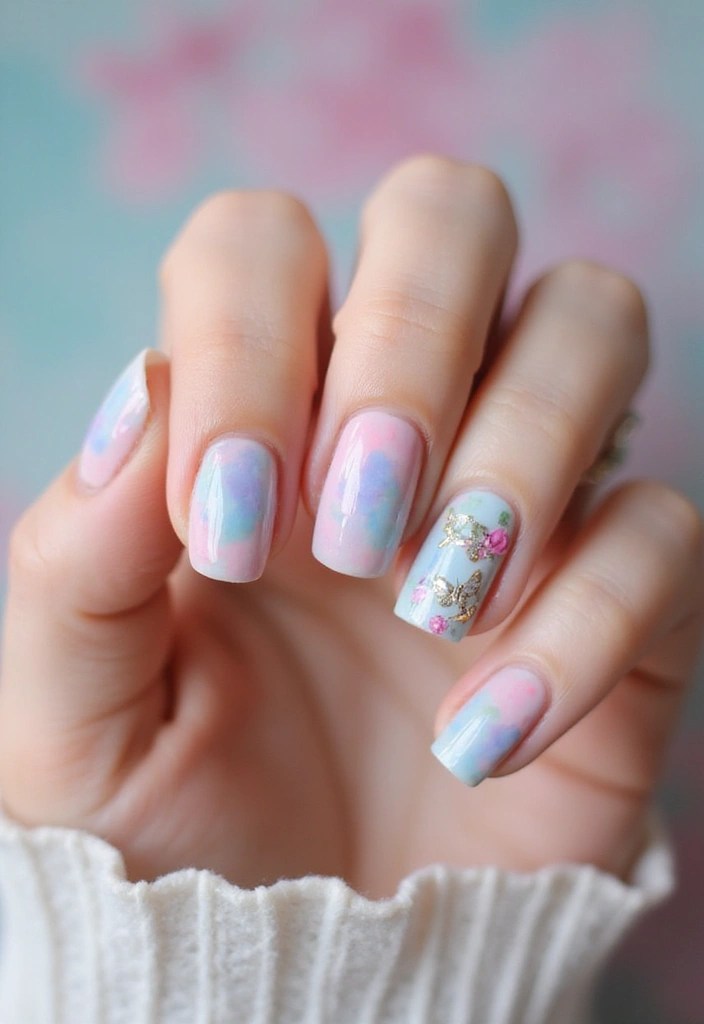
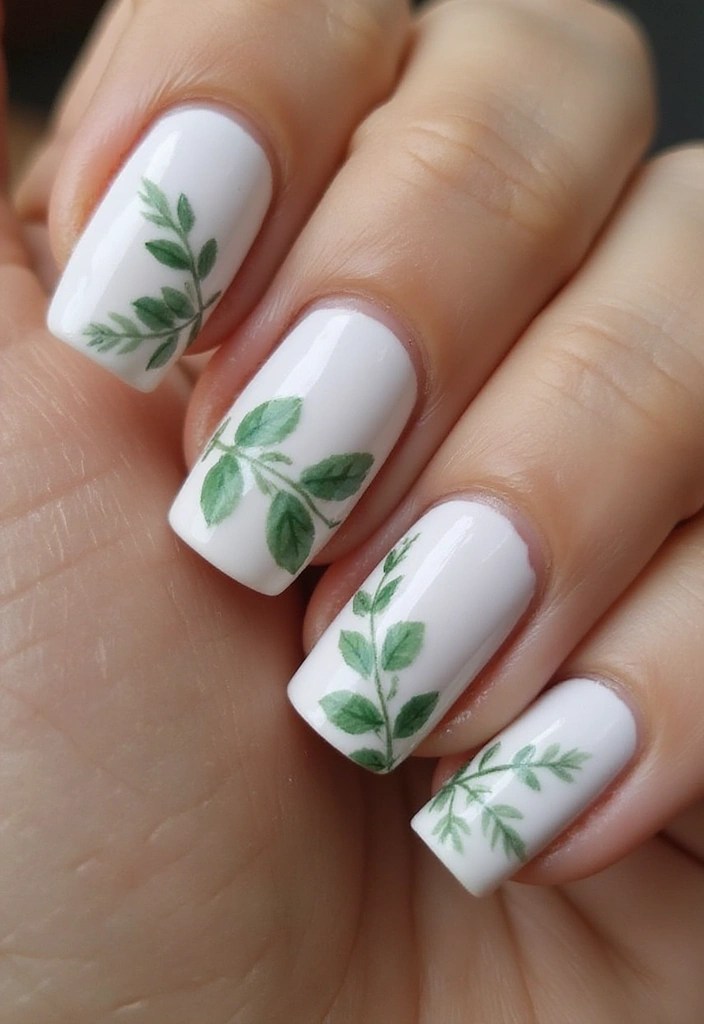
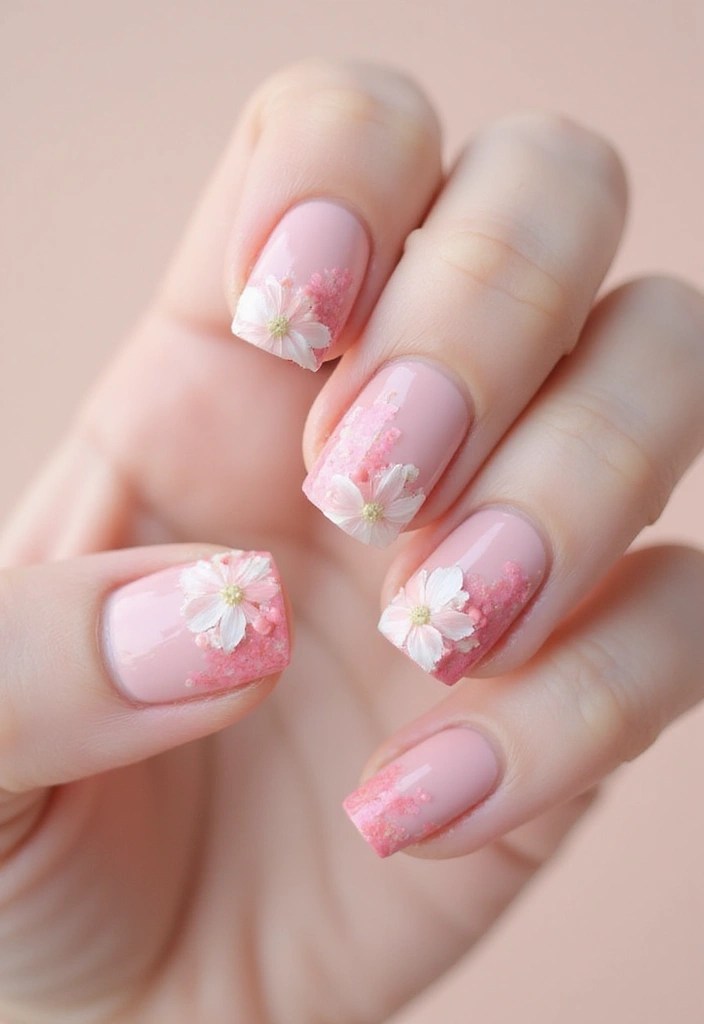
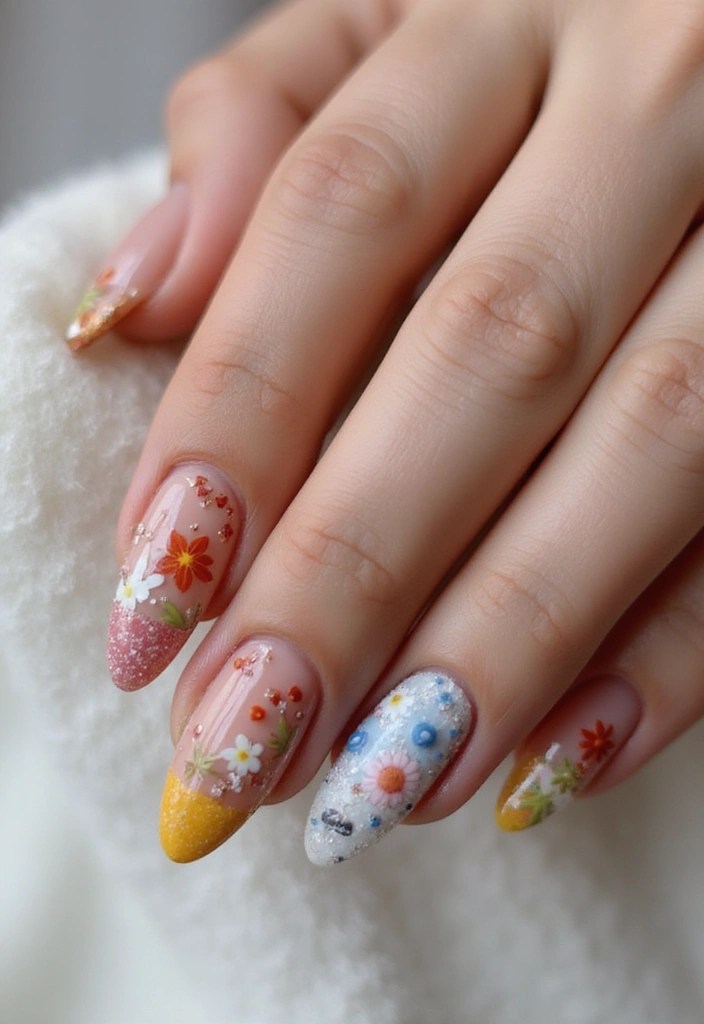
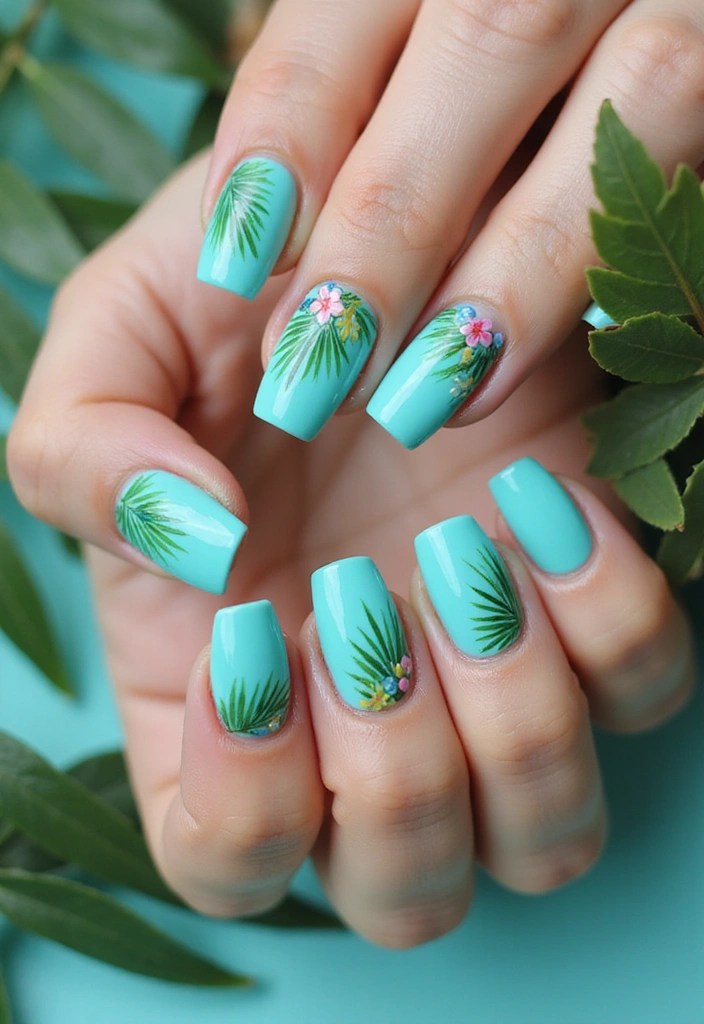
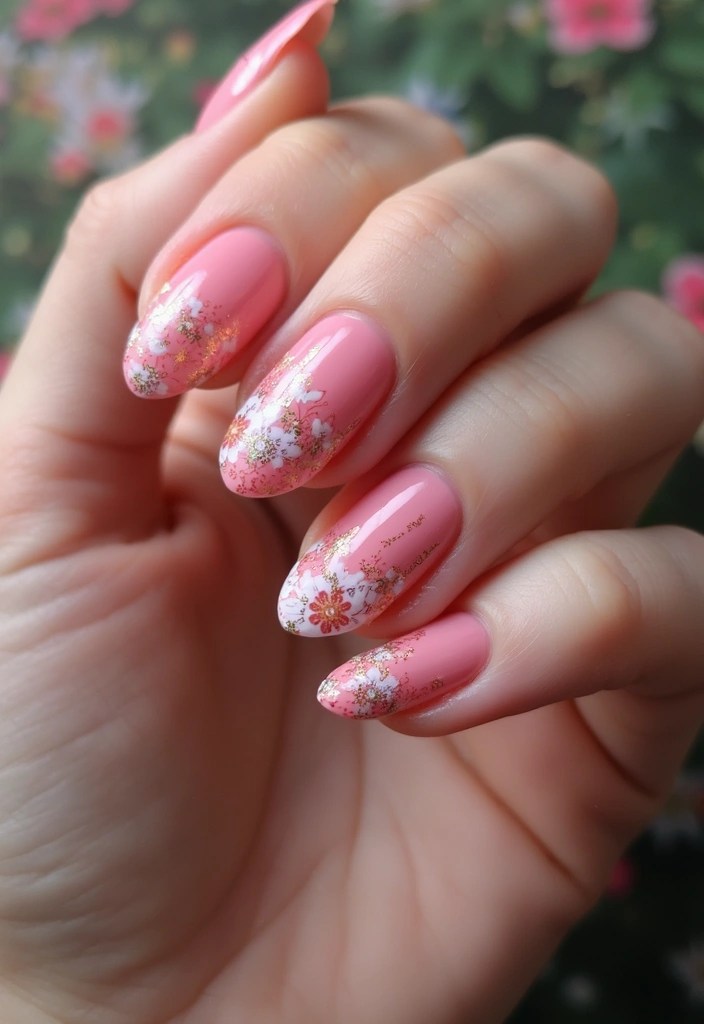
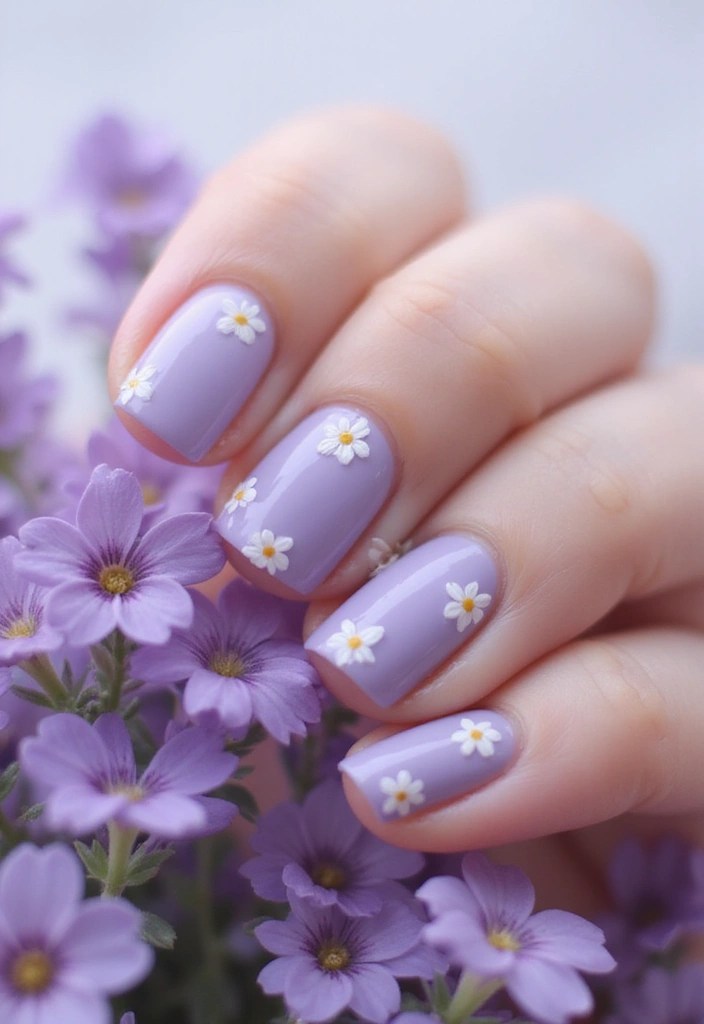
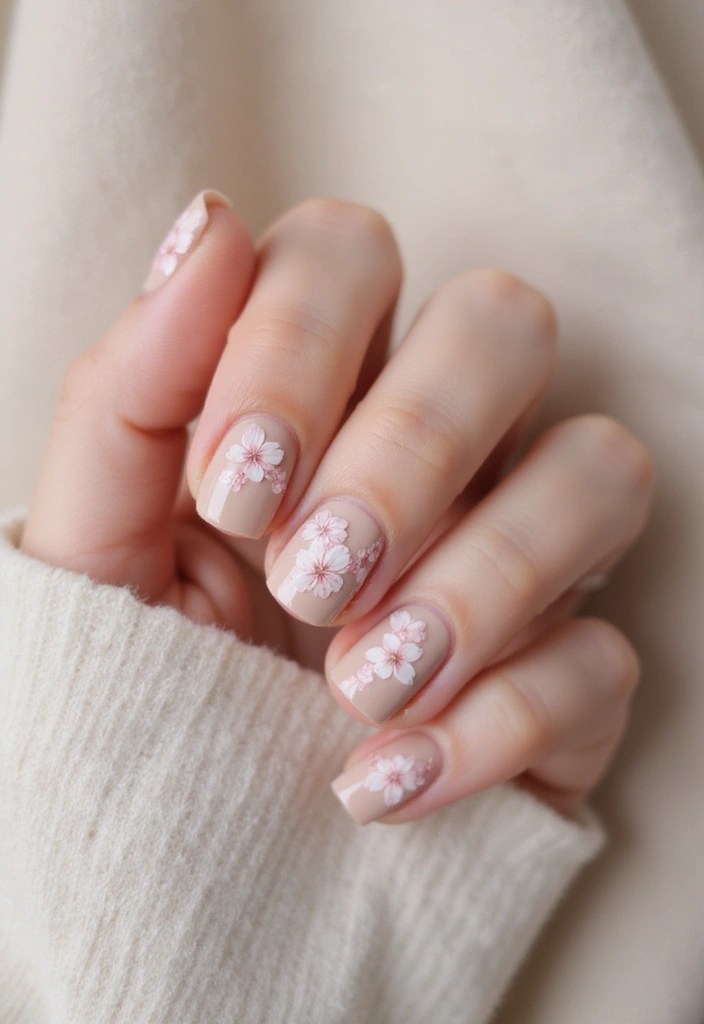
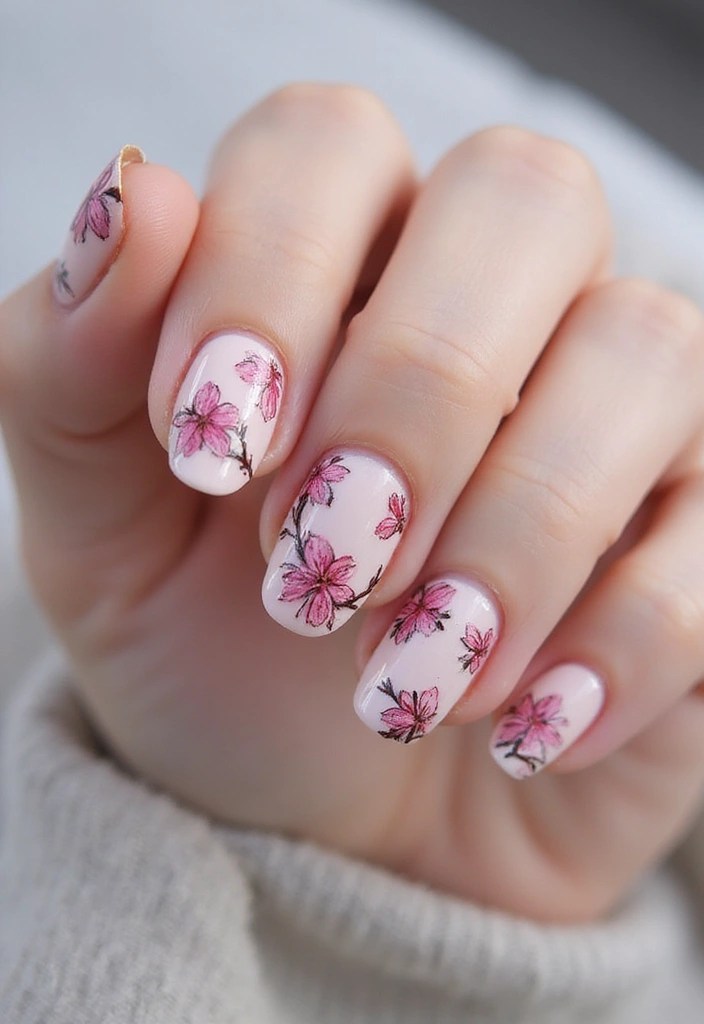
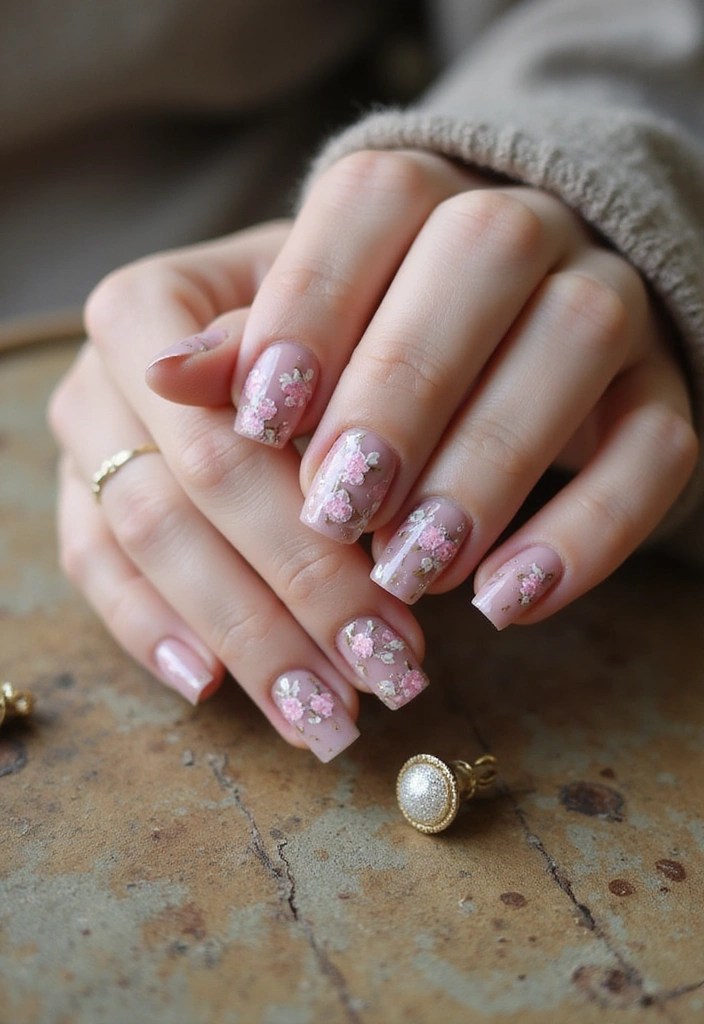
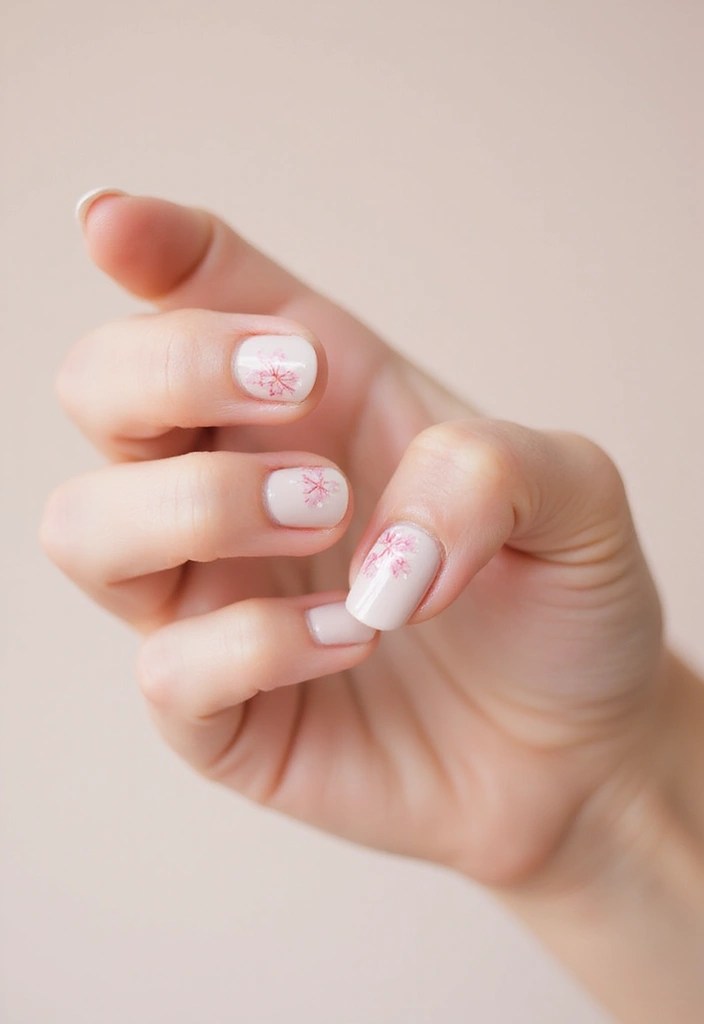
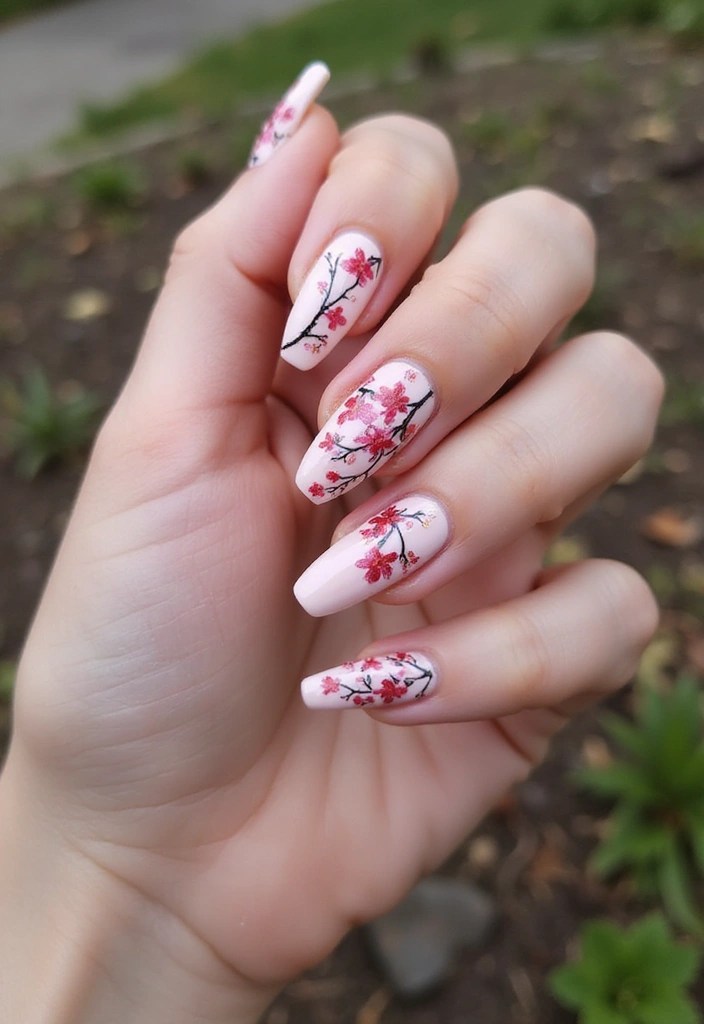
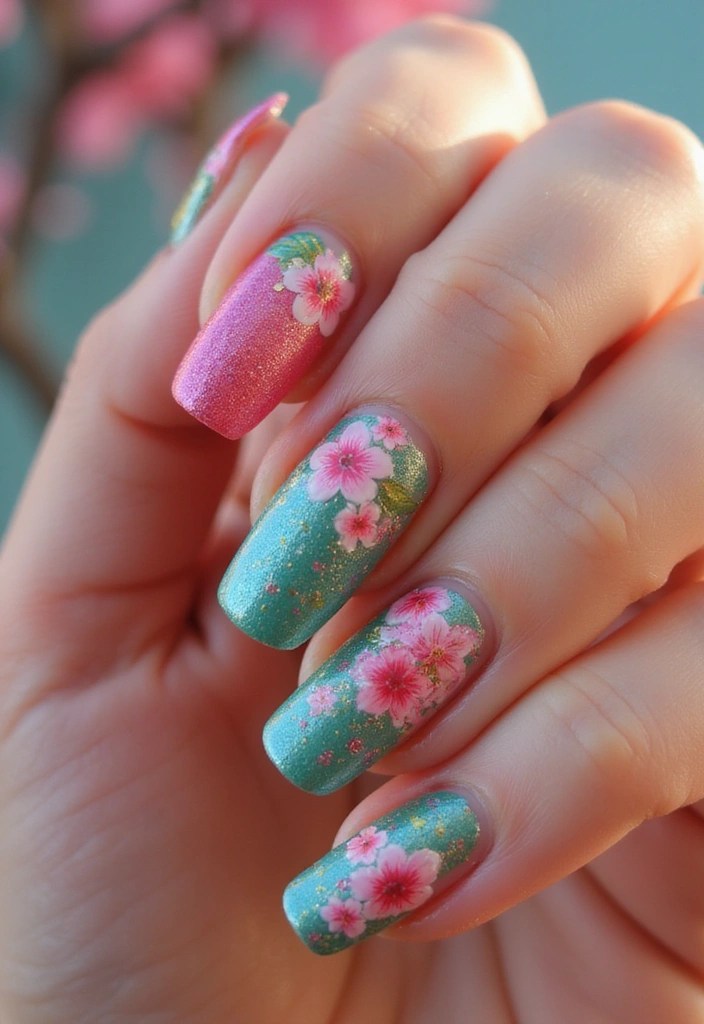
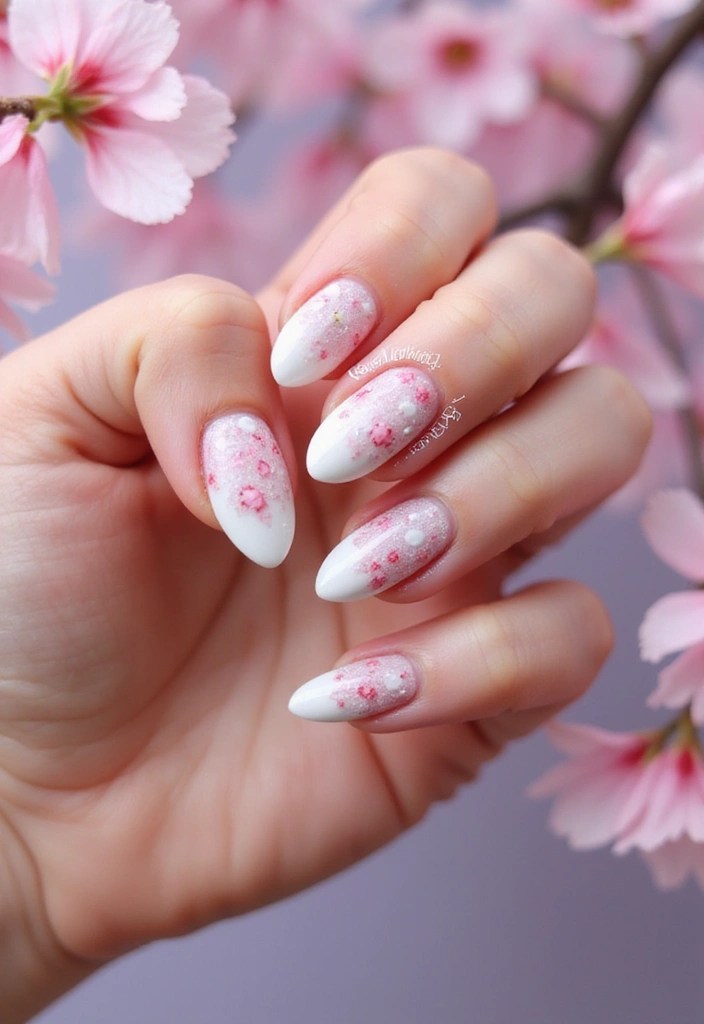
4. Floral Fantasy
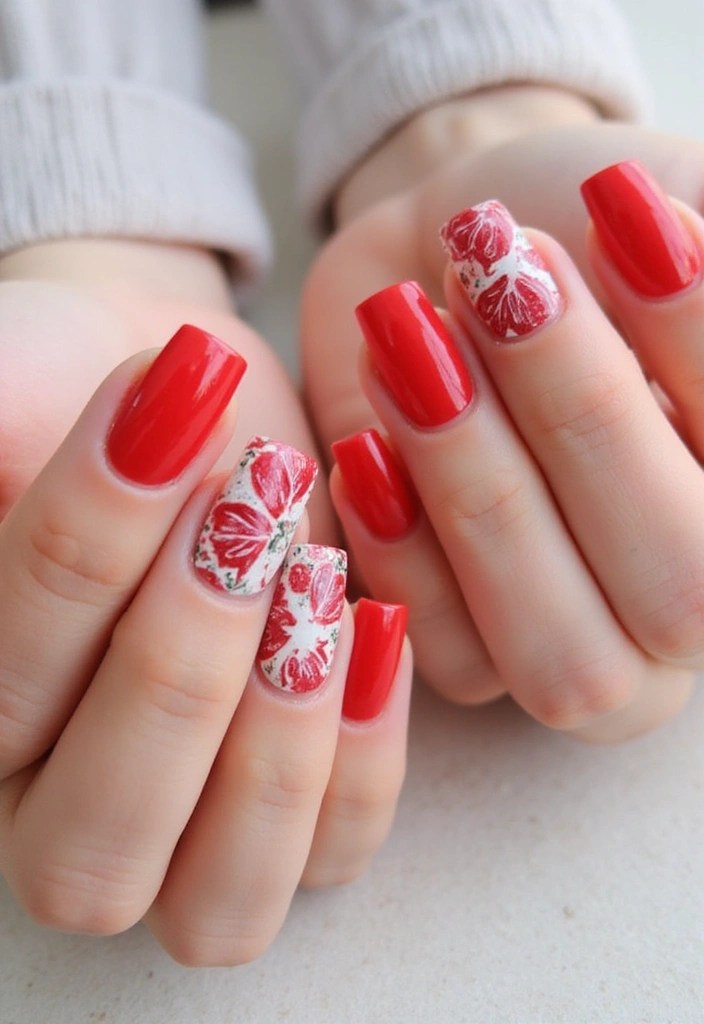
Floral designs on red square acrylic nails add a romantic touch that’s simply irresistible. Imagine delicate flowers blooming across a rich red canvas, creating a visual feast! This design allows for creativity; you can choose bold flowers or subtle, wispy patterns, depending on your mood.
For a fresh look, start with the right tools. Using a fine brush, like the Acrylic Nail Brush Set, will help you paint floral motifs with precision in pastel shades, providing a soft contrast against the red.
To enhance your floral designs, consider using the Pastel Nail Art Paints that come in a beautiful collection of creamy colors like yellow, green, pink, and purple. These colors will allow you to create stunning blossoms that pop beautifully on your nails.
Don’t forget to finish your design with a glossy top coat. The Glossy Top Coat for Nails will give your artwork that shiny, long-lasting finish, ensuring your floral fantasy nails look vibrant and fresh.
Floral fantasy nails are especially lovely for spring and summer, bringing a touch of nature to your fingertips.
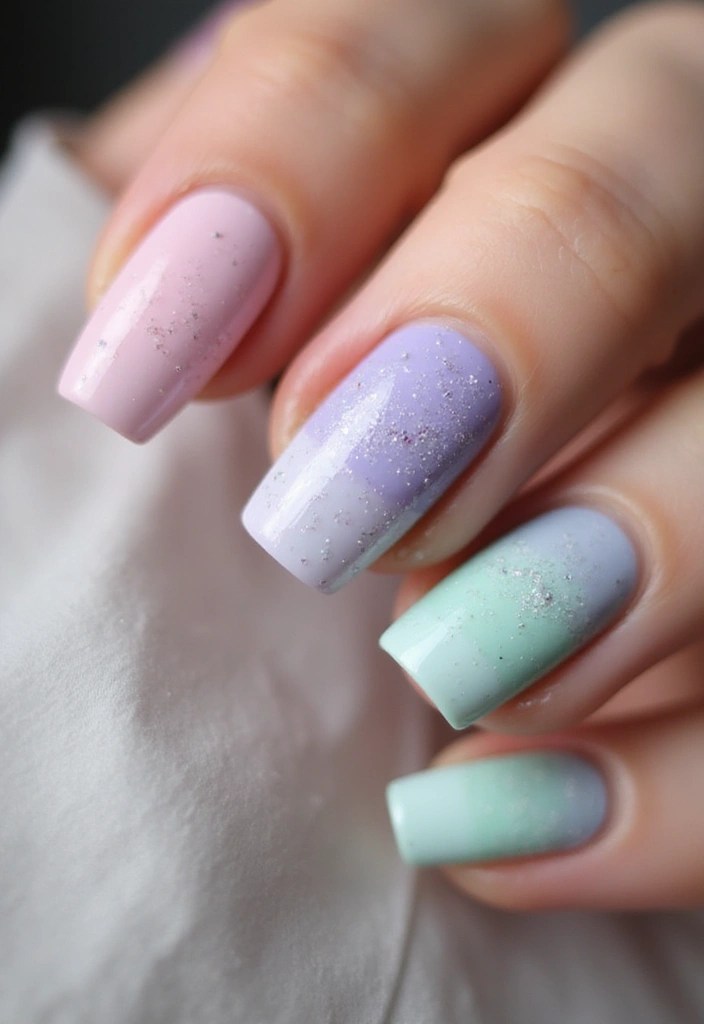
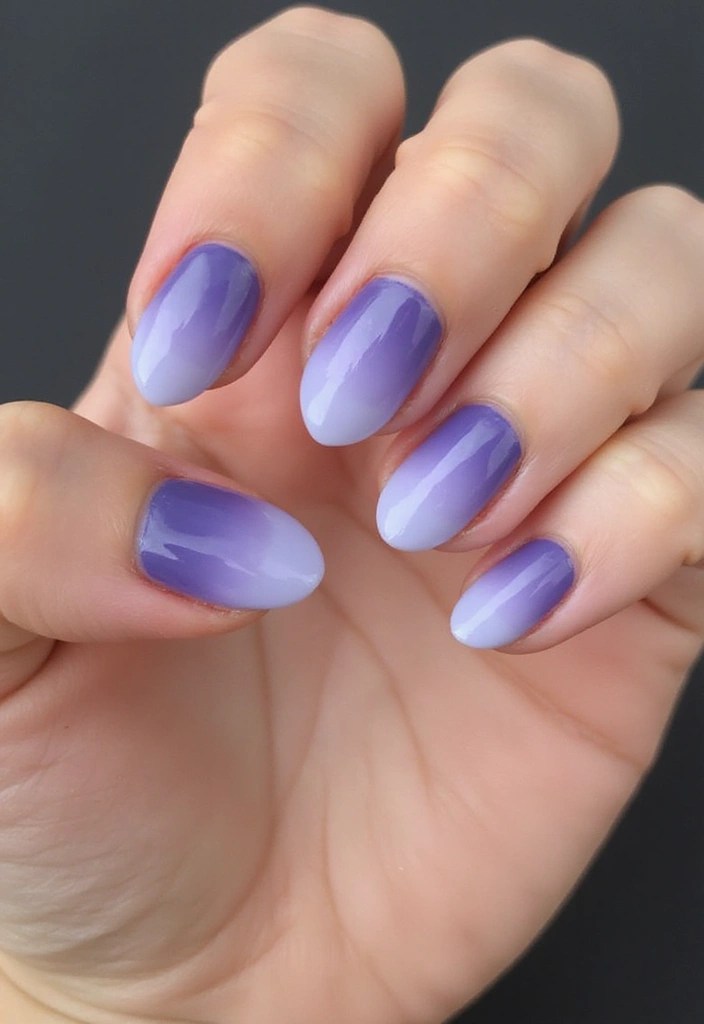
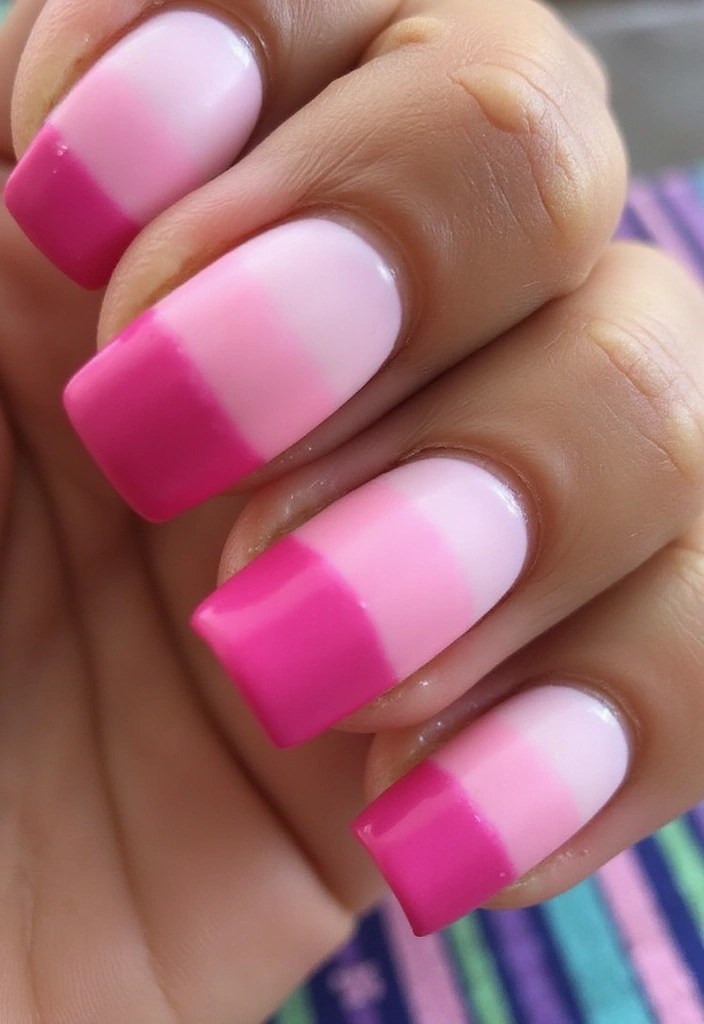
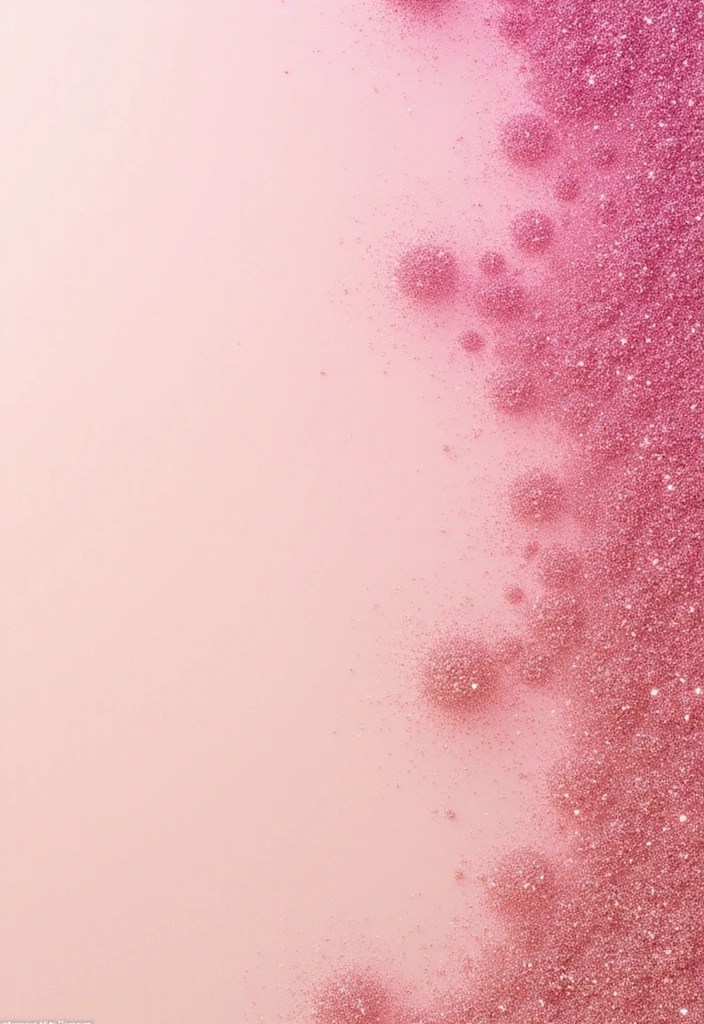
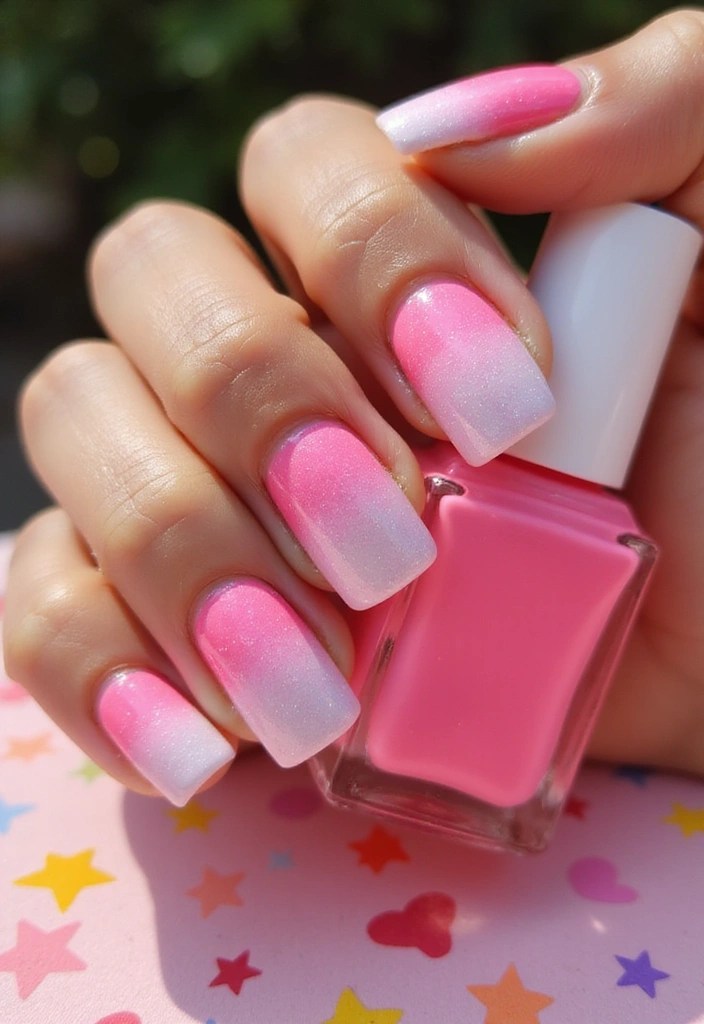
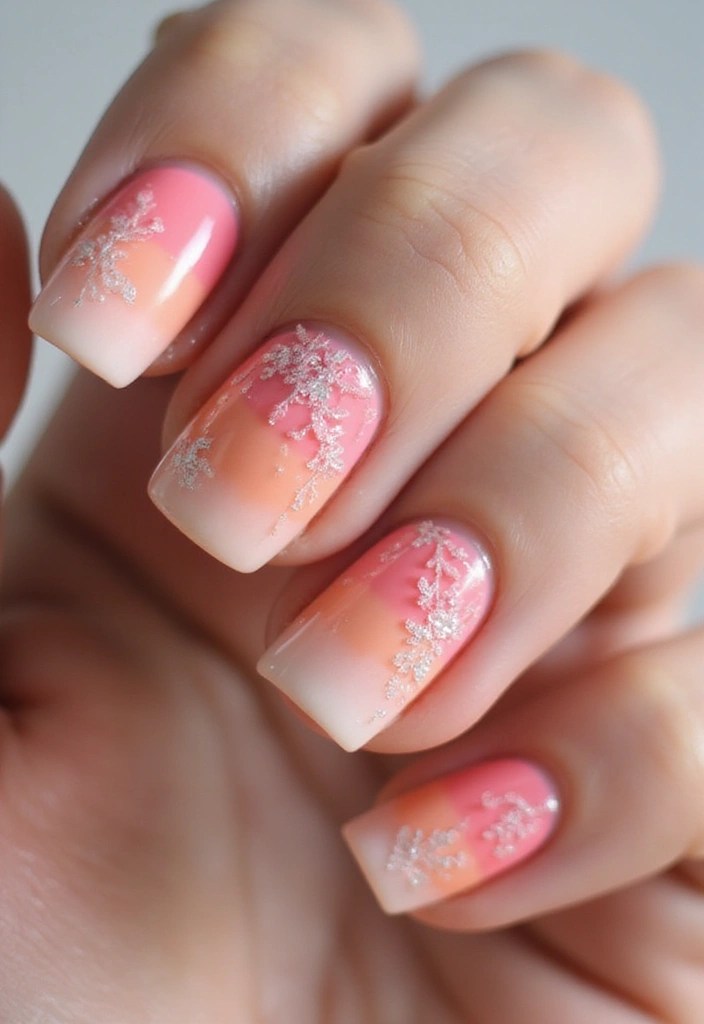
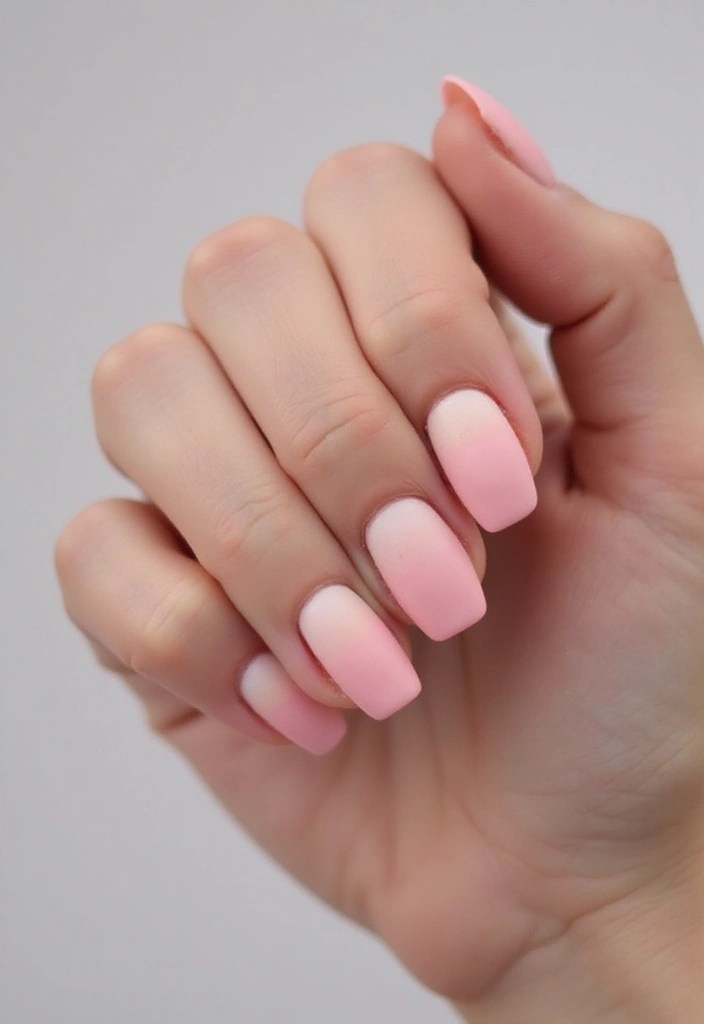
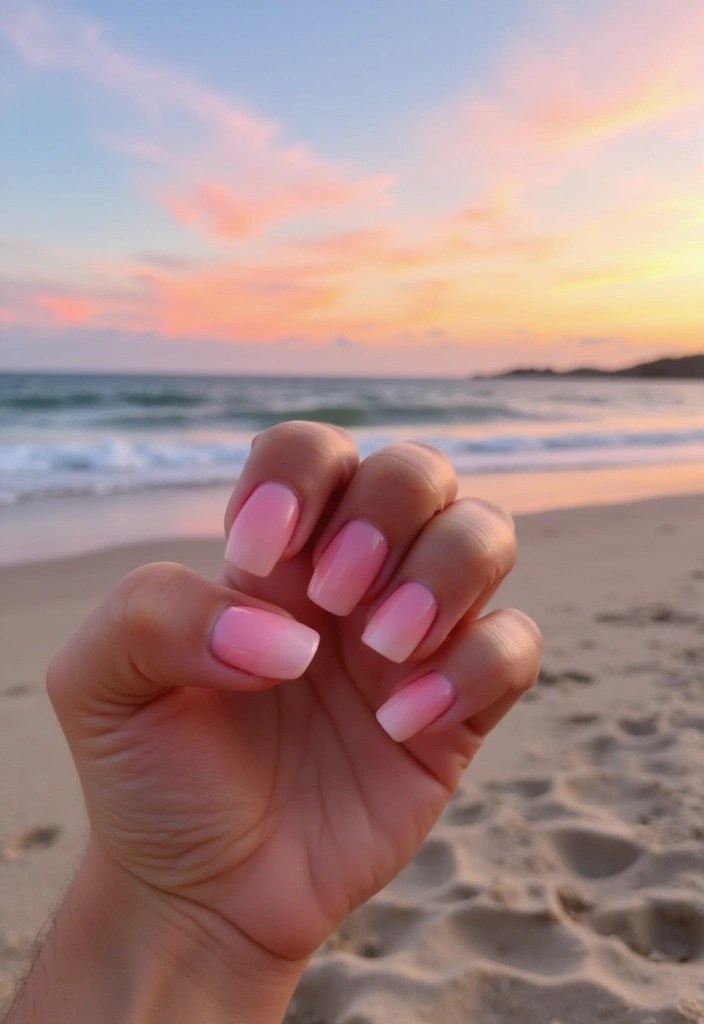
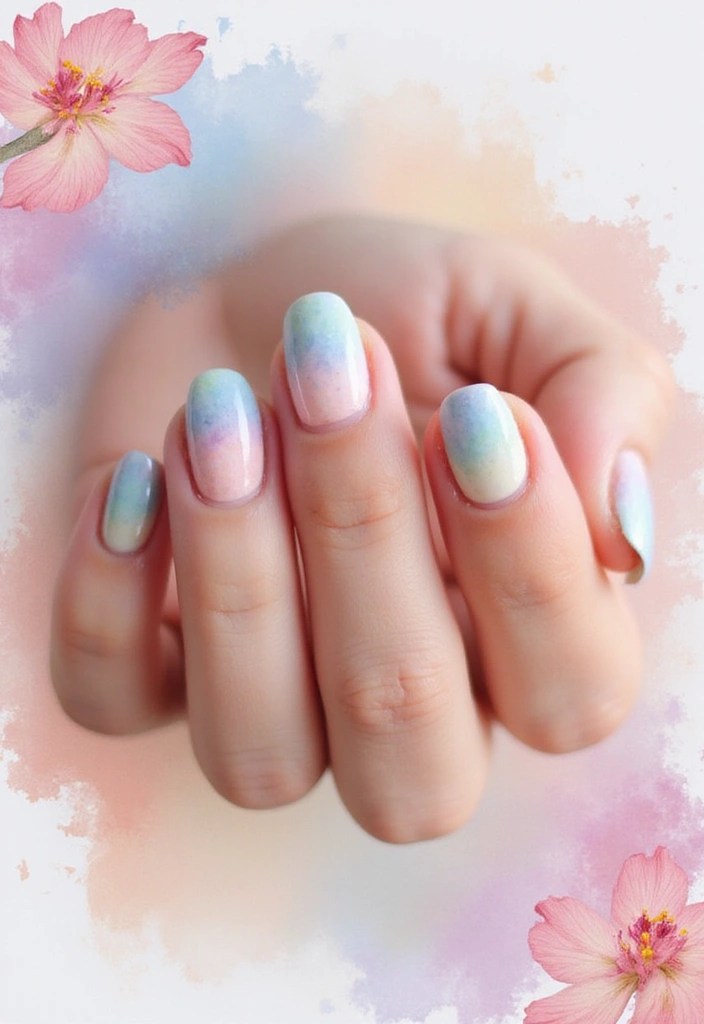
5. Ombre Bliss
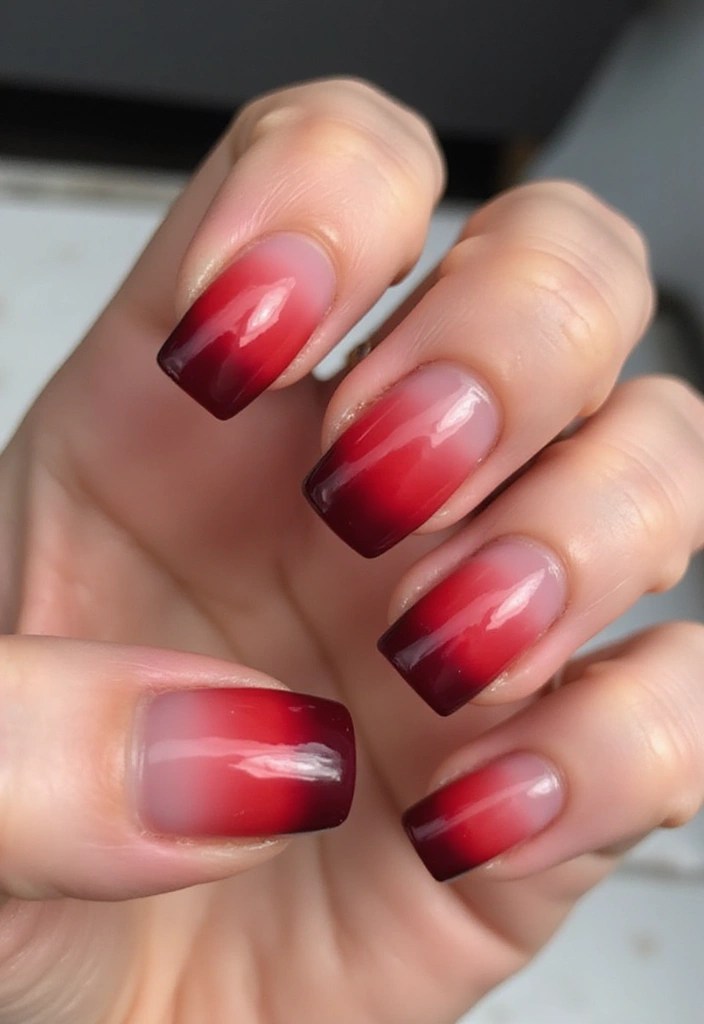
Ombre nails are making waves, and red square acrylics are no exception! This design features a gradient effect where a deep red transitions to a lighter shade or even pink.
The ombre style is perfect for adding depth and dimension to your nails, making them look longer and more elegant. To achieve the perfect ombre effect, start with a solid base color using the Acrylic Nail Kit for a smooth and professional finish. Once your base is dry, use a nail sponge for ombre effects to dab the lighter color at the tips, blending gently into the red. This tool is essential for creating that seamless gradient that defines the ombre look. Finally, seal it all with top coat nail polish to ensure your design stays flawless and shiny.
Ombre bliss is versatile enough for everyday wear or a special occasion, ensuring you look trendy at all times.
6. Abstract Art
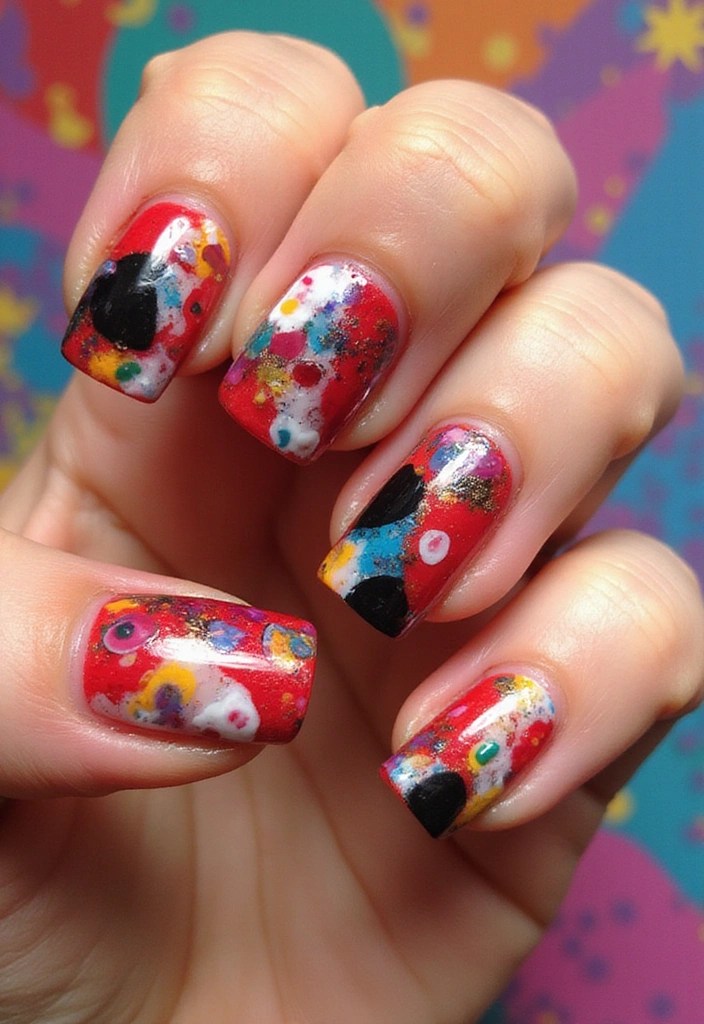
Inject your personality into your nails with abstract art designs on red square acrylics! This trend allows for a playful mix of colors, shapes, and lines, creating unique masterpieces right at your fingertips.
Abstract designs are all about freedom and creativity. To master the look, you can start by using nail art brushes set to create fun patterns with contrasting colors like white, black, or gold. These brushes are perfect for detailed work and help you achieve the intricate designs you envision.
Next, you’ll want to incorporate dotting tools for nail art, which are fantastic for producing different sizes of dots and patterns. This tool set will help you experiment with swirling colors or sharp lines for that edgy vibe you desire.
Finally, don’t forget about the finishing touches! Adding a layer of matte and glossy top coat will mix textures beautifully, giving your abstract nails a professional look.
Getting abstract with your nails not only makes them a conversation starter but also lets you express your individuality in a chic way.
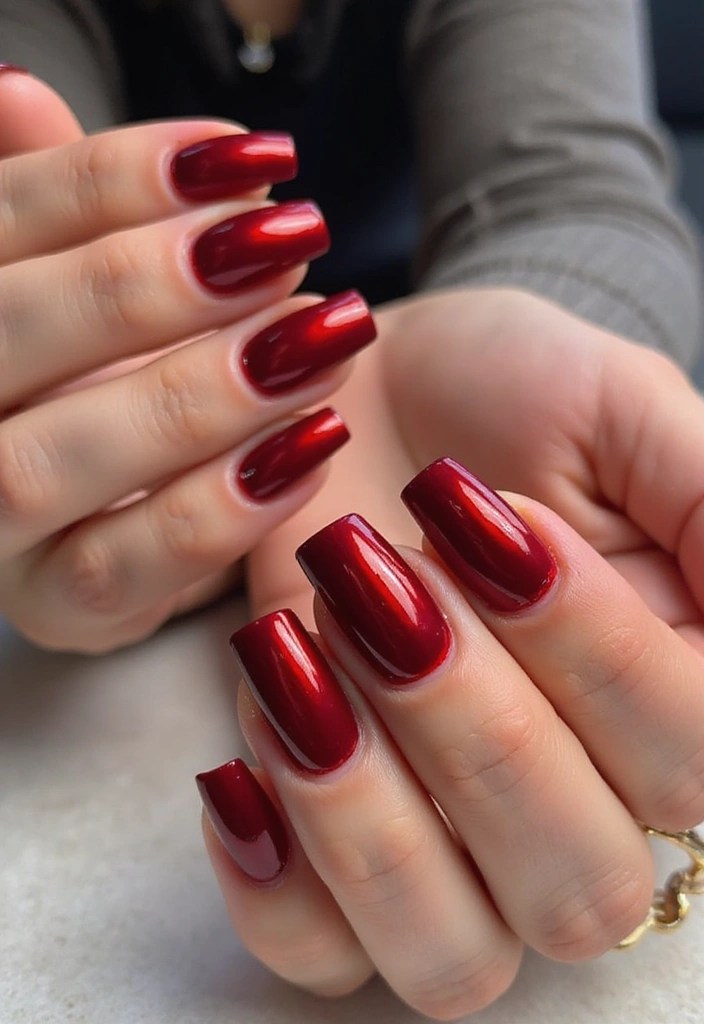
7. Chrome Effect

Looking for a futuristic twist? Chrome red square acrylic nails bring a shiny metallic effect that looks ultra-modern and striking. This design is all about making a bold statement.
With a reflective finish, chrome nails are a great way to turn heads wherever you go. Here’s how to get the look:
– Use chrome nail powder to achieve that shiny finish; this is applied after your base color. This powder gives your nails a stunning mirror-like effect that enhances the overall design.
– Make sure to buff your nails with a nail buffer block for maximum reflectiveness. A good buffing will smooth out any imperfections and ensure that the chrome powder adheres perfectly, creating a flawless surface that dazzles.
– Keep the design simple; a solid chrome effect is enough to dazzle. To finish it off, apply a layer of top coat for nail art to seal in the design and add extra shine. This clear coat not only protects your nails but also enhances the vibrancy of the chrome finish.
These nails are ideal for parties or nights out, giving you an edge that’s simply unmatched.
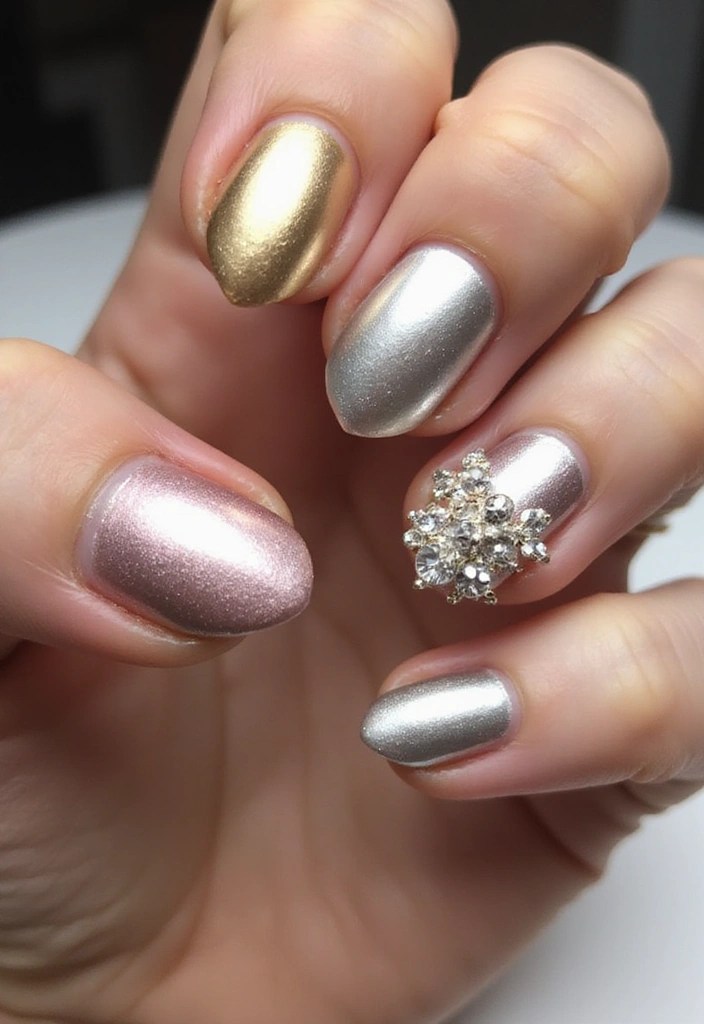
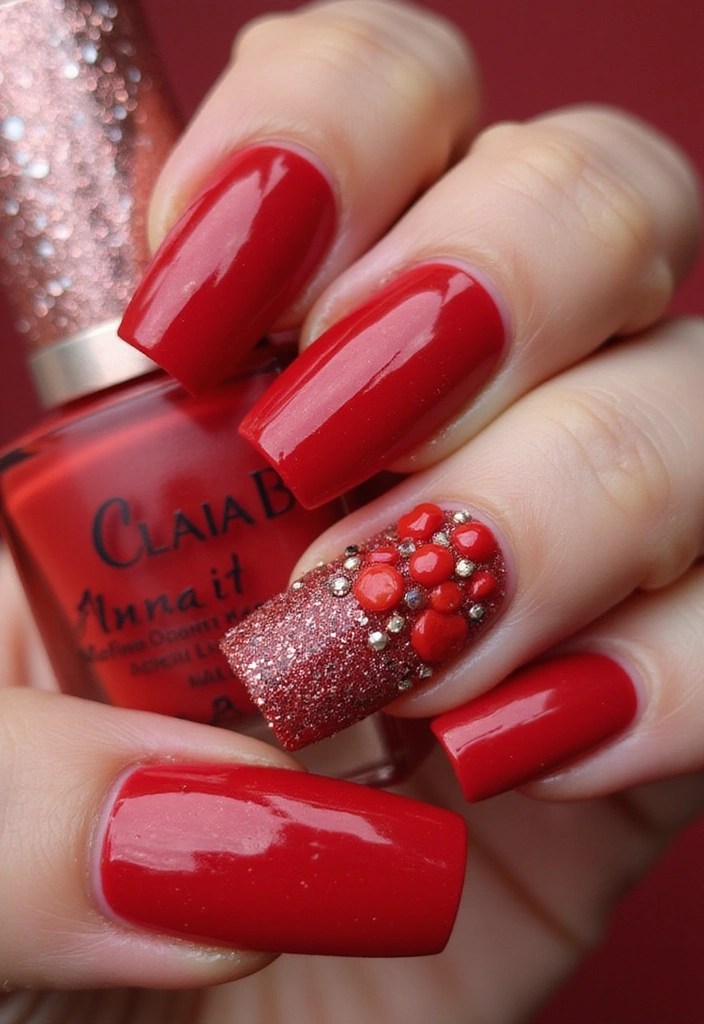
8. Rhinestone Elegance
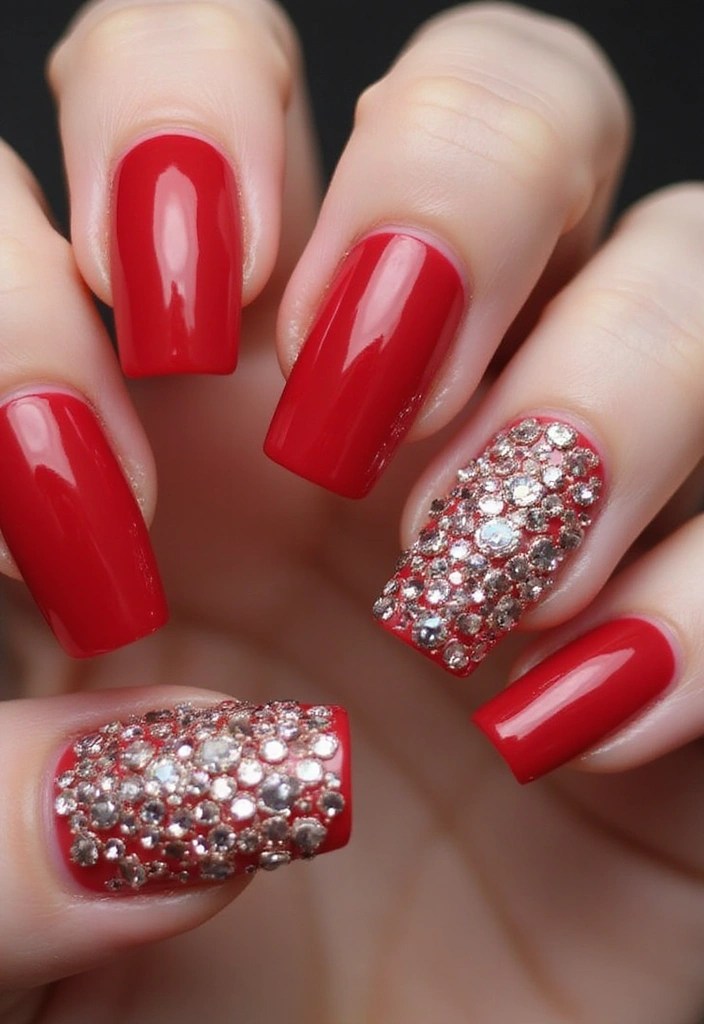
If you want to elevate your red square acrylic nails, rhinestones are the perfect accessory! These sparkling embellishments add a touch of glamour and shine that is sure to catch the light. To ensure your rhinestones stay put, consider using strong nail glue, which offers a long-lasting, mess-free application—ideal for keeping your beauty intact.
Position rhinestones strategically—be it along the edges, at the tips, or in intricate designs. Balance the amount of bling; too many can overwhelm the design. Pair with a simple red base to make those rhinestones pop. For those who enjoy DIY nail art, a nail art brush set can help you create precise details and stunning patterns that complement your rhinestone elegance.
Rhinestone elegance is perfect for special occasions or when you want to feel extra fabulous. Enhance your nail art with a nail rhinestones set for a variety of sizes and styles, ensuring you have the right bling for any design.
9. Negative Space

Negative space designs are becoming increasingly popular, and they work beautifully with red square acrylic nails. This trend features unpolished areas that create stunning visual interest and contrast.
For example, you could have half of your nails painted in a bright red with the other half left bare, or even create geometric shapes that leave parts of your natural nail exposed. Here’s how to achieve this:
– Use painter’s tape for nail art to create clean lines and shapes. This adhesive tape is perfect for ensuring that your design has sharp edges, allowing for more intricate patterns.
– Choose your design wisely; it can be anything from stripes to funky shapes.
– Finish with gloss topcoat for nails to enhance the look. This clear gloss not only adds shine but also helps protect your design, making it last longer.
Negative space nails are both modern and chic, making them great for any occasion, from work to a night out.
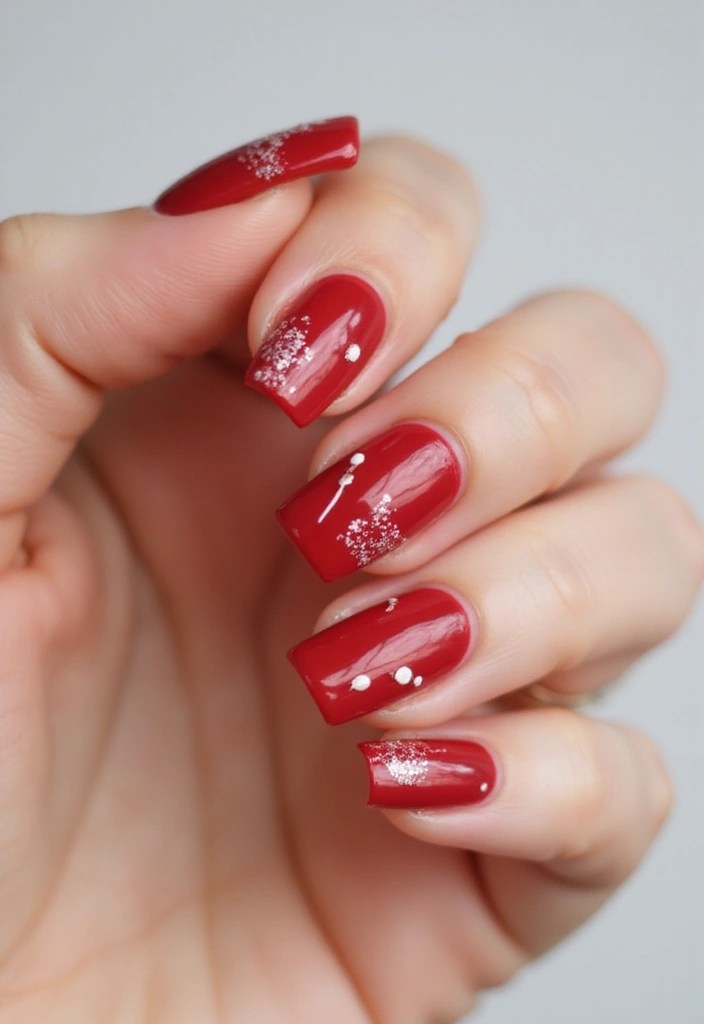
10. Seasonal Themes
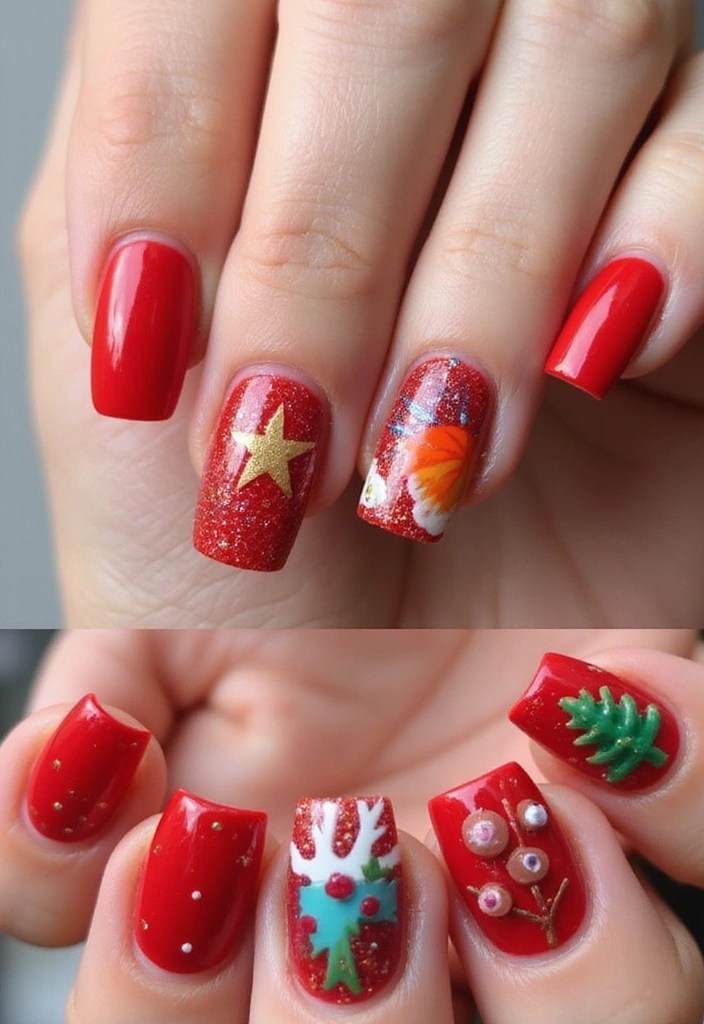
Embrace the beauty of the seasons with themed red square acrylic nails! Whether it’s spring florals, summer sunshine, autumn leaves, or winter wonder, seasonal designs allow for creativity and fun.
For instance, incorporate little snowflakes for winter or vibrant sun motifs for summer. To bring your seasonal nails to life, consider using an acrylic nail art kit that includes everything you need, from powders to nail tips, making it easy to create stunning designs at home.
Additionally, the right tools can elevate your nail art. A nail art brushes set can help you add intricate details with precision, ensuring your seasonal motifs stand out beautifully.
Finally, embellishing your nails with seasonal touches is a breeze using seasonal nail art stickers. These easy-to-apply decorations allow for quick personalization, whether you want to showcase autumn leaves or a winter wonderland.
Changing your nail art with the seasons not only keeps your style fresh and relevant but also reflects your personality and celebrates the beauty around you.
11. Personal Touch
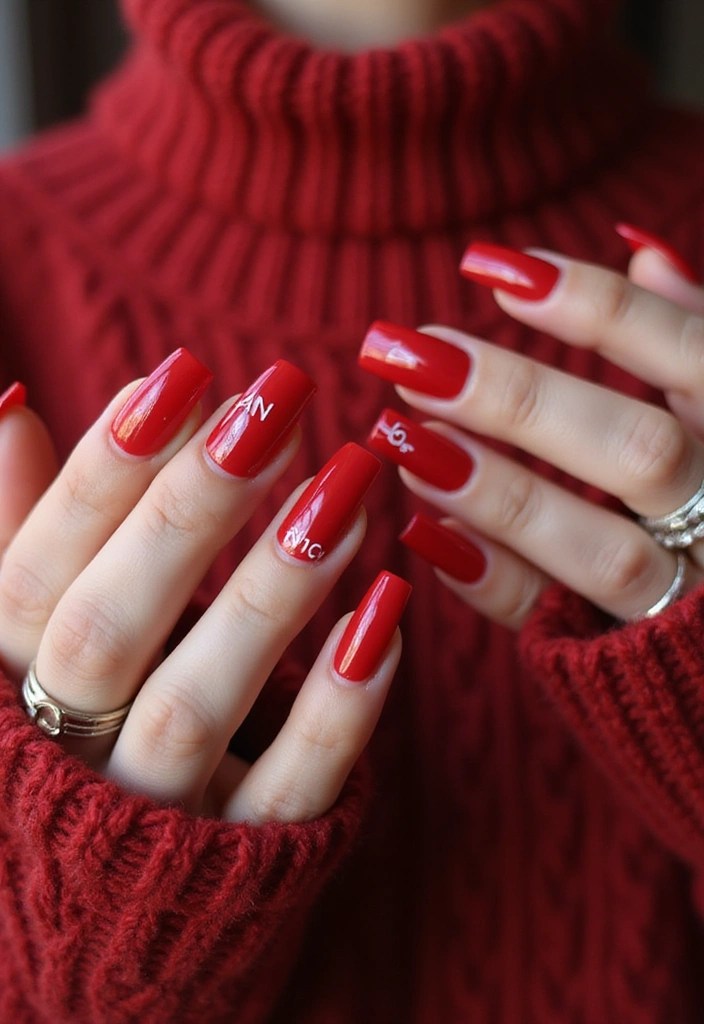
Make your red square acrylic nails truly yours by adding personal elements. This could be initials, symbols, or meaningful dates that resonate with you.
Personalized nail art gives your style a unique twist, allowing you to showcase who you are. To help you express your individuality, consider using fine detail nail art brushes which allow for intricate designs. With these brushes, you can paint small letters or symbols with precision, even if you’re new to nail art.
If painting isn’t your strong suit, nail art decals and stickers offer a hassle-free solution. These self-adhesive designs can add flair to your nails without the need for advanced skills, ensuring a clean and professional look.
Additionally, it might help to visualize your designs before committing. A nail art color palette set can be incredibly useful for this purpose. It provides a clear display for practicing colors and designs, helping you to choose combinations that are meaningful to you.
Personal touch nails are more than just a trend; they tell a story, making them a powerful form of self-expression.
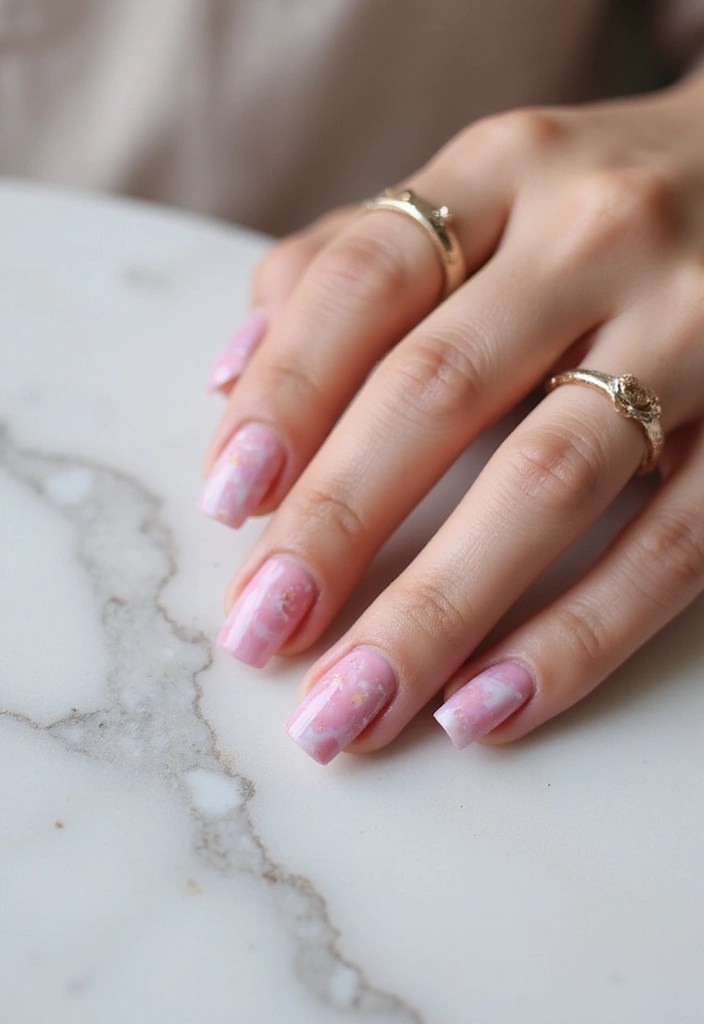
12. Textured Designs
Textured red square acrylic nails can really make a statement! Whether it’s a matte finish, a sand-like texture, or 3D elements, textured nails offer a unique appeal that’s hard to find elsewhere.
To create textured nails, consider experimenting with different polishes, like the deep red matte nail polish. This quick-drying option is perfect for adding a sophisticated matte base that will set the stage for a stunning look.
For those wanting to incorporate 3D effects, the gel liner nail art kit offers the versatility you need, featuring multiple colors and a thin brush for precise application. Using this gel allows you to create intricate designs that can elevate your nail game.
Don’t forget to add some flair with nail art studs and decorations. These tiny metal rivets provide an edgy touch that complements your textured finish beautifully.
Combining these textures can turn your nails into a piece of art, making them a conversation starter and ensuring you stand out from the crowd!
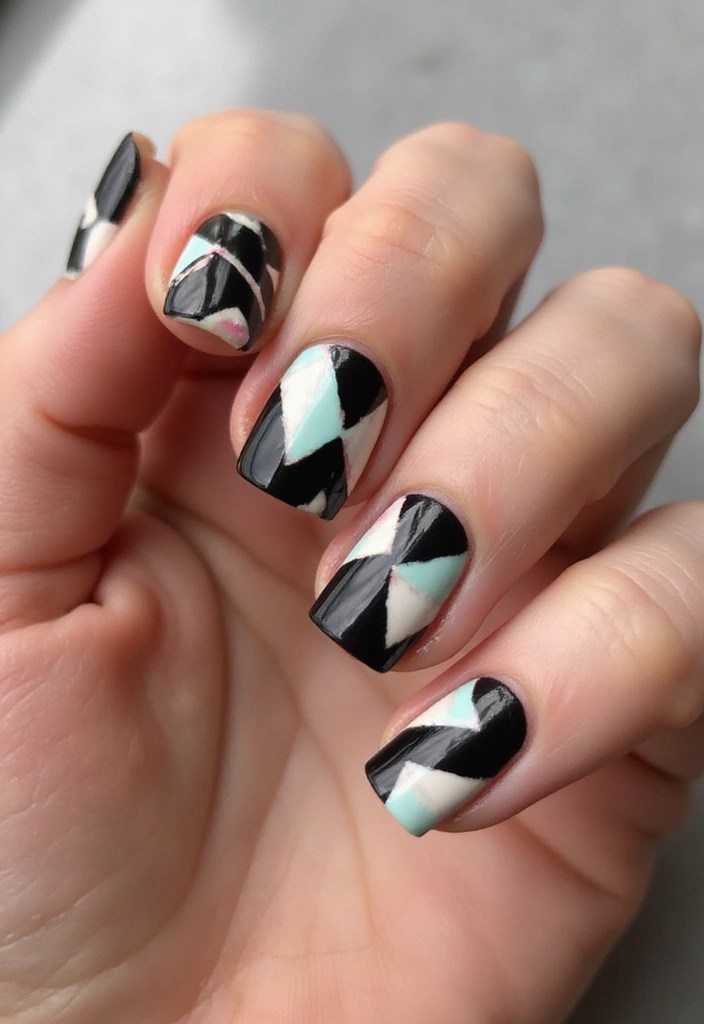
13. Geometric Patterns

Geometric patterns on red square acrylic nails are a fantastic way to merge chic with modernity. Sharp lines and angles create eye-catching designs that are both stylish and bold.
To achieve those perfect geometric designs, start by using nail art tape to ensure clean lines and shapes. This tool helps you create precise angles and patterns without the mess. Next, experiment with contrasting colors like white, black, or yellow against red for a striking visual effect that makes your nails pop. For added creativity, consider using a set of nail dotting tools to add dots or small embellishments at the intersections, giving your design an extra flair.
If you want to elevate your nail game, a acrylic nail kit can help you create a strong base for your designs, allowing you to experiment with different shapes and lengths. Geometric patterns are perfect for those who love contemporary art and want to showcase it on their nails.
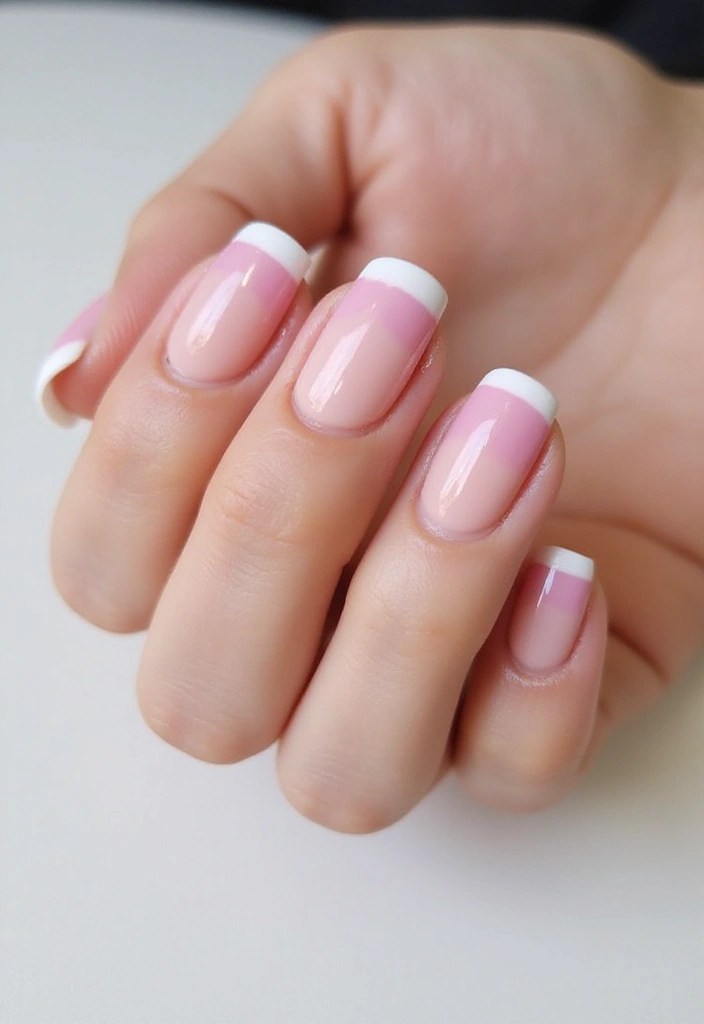
14. Minimalist Chic
For those who adore simplicity, minimalist chic red square acrylic nails present a stylish way to keep it low-key yet fabulous. This design is all about subtlety, using small details to create impact.
To achieve this look, consider incorporating a few key products. Start with a consistent color base; a classic red works well. For your acrylic nail extensions, try red acrylic nail tips, which come in various sizes to ensure the perfect fit for your nails.
Next, focus on simple, clean shapes that don’t overwhelm. Small dots and thin lines are ideal, and you can easily create these effects with nail art dotting tools. These tools allow you to add delicate designs or accents with ease, enhancing the minimalist vibe.
Finally, consider a matte finish for a more understated elegance. The matte top coat for nails is perfect for achieving that smooth, refined look that complements your minimalist aesthetic.
Minimalist chic nails are perfect for anyone looking to make a statement while keeping things fresh and clean.
15. The Bold and the Bright

Last but not least, the bold and bright design on red square acrylic nails is perfect for those who love making a statement! This style combines vibrant hues with the classic red base for an electrifying effect.
To achieve this look, consider incorporating neon shades, playful patterns, or even contrasting jewel tones that will truly stand out. You can start with the Acrylic Nail Kit, which includes acrylic powder and a brush set, allowing you to create a solid foundation for your bold designs.
Get creative with patterns, from stripes to splatters, using the Nail Art Brush Set that features a variety of brushes perfect for detailed artwork. This kit will help you express your unique style with precision and ease.
Finally, don’t shy away from layering different colors to create a dynamic look. The Nail Polish Set (Neon Colors) is a great choice, offering six bright shades that dry quickly and will bring your bold nail art to life.
Bold and bright nails are not only trendy but also a fun way to express your adventurous side!
Conclusion
Red square acrylic nails offer an exciting canvas for creativity, individuality, and personal flair.
With so many stunning designs, there’s something for everyone, whether you love classic elegance or bold statements. Let your nails tell your story, and don’t hesitate to mix and match your favorite trends!
Note: We aim to provide accurate product links, but some may occasionally expire or become unavailable. If this happens, please search directly on Amazon for the product or a suitable alternative.
This post contains Amazon affiliate links, meaning I may earn a small commission if you purchase through my links, at no extra cost to you.