French manicures have always been a favorite for their timeless elegance, but soft variations are stealing the spotlight this season.
These gentle twists on the classic look add a modern touch that feels fresh and chic.
From subtle pastels to delicate designs, there’s something here for everyone.
Get ready to fall in love with these ten soft French manicure inspirations that will leave you dreaming of your next nail appointment!
Contents
- 1. Blush Pink Elegance
- 2. Minty Fresh Delight
- 3. Lavender Dreams
- 4. Soft Coral Delight
- 5. Delicate Floral Accents
- 6. Subtle Ombre
- 7. Chic Geometric Designs
- 8. Glittery Tips
- 9. Minimalist Line Art
- 10. Seasonal Inspirations
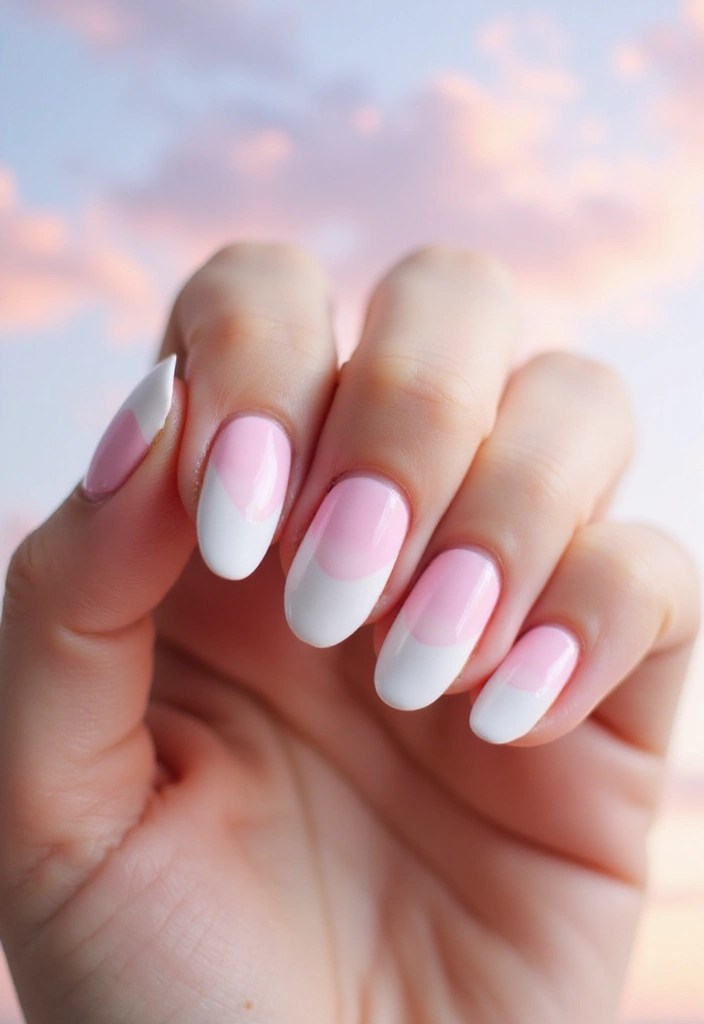
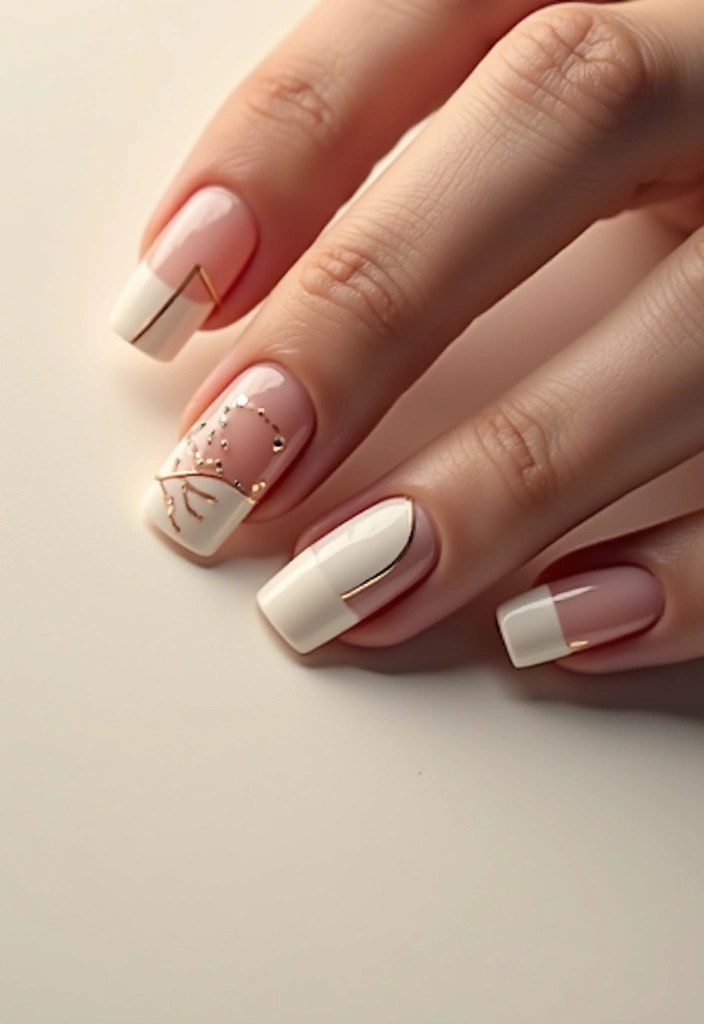
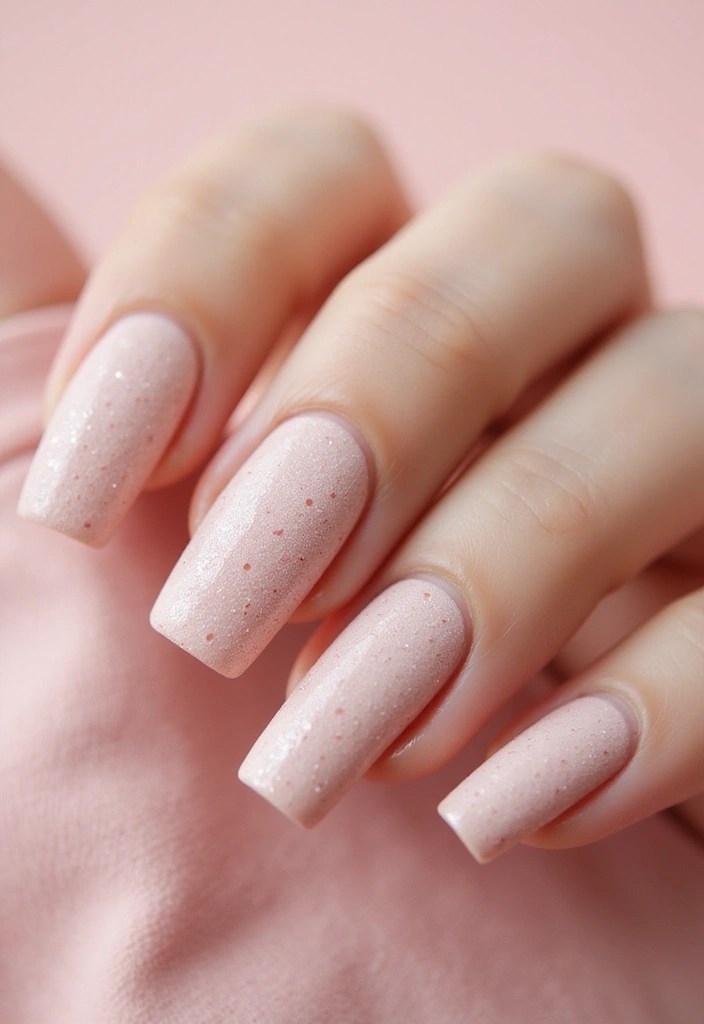
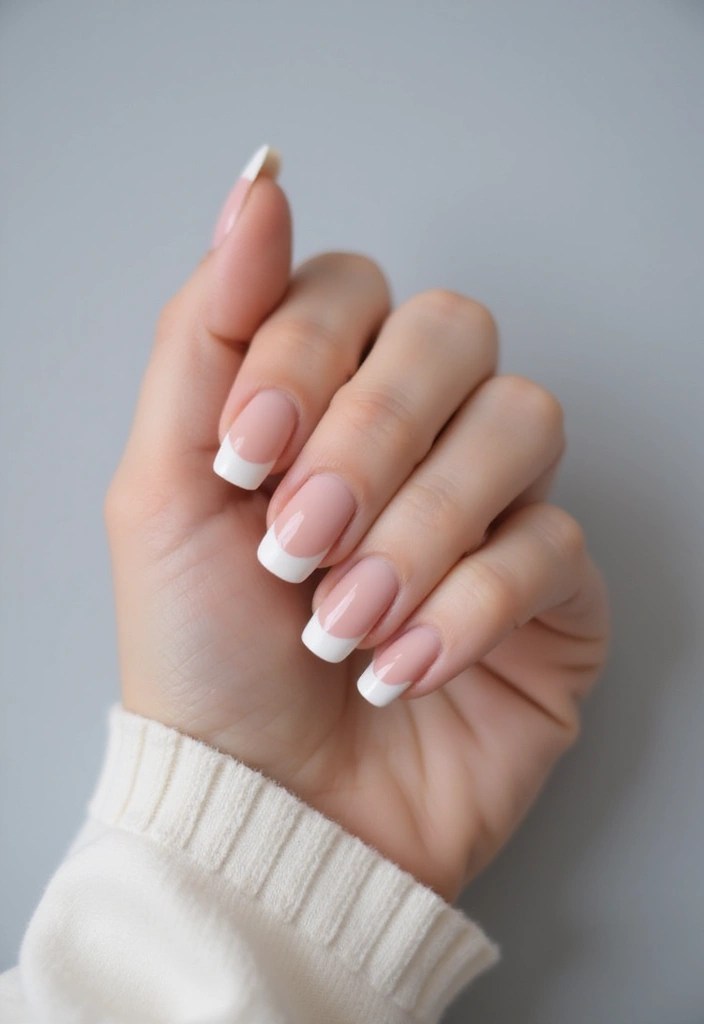
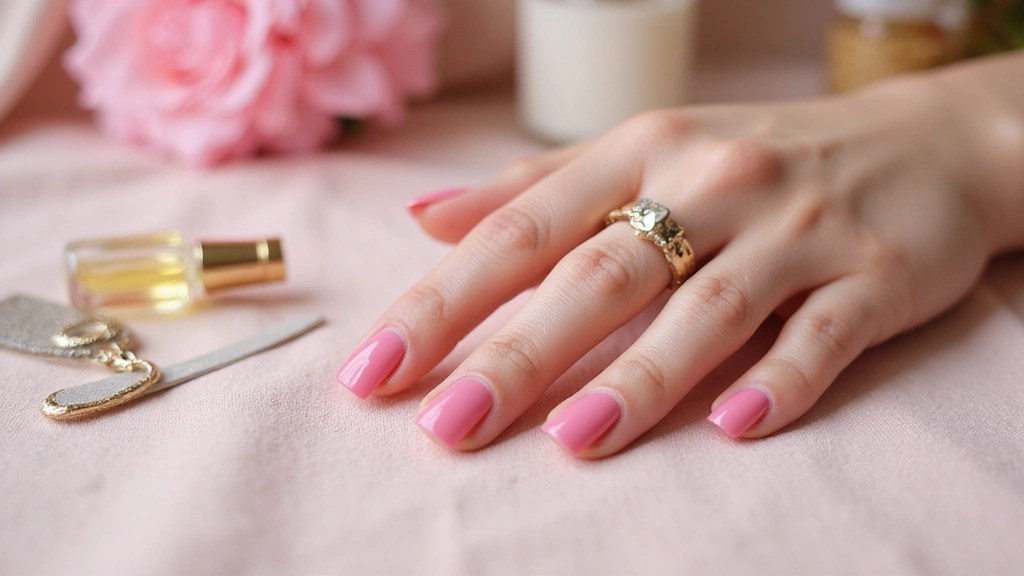
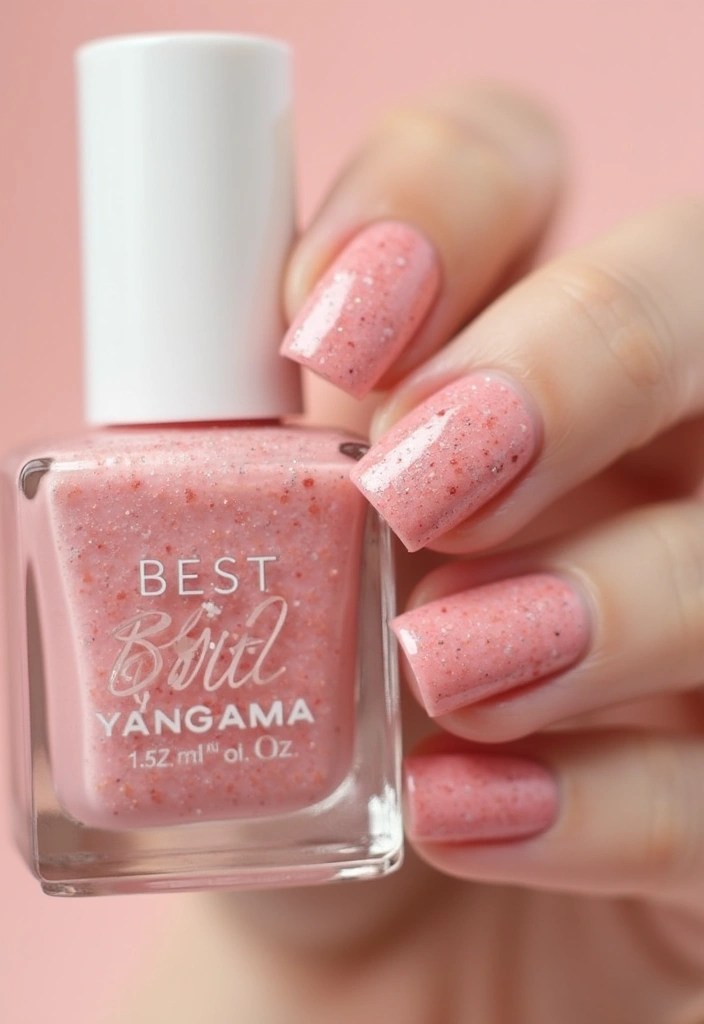
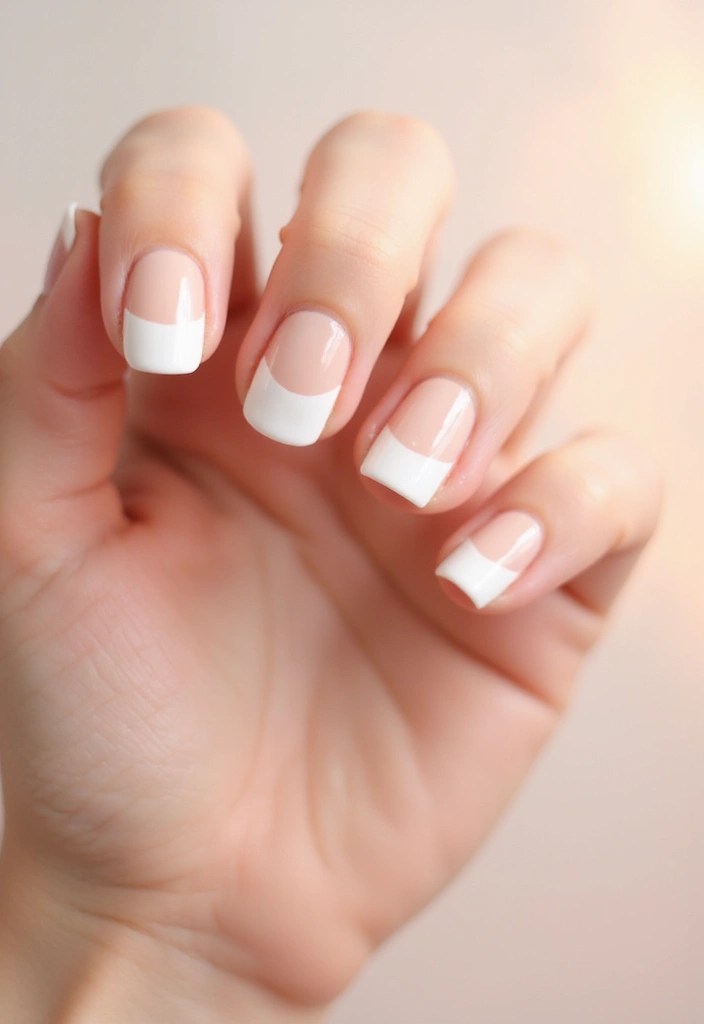
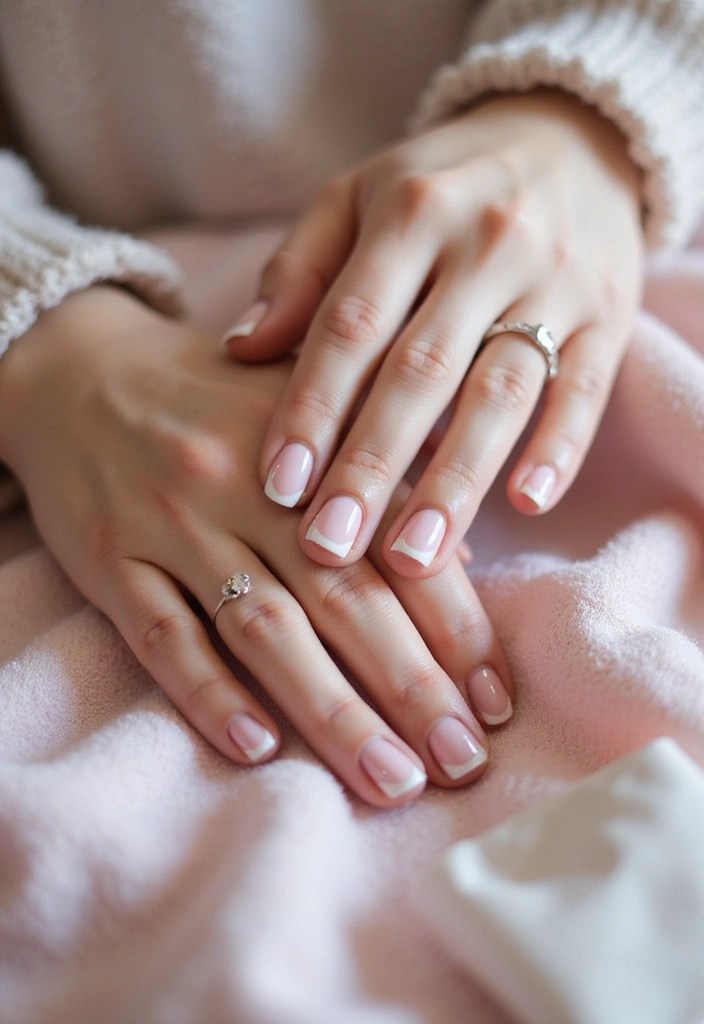
1. Blush Pink Elegance
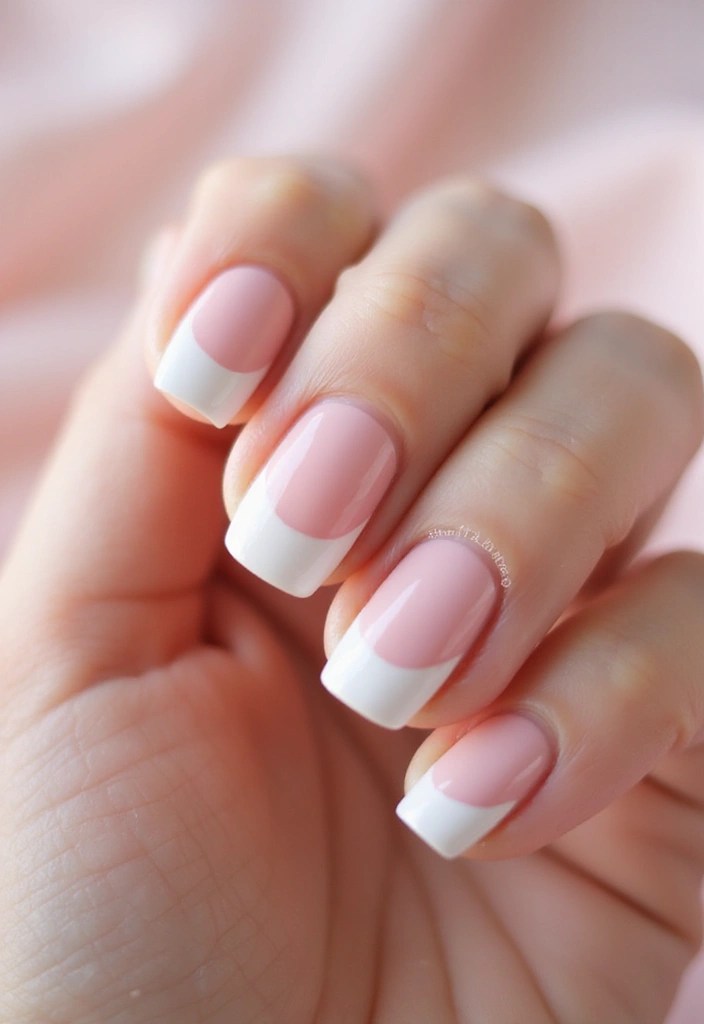
Imagine the softest blush pink paired with a classic white tip. This combination is not just pretty; it exudes femininity and grace.
Blush pink is flattering on nearly every skin tone, making it a go-to choice for many. It’s perfect for any occasion, whether it’s a wedding, a date night, or just a day out with friends.
To achieve this look, start with a base coat, apply two layers of blush pink polish, and finish with a white tip.
For a twist, consider adding a touch of shimmer on the tips for a subtle sparkle.
Here are some tips to perfect this style:
– Opt for a high-quality, long-lasting nail polish.
– Use a thin brush for cleaner lines on your tips.
– Finish with a top coat for extra shine and durability.
Products to consider: OPI Blush Pink Nail Polish, Essie Gel Couture Top Coat, Nail Art Brush Set.
Product Recommendations:
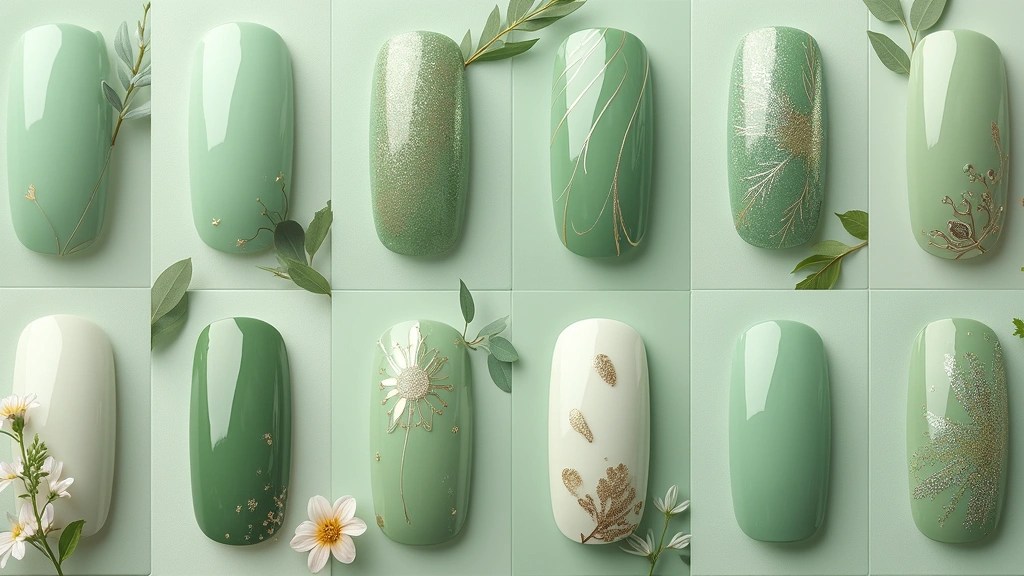
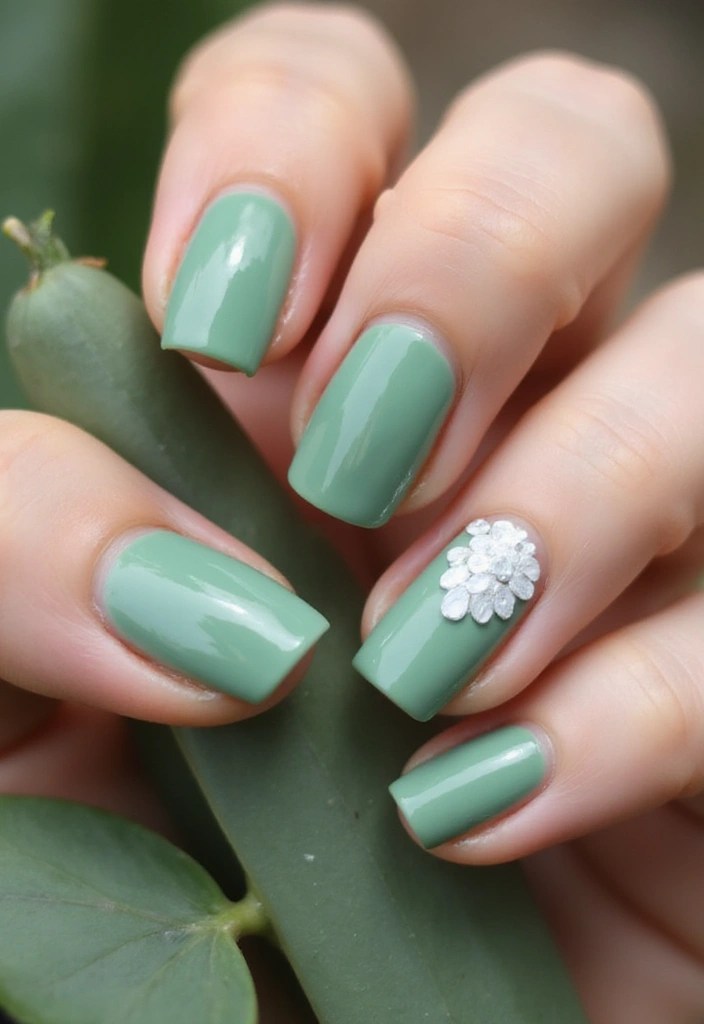
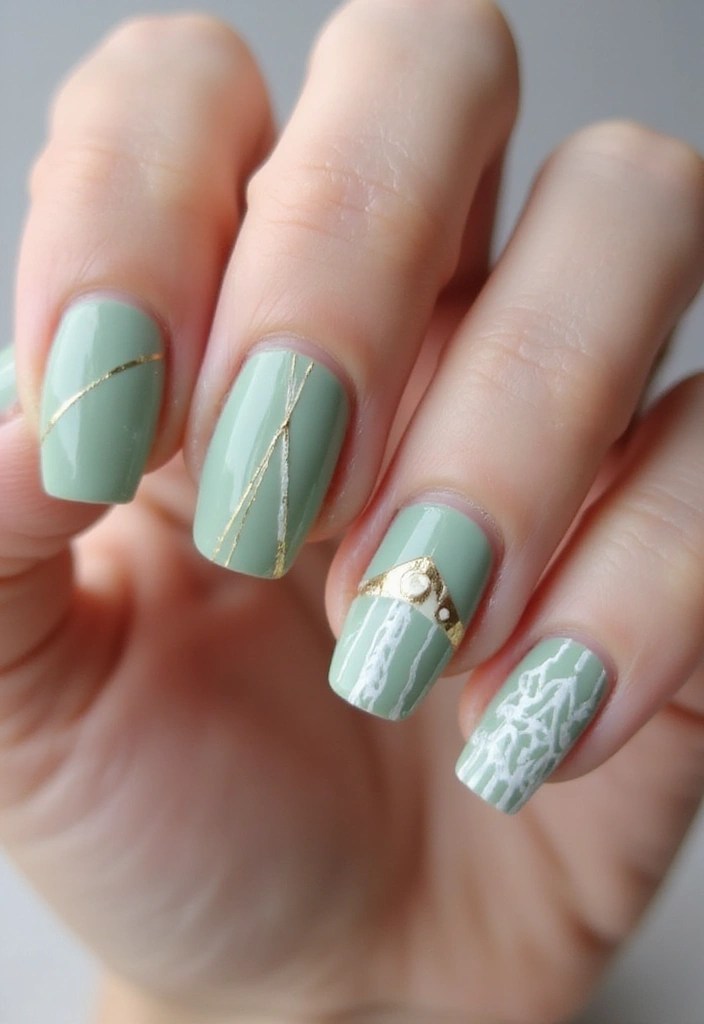
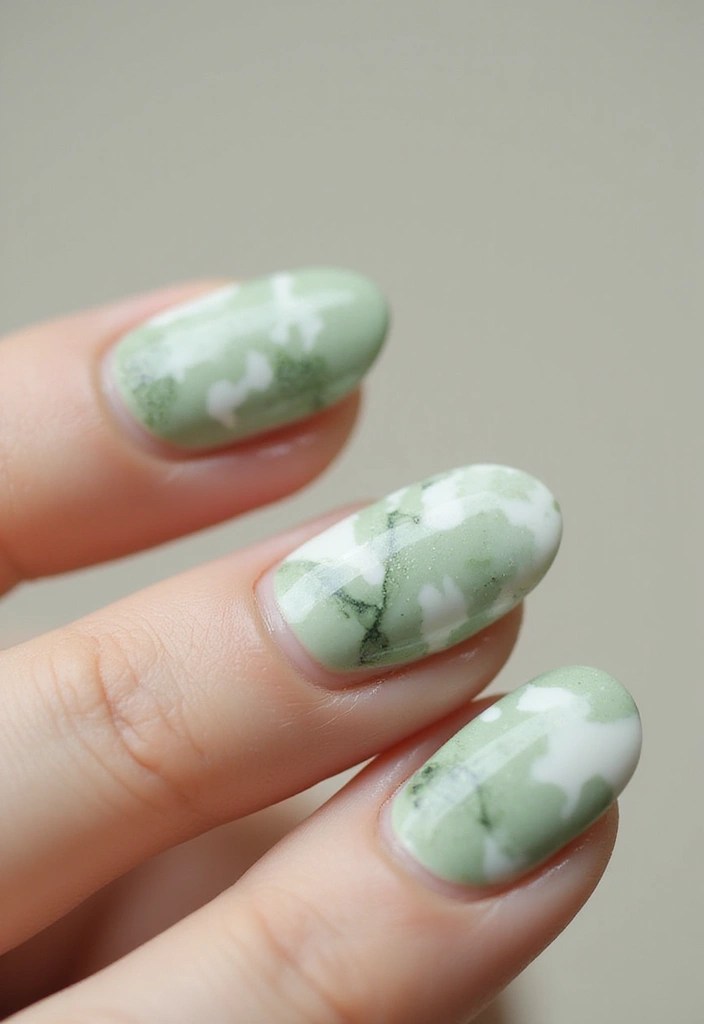
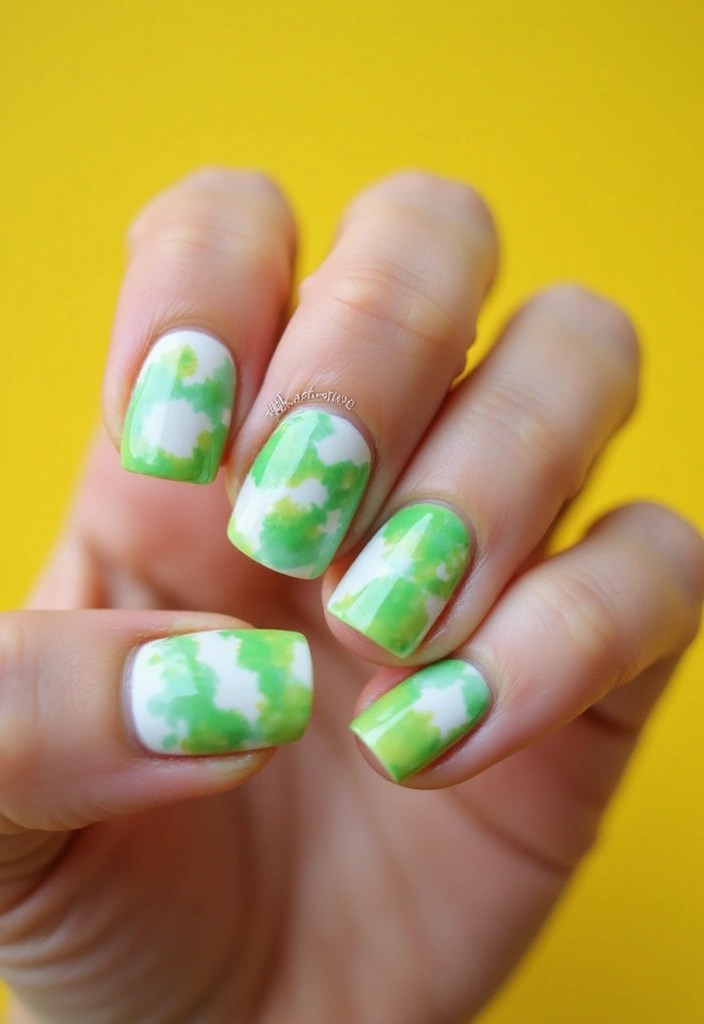
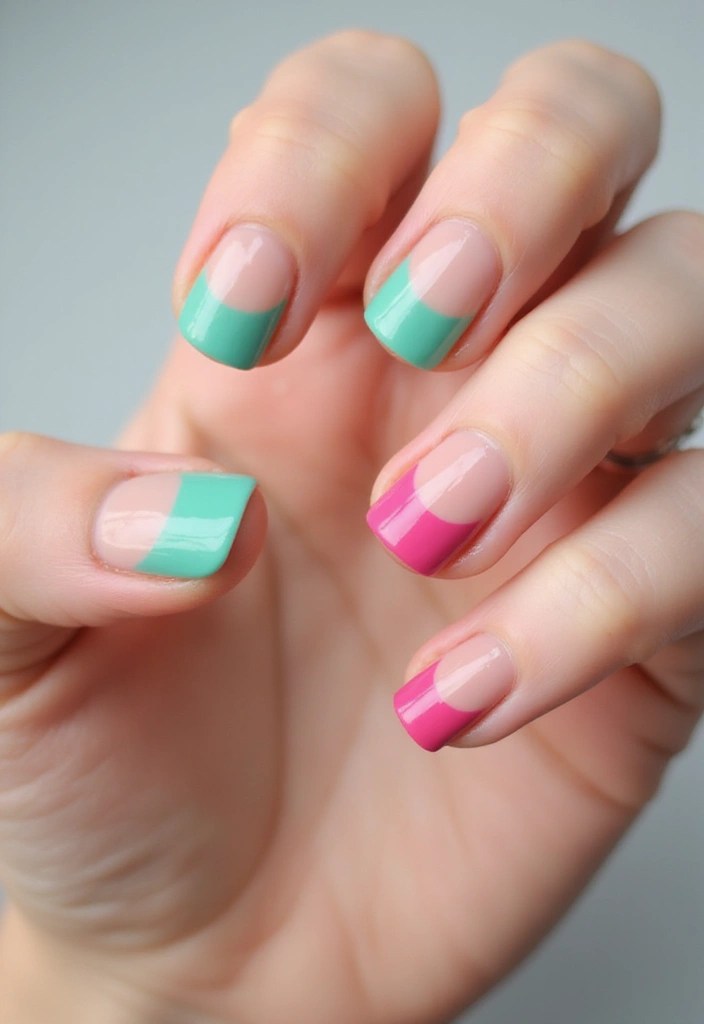
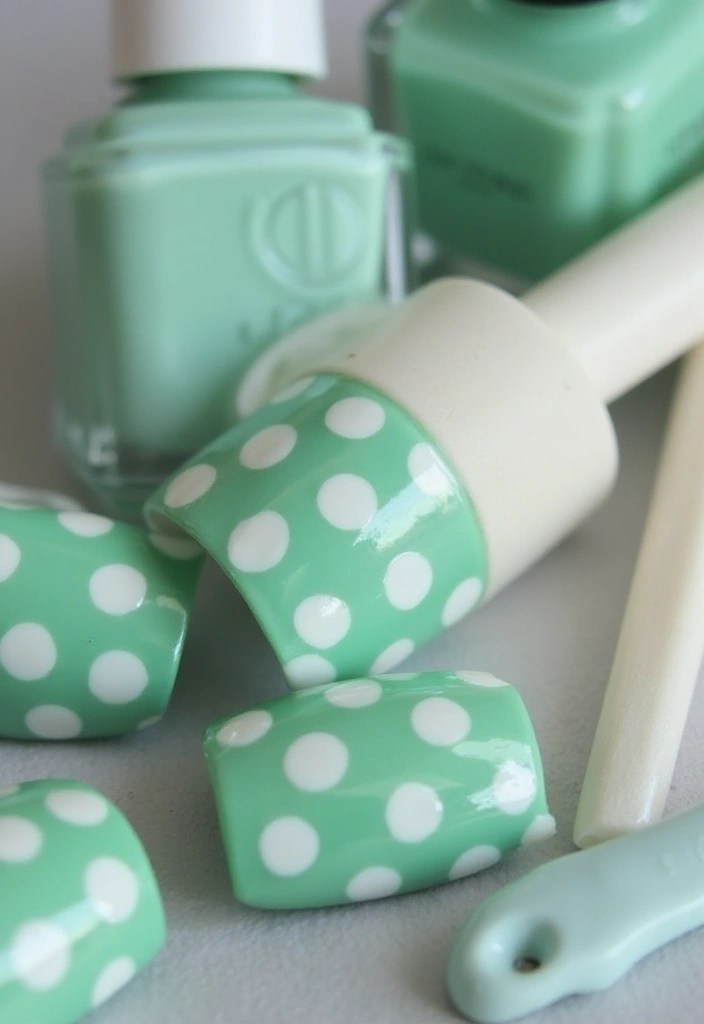
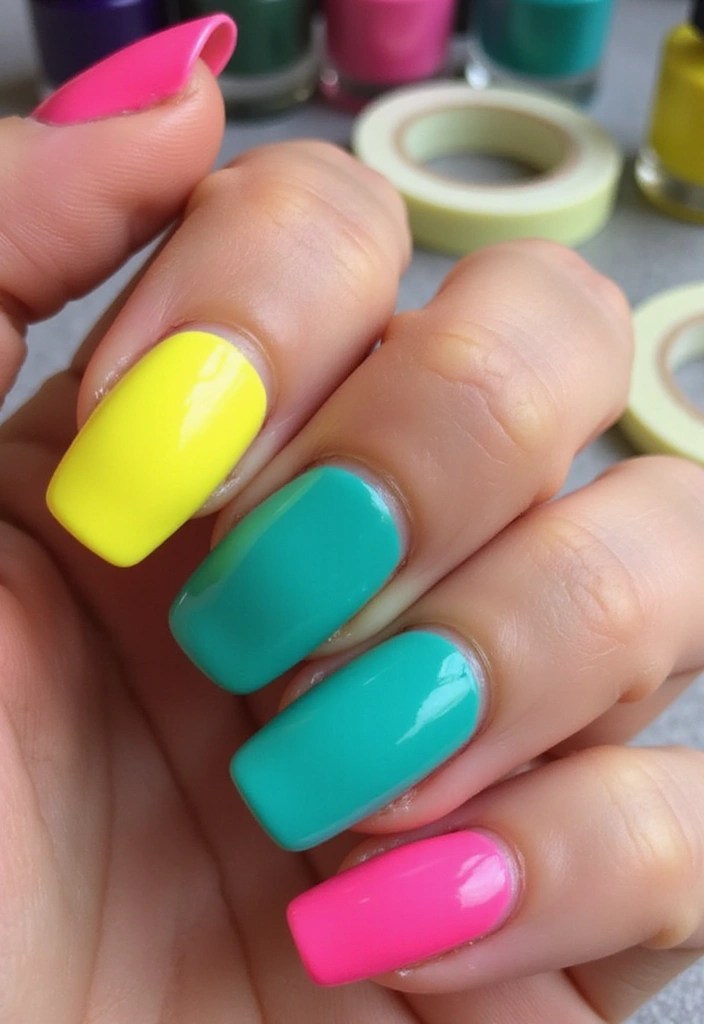
2. Minty Fresh Delight
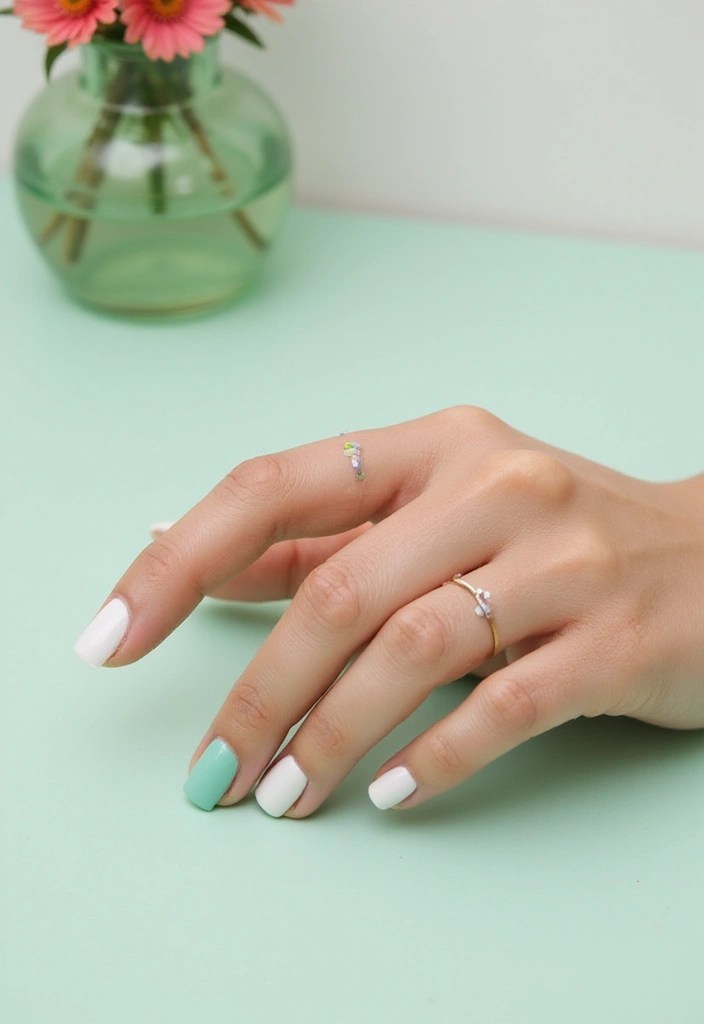
Mint green has become a trendy color choice, especially for soft French manicures. It’s refreshing and invigorating, perfect for spring and summer.
Pairing a mint base with a white tip gives an airy feel, almost like fresh mint leaves. This style is playful yet sophisticated, making it suitable for casual outings or more formal events.
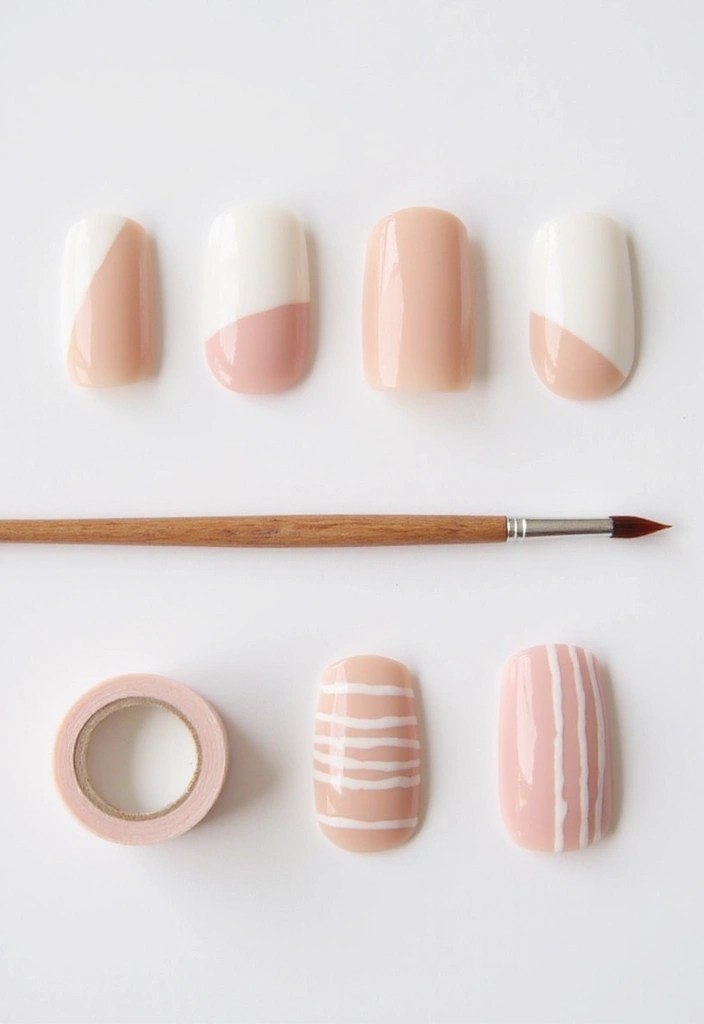
To recreate this look, apply a mint base coat and carefully paint a thin white line at the tips.
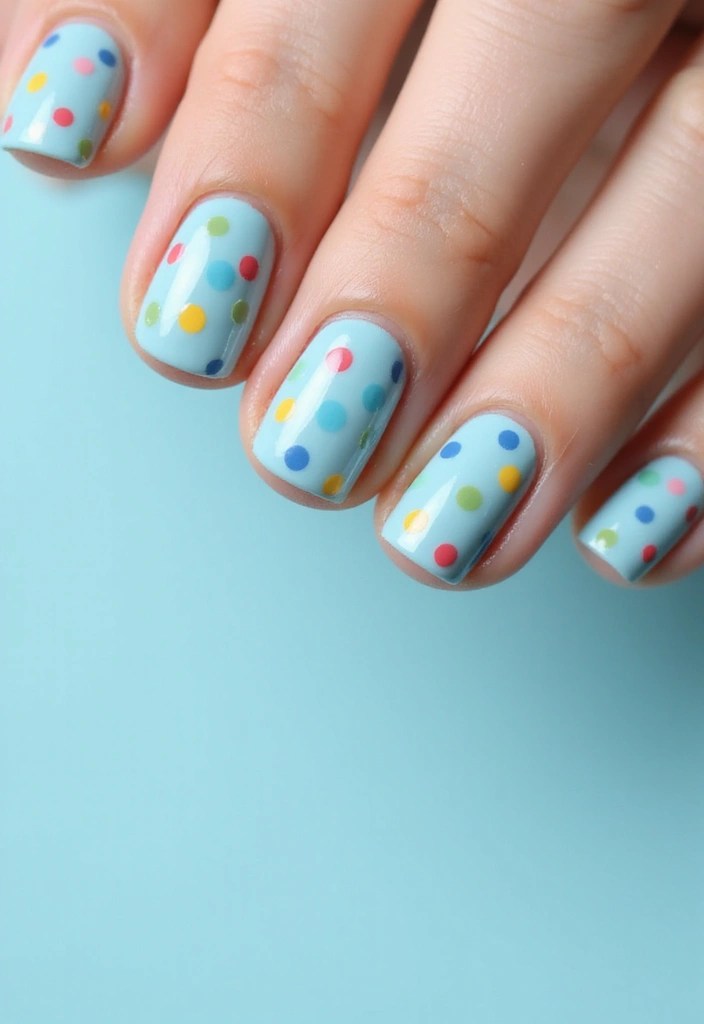
For added fun, try incorporating a few tiny dots or stripes in contrasting colors on the ring finger for a bit of flair.
Here’s how to nail this look:
– Use a good quality base coat to prevent staining.
– Make sure to let each coat dry thoroughly before applying the next.
– Consider a matte top coat for a trendy finish.
Products to consider: Sally Hansen Mint Green Nail Polish, Essie Matte Top Coat, Dotting Tool Set.
Product Recommendations:
• Sally Hansen Mint Green Nail Polish
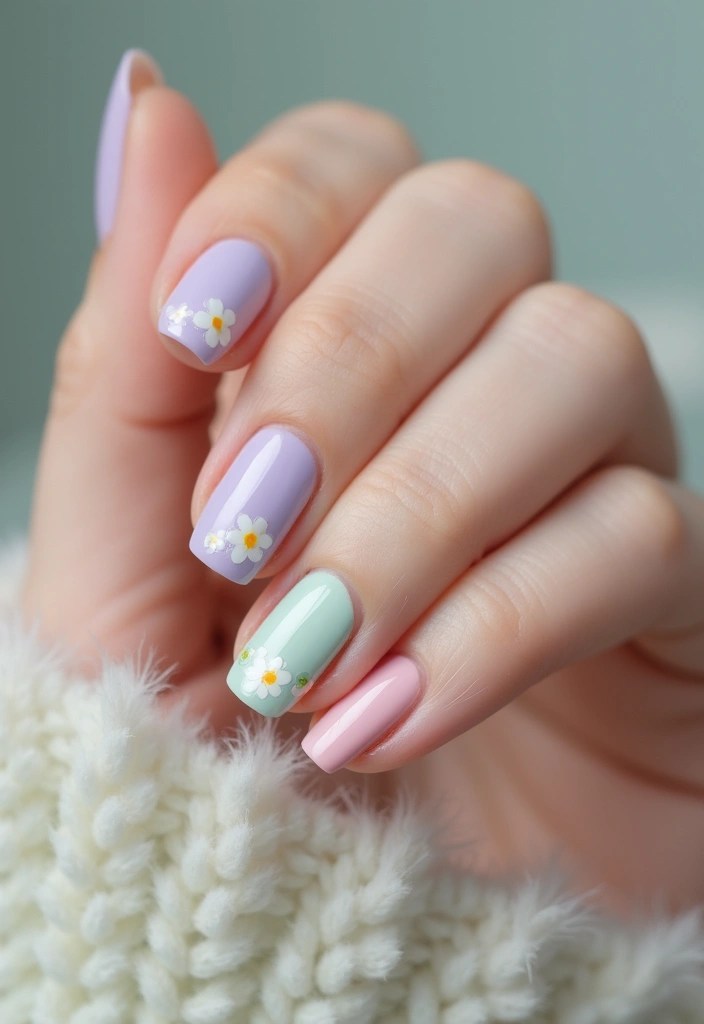
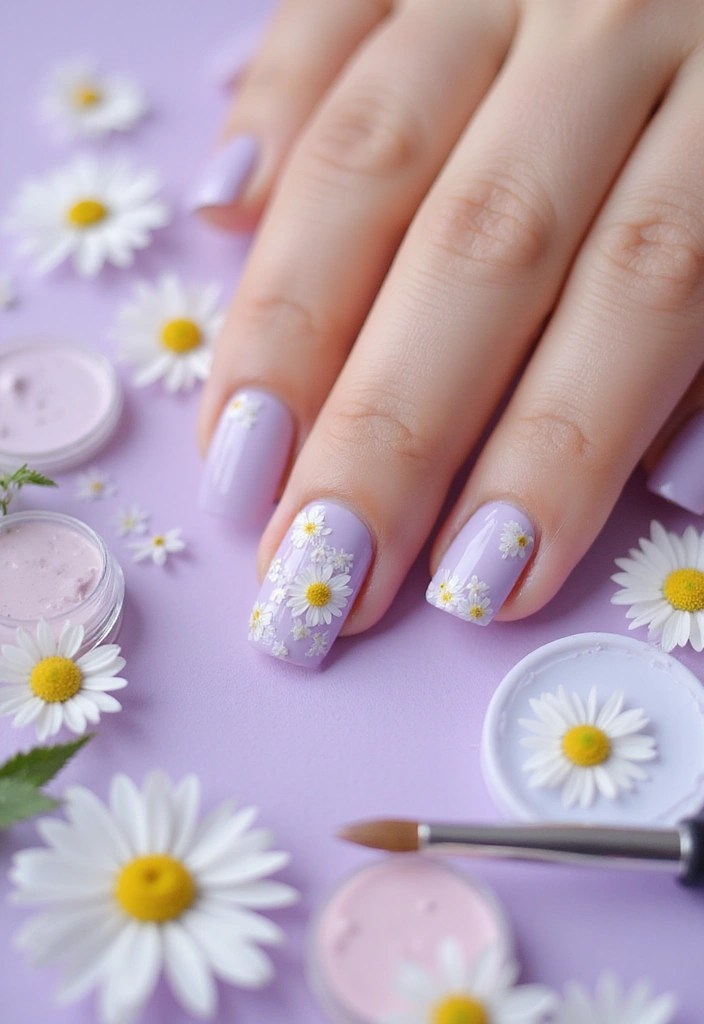
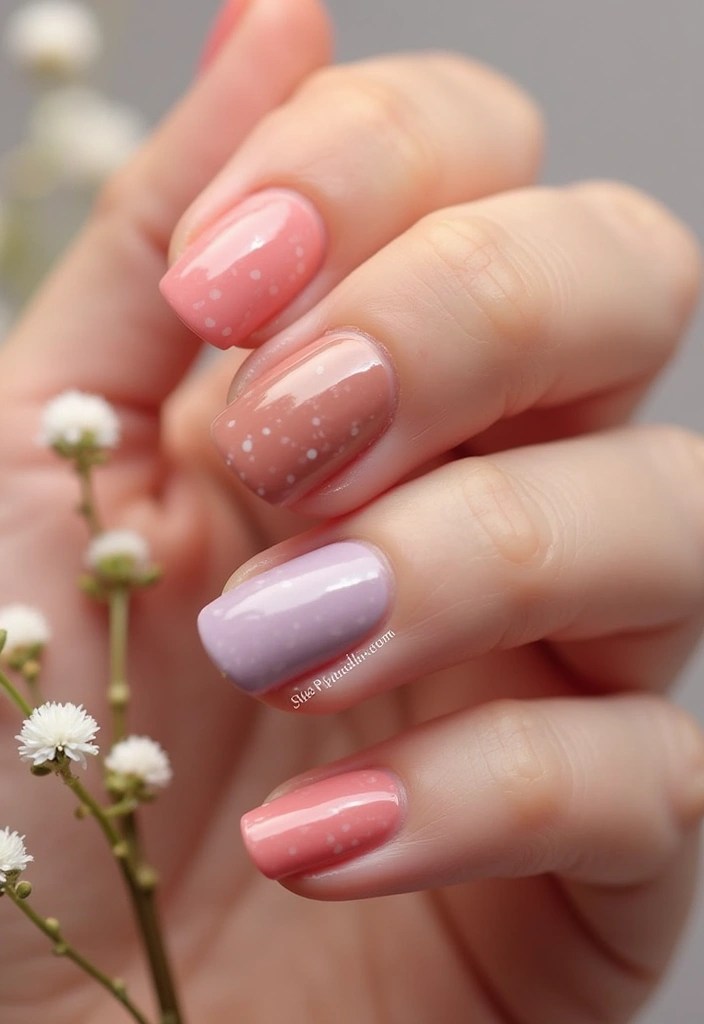
3. Lavender Dreams
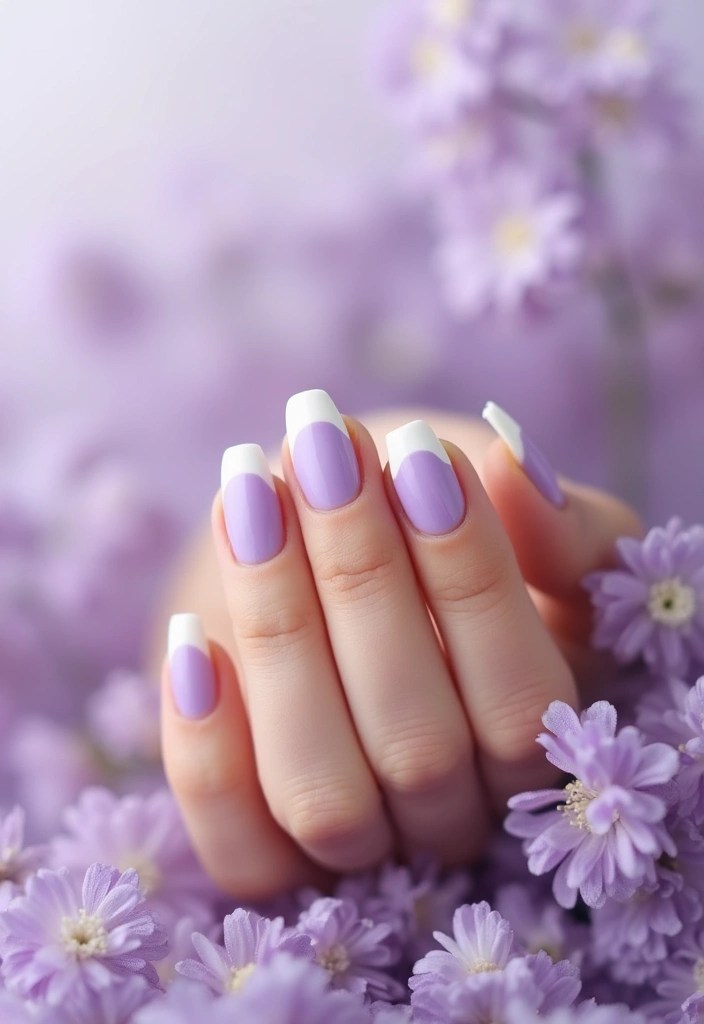
Lavender is soft, calming, and utterly enchanting. A lavender base with a delicate white tip creates a dreamy, whimsical aesthetic.
This color is perfect for those who want a little twist on the traditional French manicure without going too bold. It’s subtle yet makes a statement!
To achieve this look, apply two coats of lavender polish and finish with a white tip. For a unique touch, consider adding tiny flower designs on one or two nails.
Here are some tips to enhance your lavender manicure:
– Choose a lavender polish that has a good formula for even coverage.
– Use nail stickers or a stamping kit for the flower designs.
– Don’t forget to seal with a high-gloss top coat for that salon-finish.
Products to consider: Zoya Lavender Nail Polish, Nail Art Stickers Floral Designs, Seche Vite Top Coat.
Product Recommendations:
• Nail Art Stickers Floral Designs
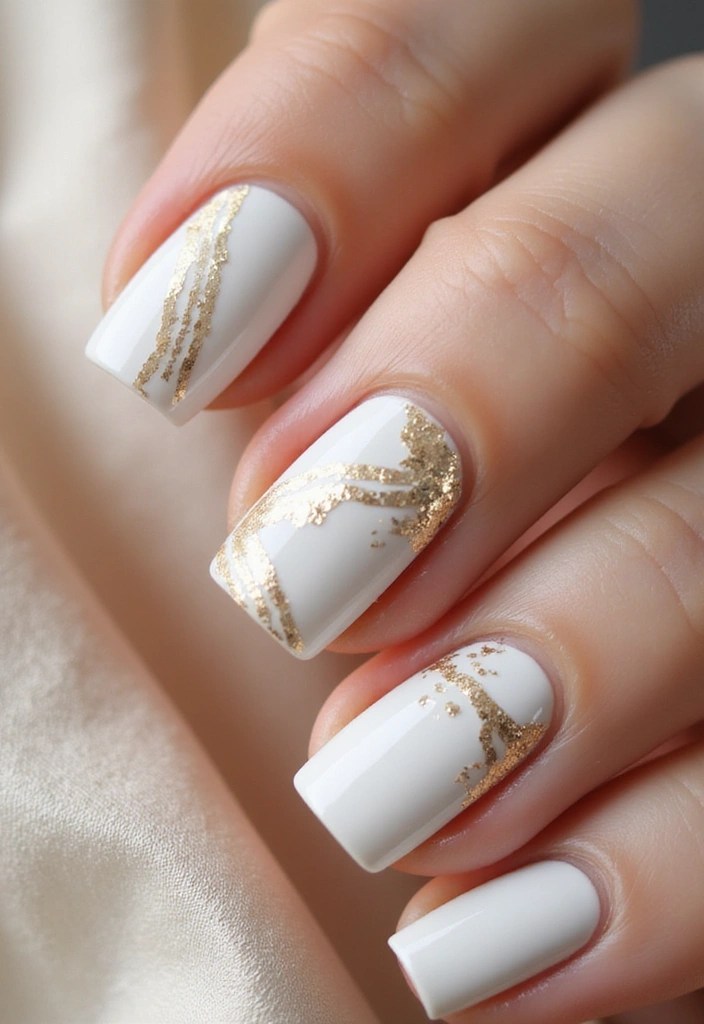
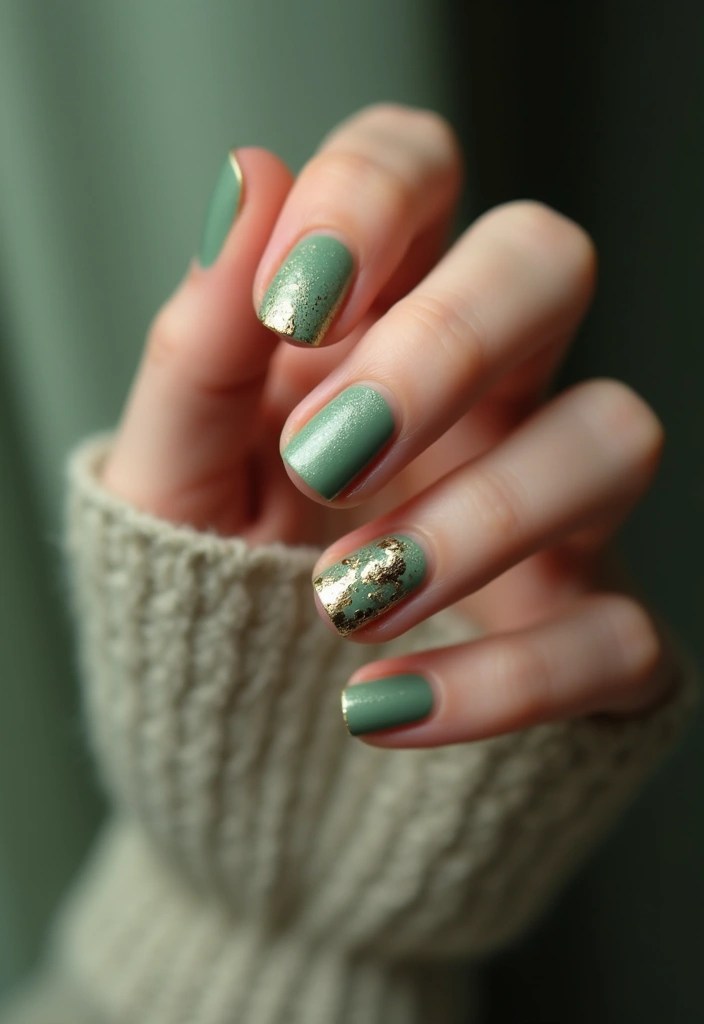
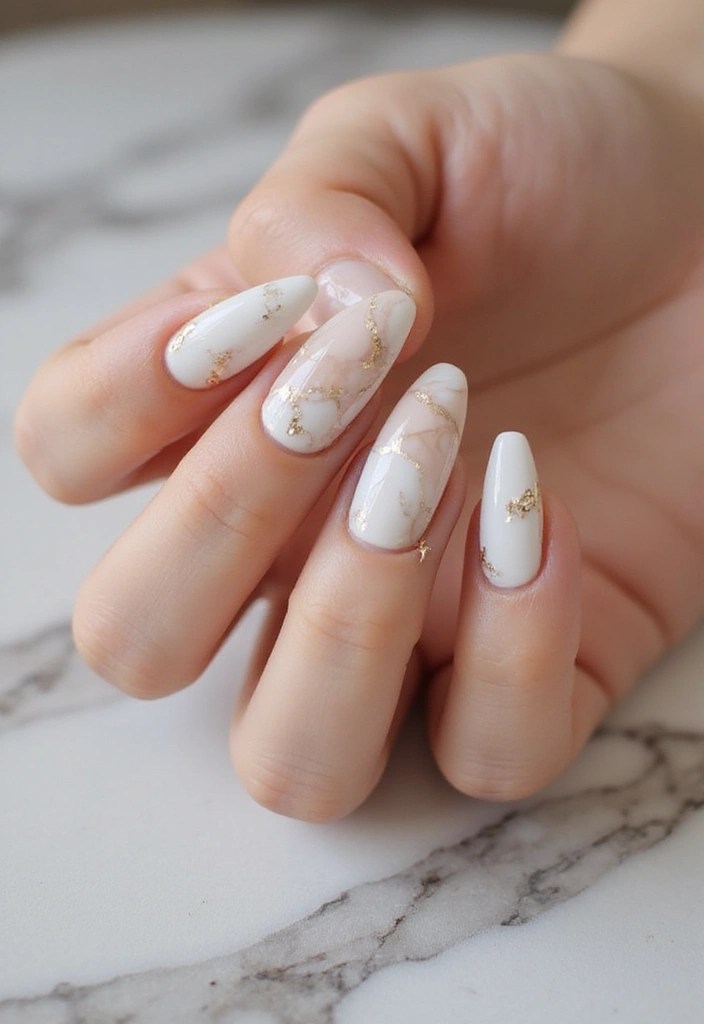
4. Soft Coral Delight
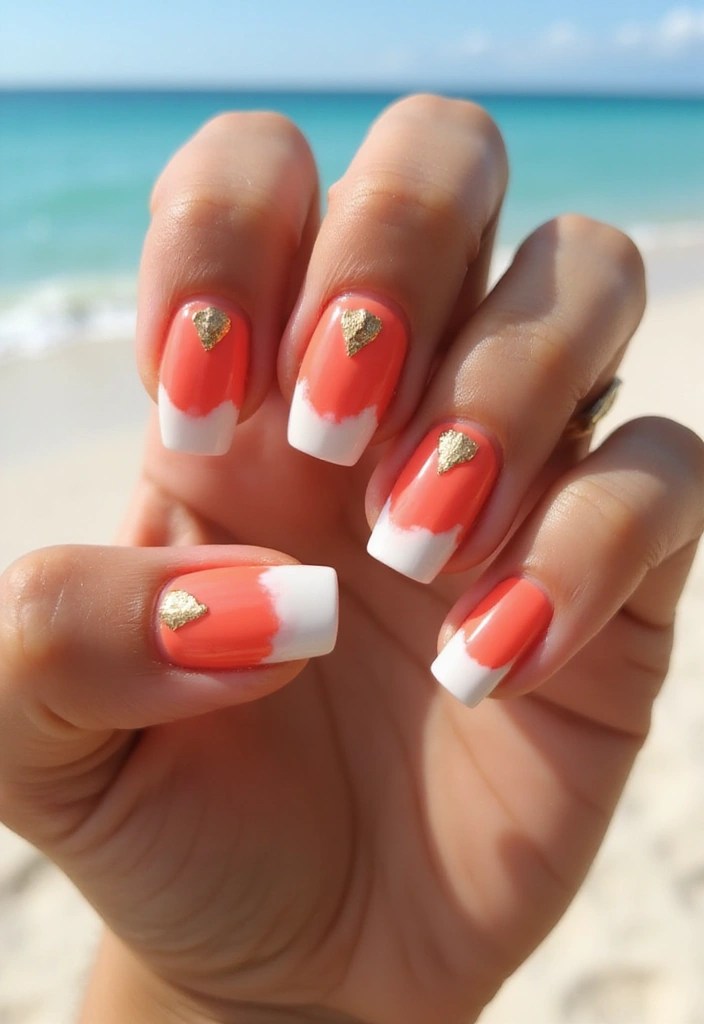
Coral is a vibrant yet soft choice that brightens up your nails without being overwhelming. A soft coral base paired with a white tip is a fun and cheerful look, perfect for summer.
This style feels youthful and playful, making it ideal for beach outings or casual gatherings.
To create this manicure, start with a coral base coat followed by a crisp white tip. For a trendy addition, you could add some gold foil accents on a couple of nails for an upscale touch.
Consider these tips:
– Ensure your coral polish is opaque for a smooth finish.
– Use gold foil sparingly for a touch of elegance.
– A glossy top coat will keep your nails looking fresh for longer.
Products to consider: Butter London Coral Nail Polish, Gold Foil Flakes, Orly Top Coat.
Product Recommendations:
• Butter London Nail Polish in Coral
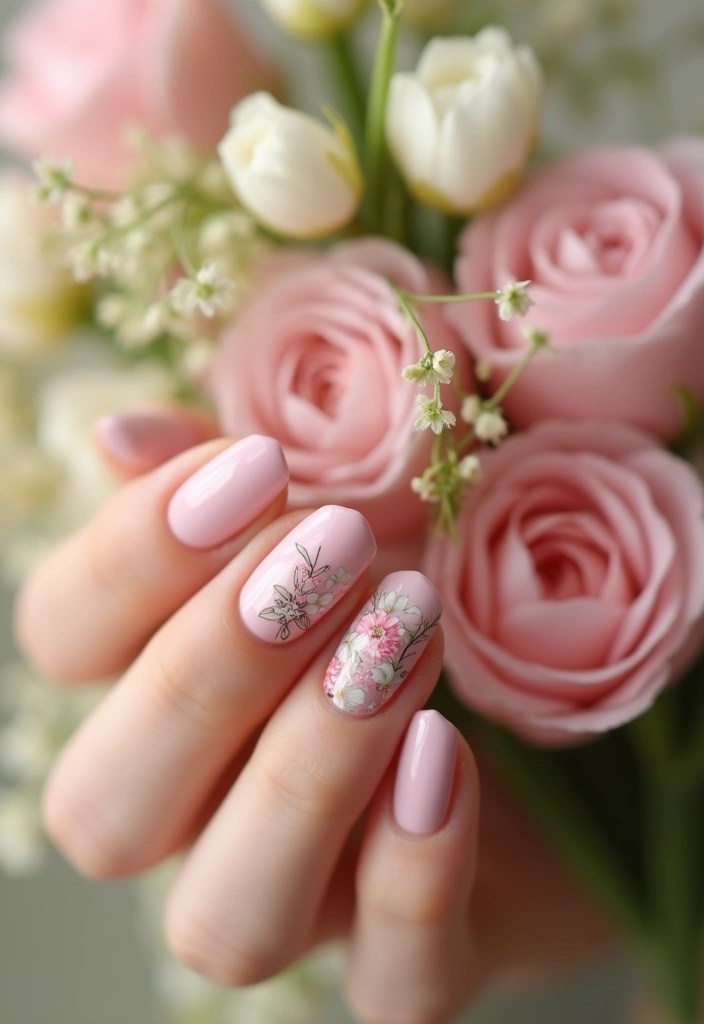
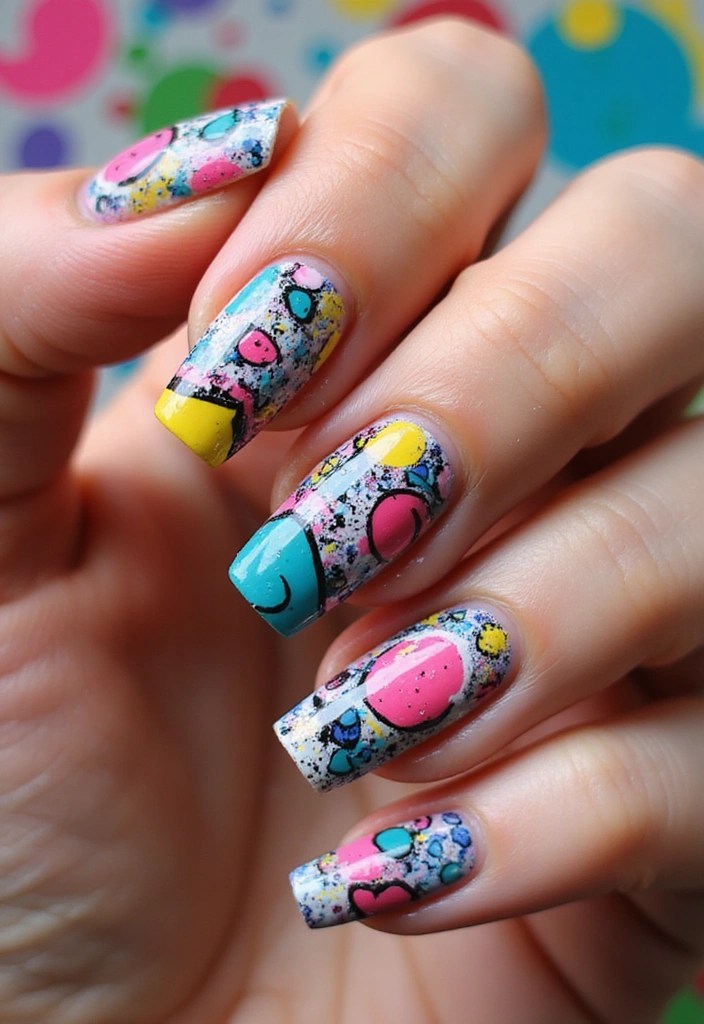
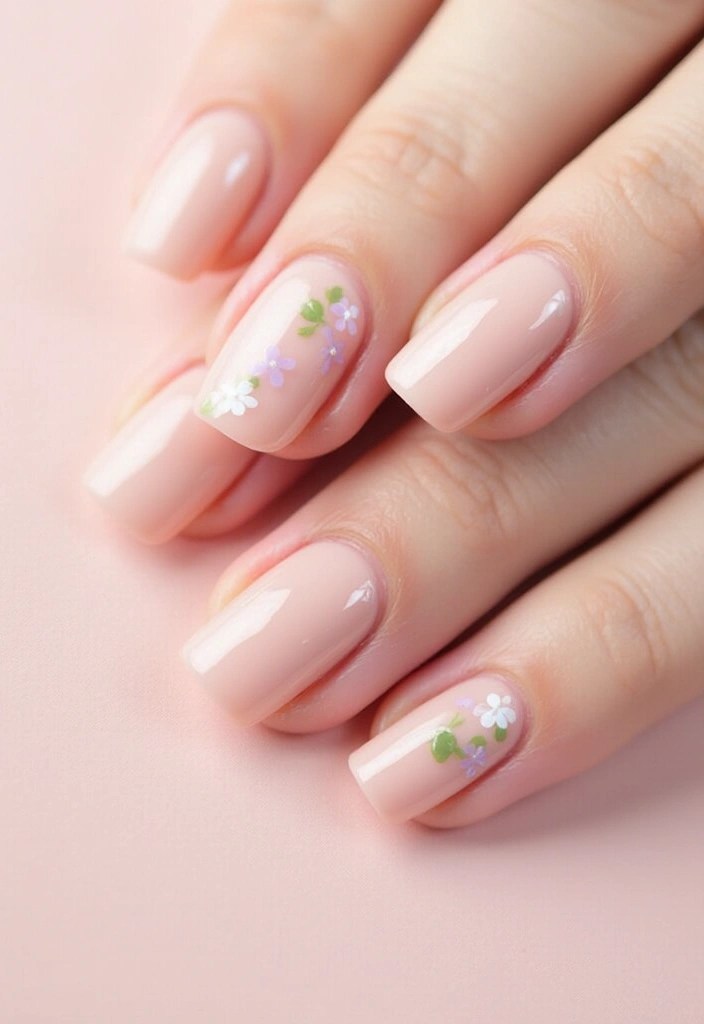
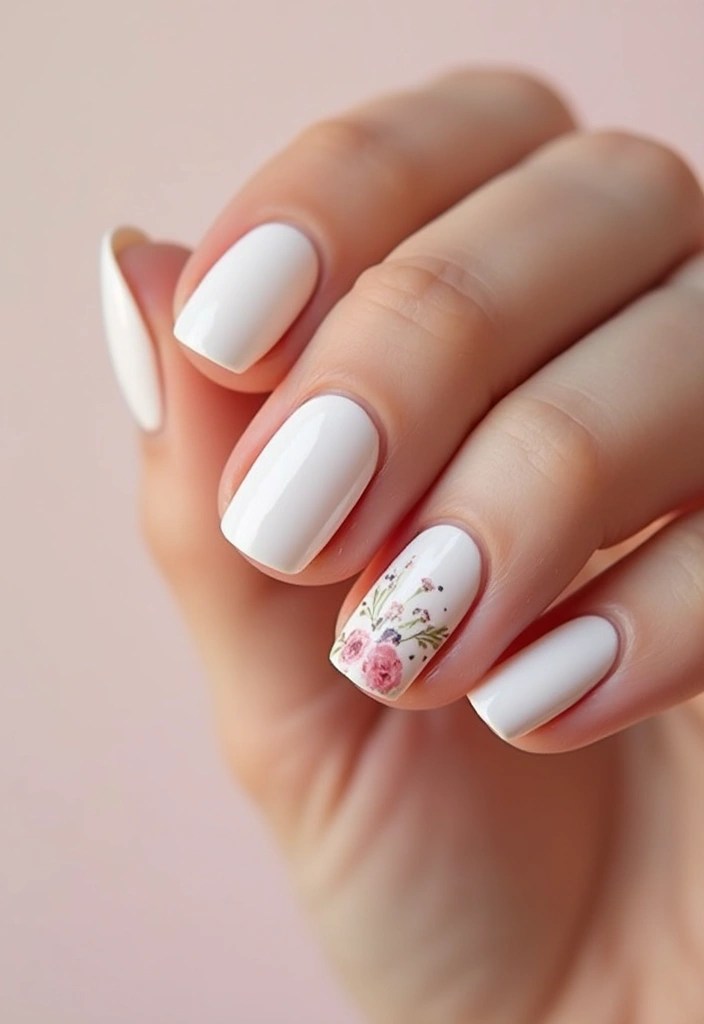
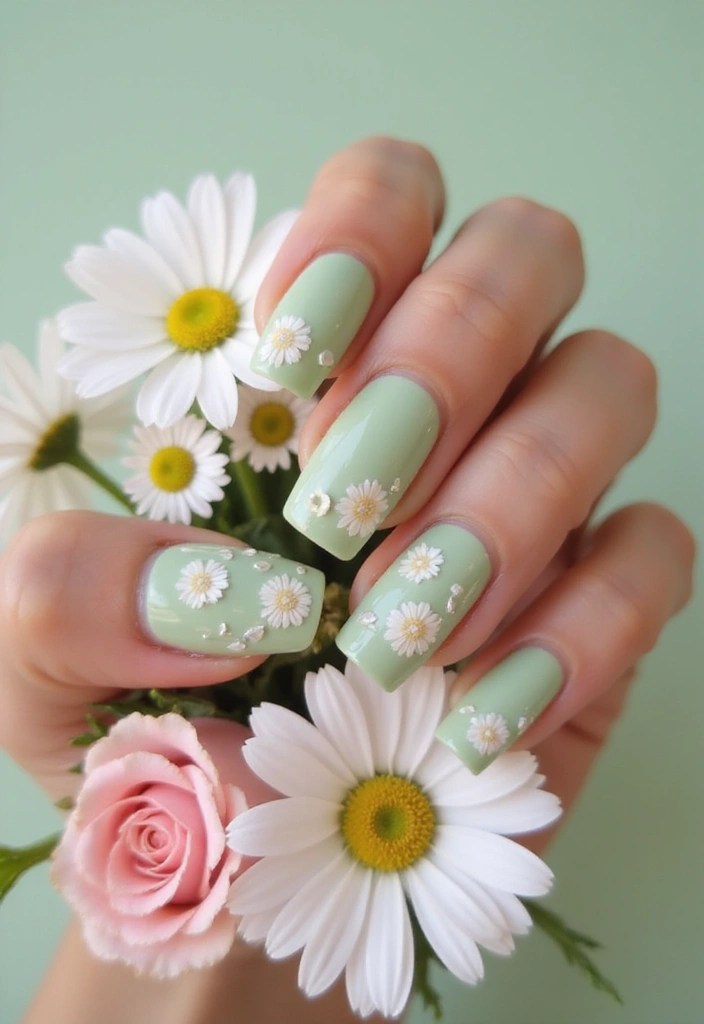
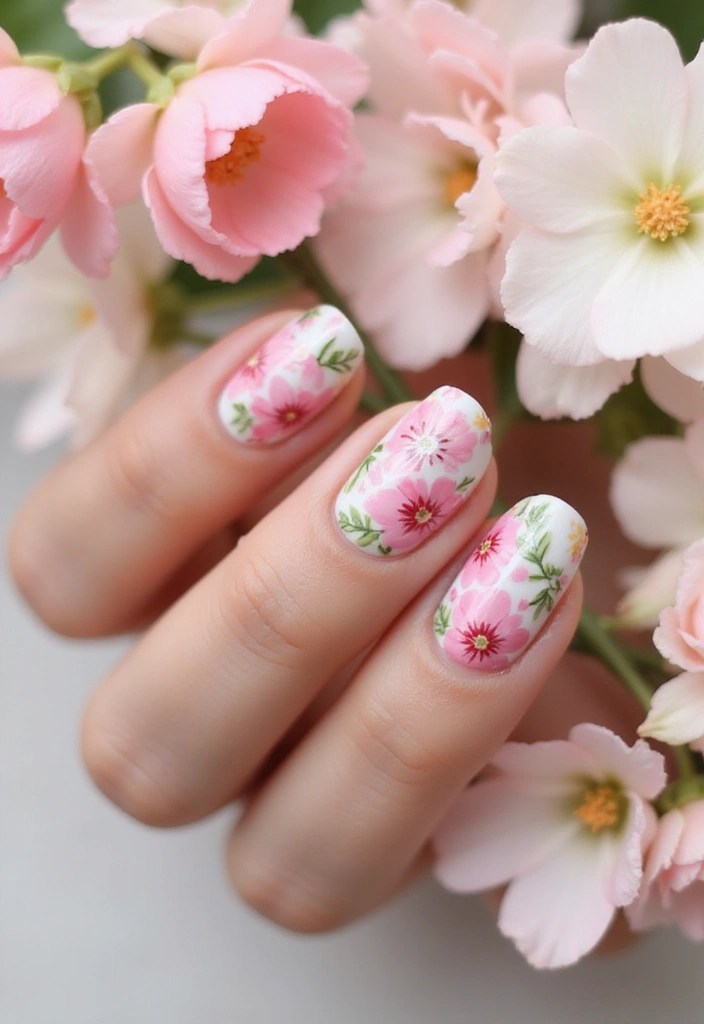
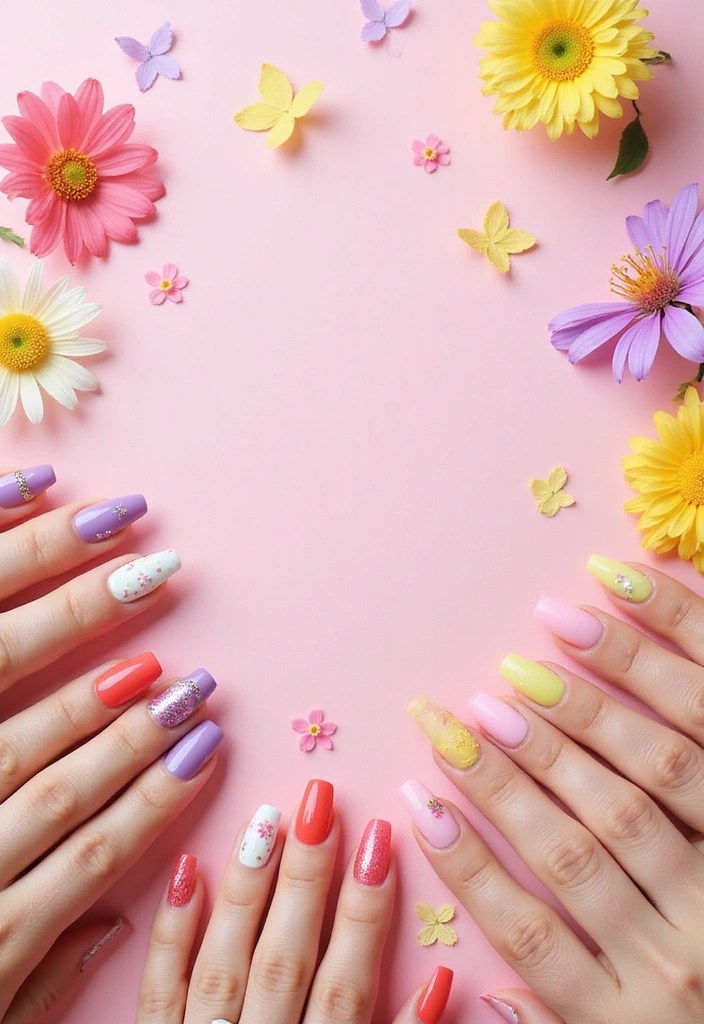
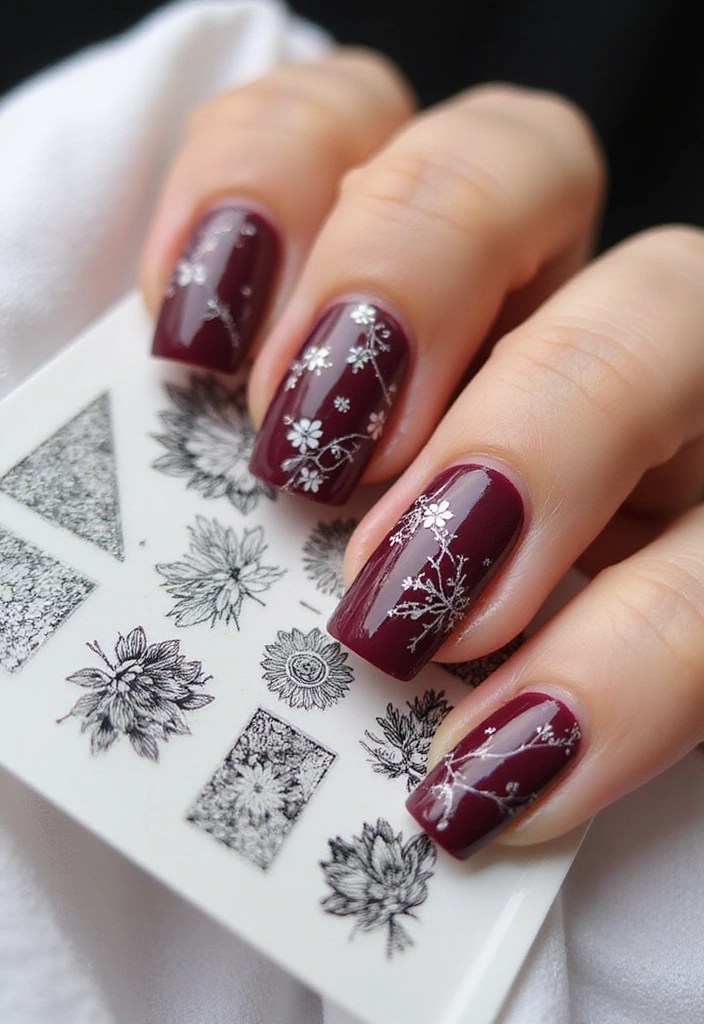
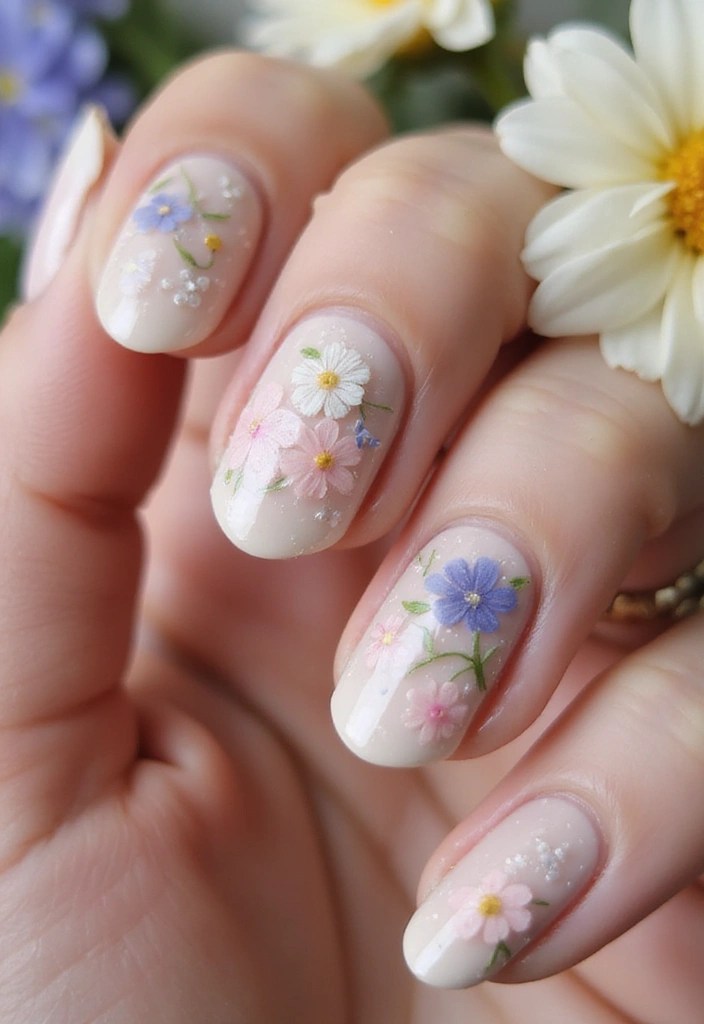
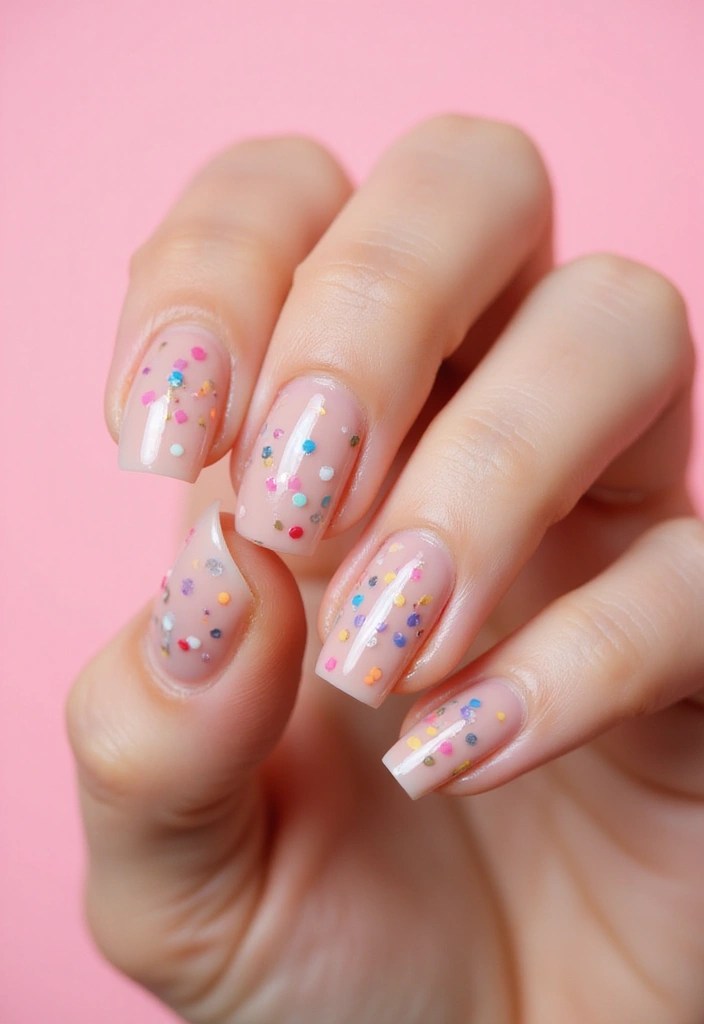
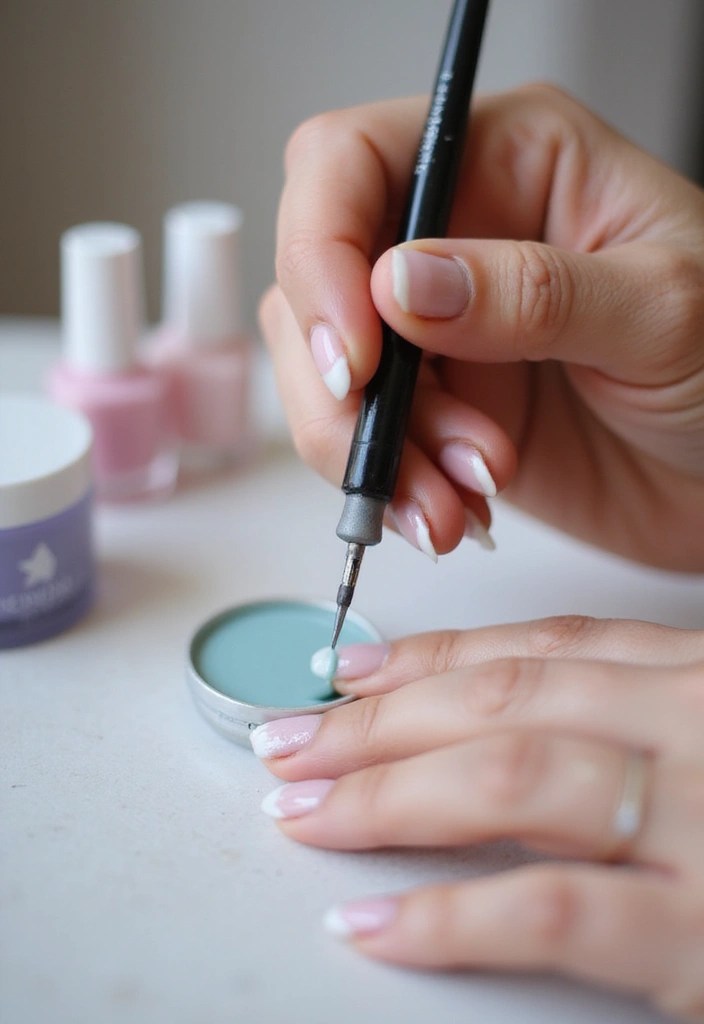
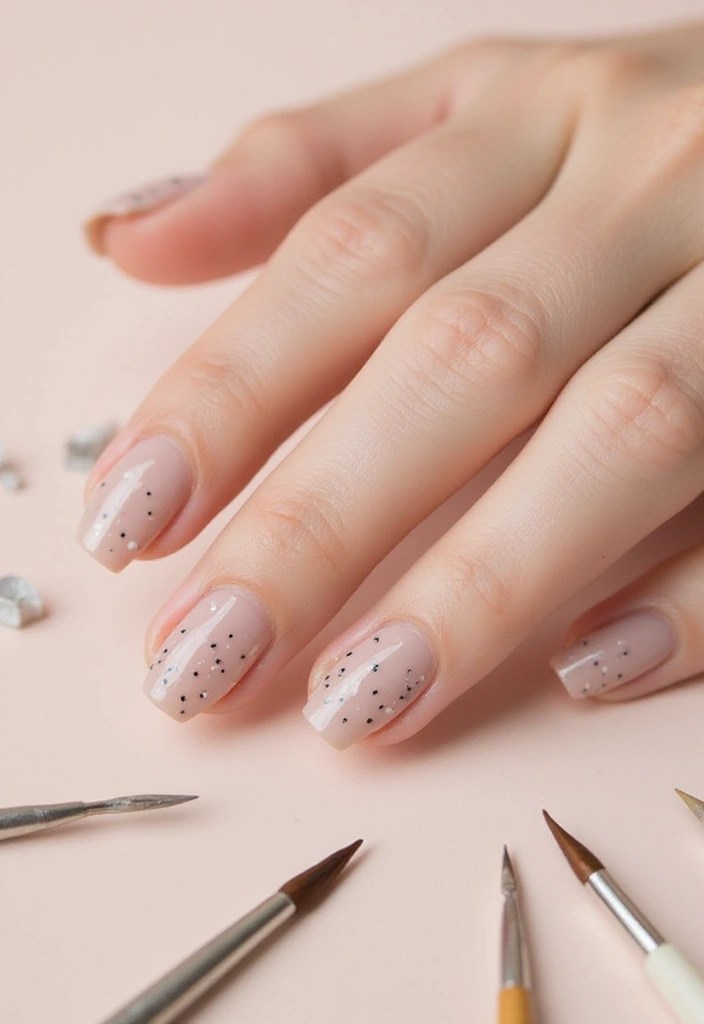
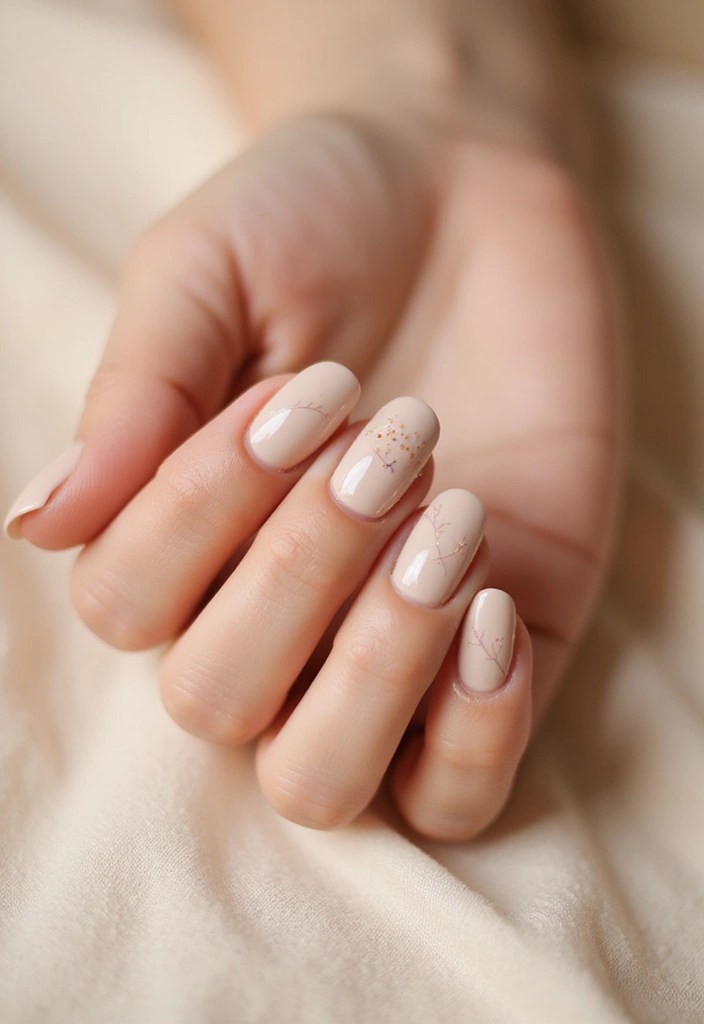
5. Delicate Floral Accents
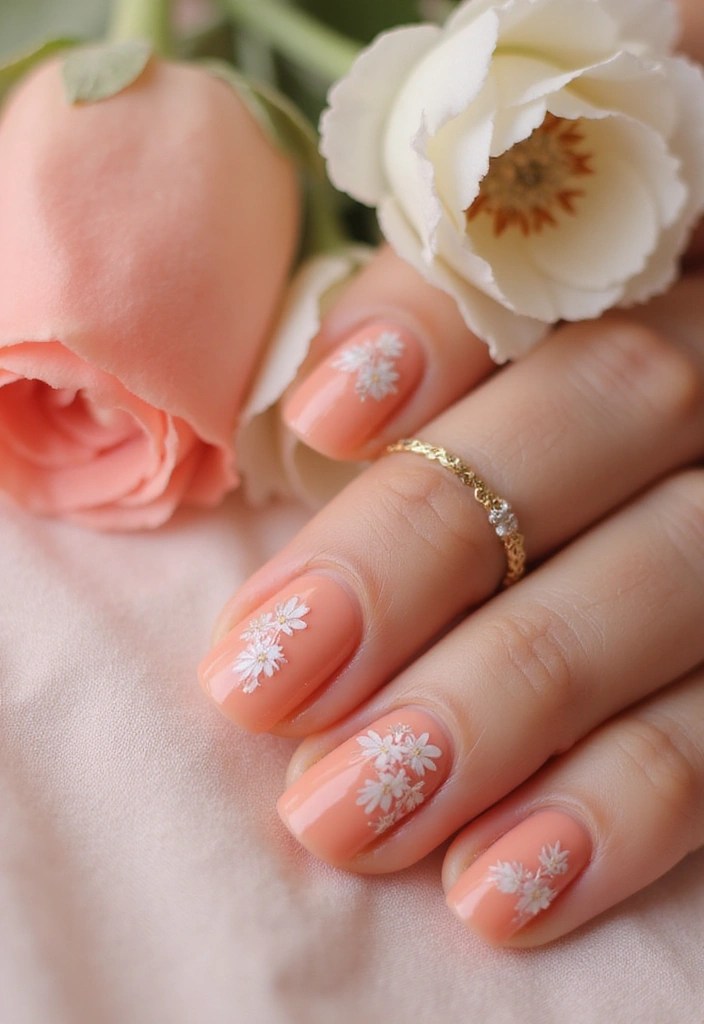
Take your soft French manicure to the next level by incorporating delicate floral designs. This style marries the elegance of a classic French manicure with the whimsy of nature.
Choose a soft base color like a light peach or pale pink and add tiny floral designs at the base of your nails or on one accent nail. This look is perfect for spring and summer events, such as weddings or garden parties.
To achieve this, start with your base color, let it dry, and then use a fine brush or dotting tool to create the floral designs.
Here are some tips for nailing this look:
– Use a light hand for the floral designs to keep them delicate.
– Experiment with different colors for the flowers to match your outfit.
– Finish with a matte top coat for a modern look.
Products to consider: Essie Peach Nail Polish, Nail Art Brush Set, Matte Top Coat.
Product Recommendations:
• Nail Art Brush Set for Detailing
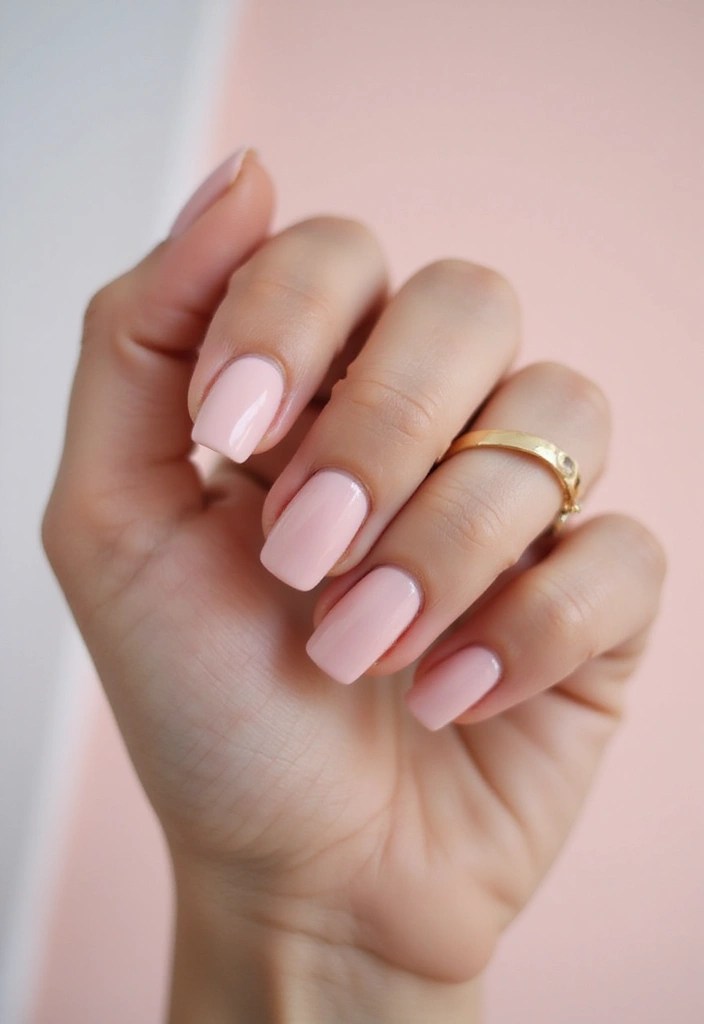
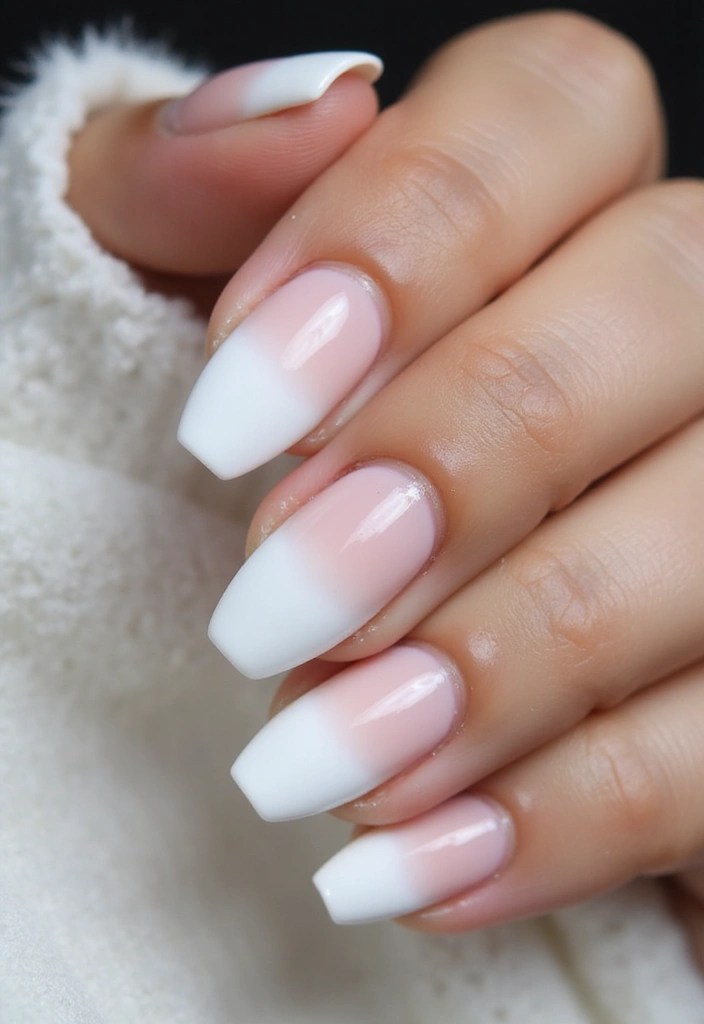
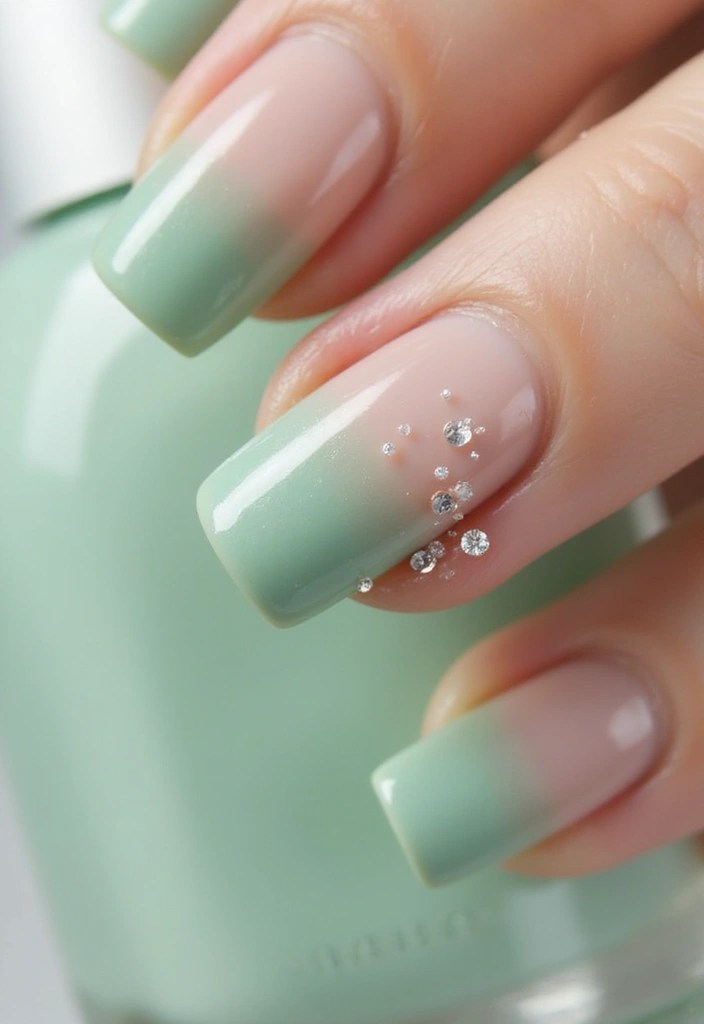
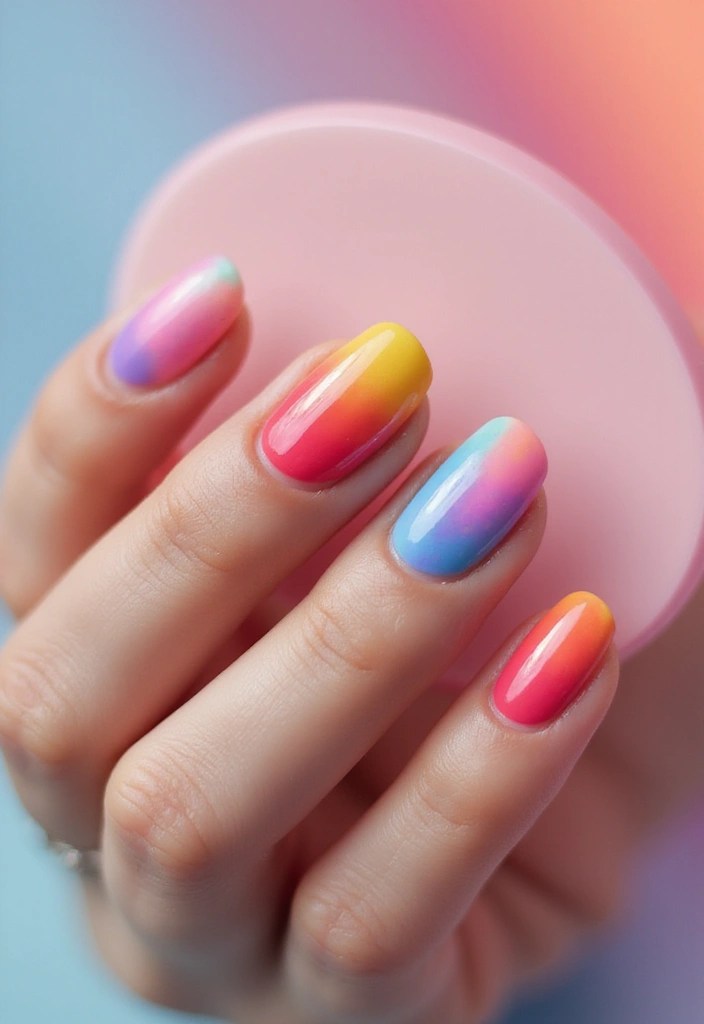
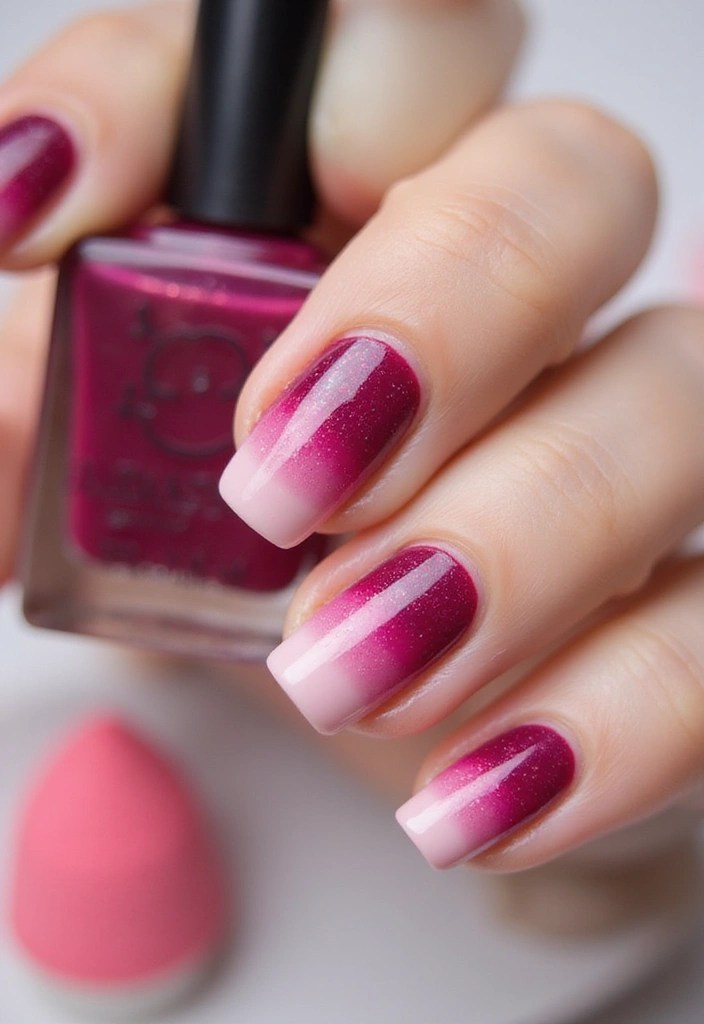
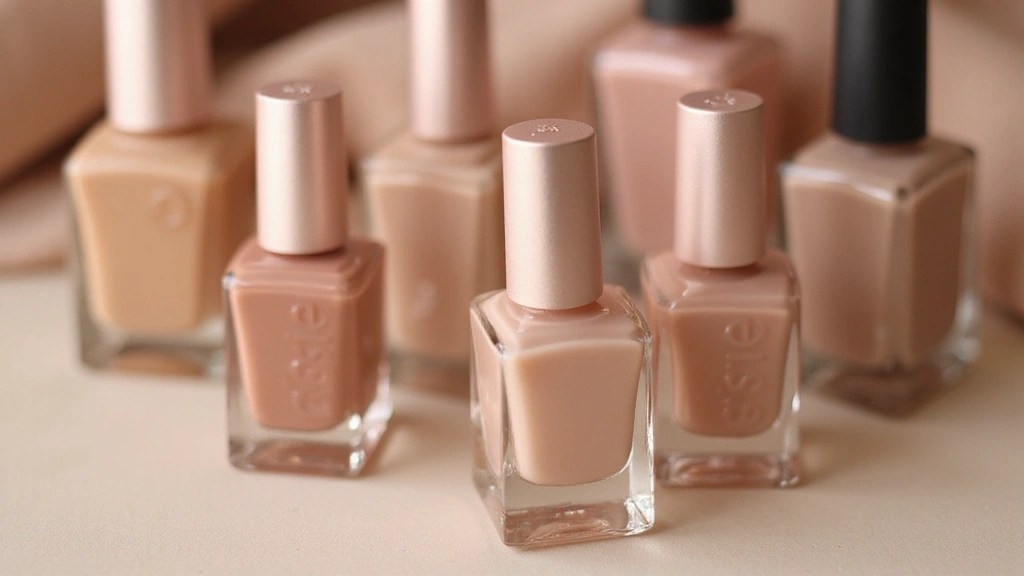
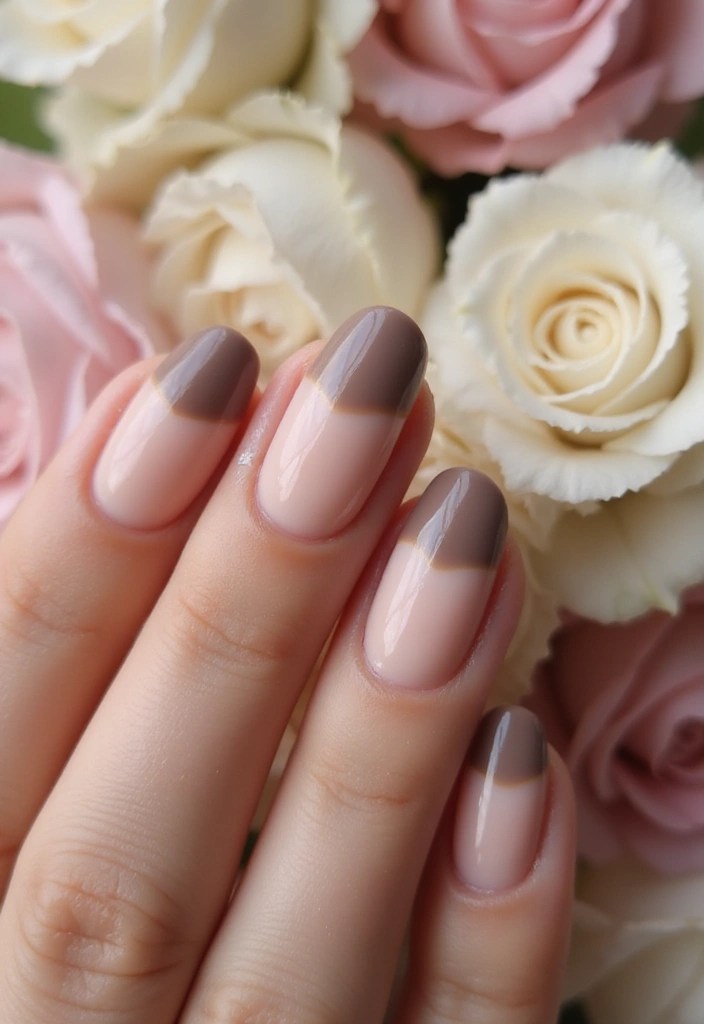
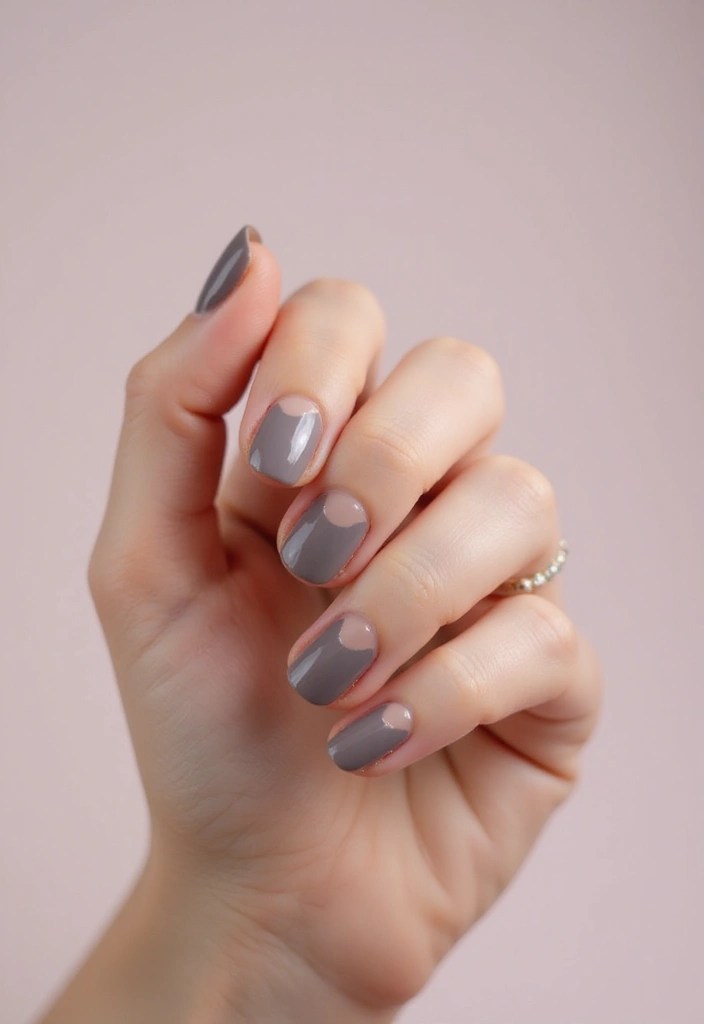
6. Subtle Ombre
Ombre nails have taken the nail art world by storm, and soft French ombre is a stunning way to embrace this trend.
This style features a subtle gradient effect from a soft pink or nude at the base to a crisp white tip. It’s a modern twist on the classic French manicure that feels fresh and chic.
To create this look, you can use a makeup sponge to blend the colors smoothly. Start with a nude base, then sponge on the pink and white, blending them together.
Tips to master the ombre technique:
– Use a good quality sponge for the best blending.
– Practice on a nail wheel before applying to your nails.
– Seal with a glossy top coat to enhance the ombre effect.
Products to consider: OPI Nude Nail Polish, Beauty Blender Makeup Sponge, Gel Top Coat.
Product Recommendations:
• OPI Infinite Shine Nail Polish in “Bubble Bath”
• Beauty Blender Original Makeup Sponge
• Seche Vite Dry Fast Top Coat
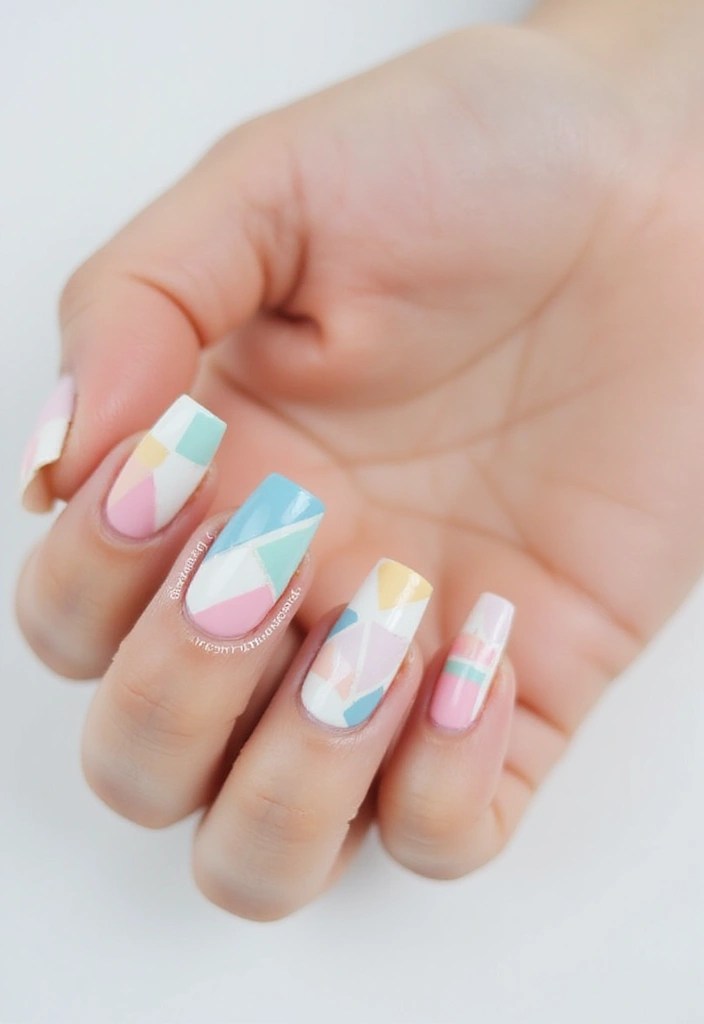
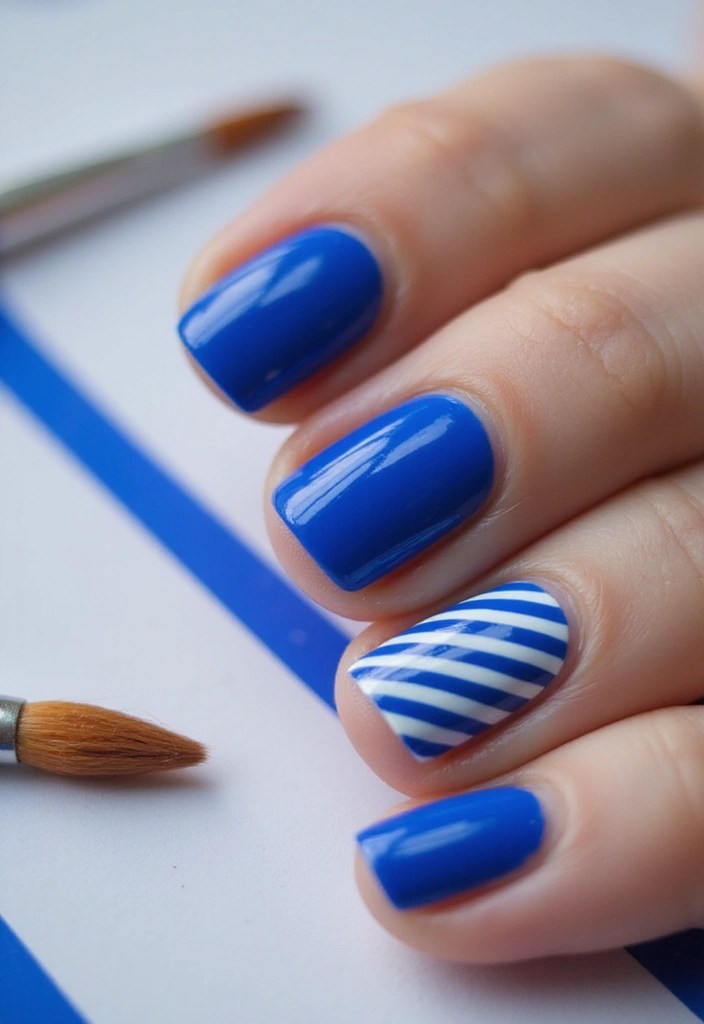
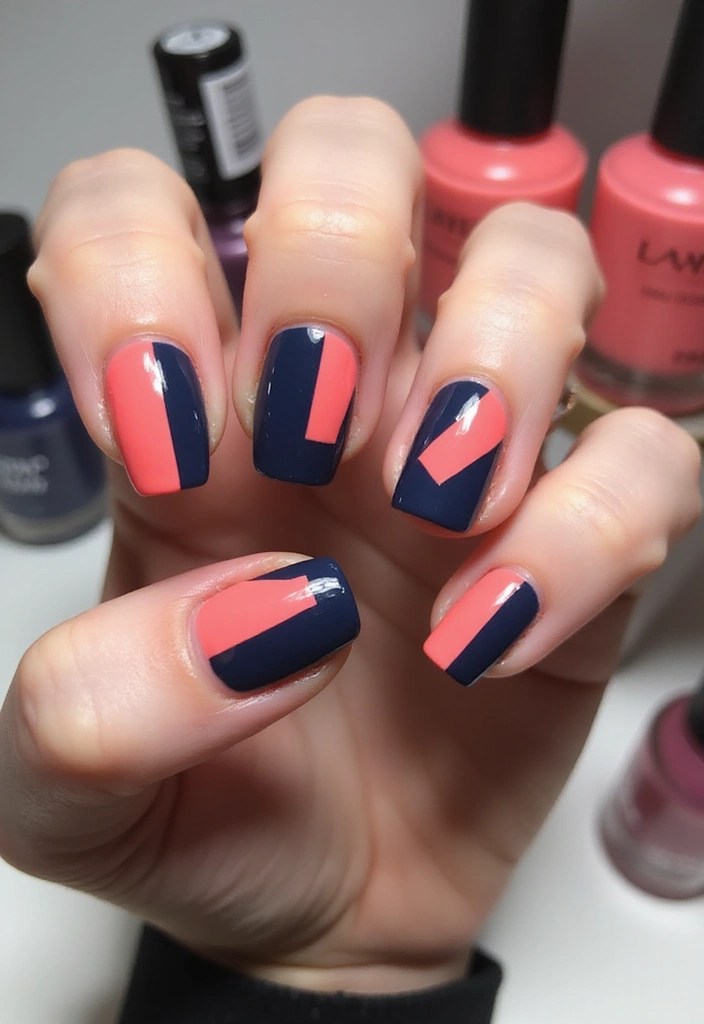
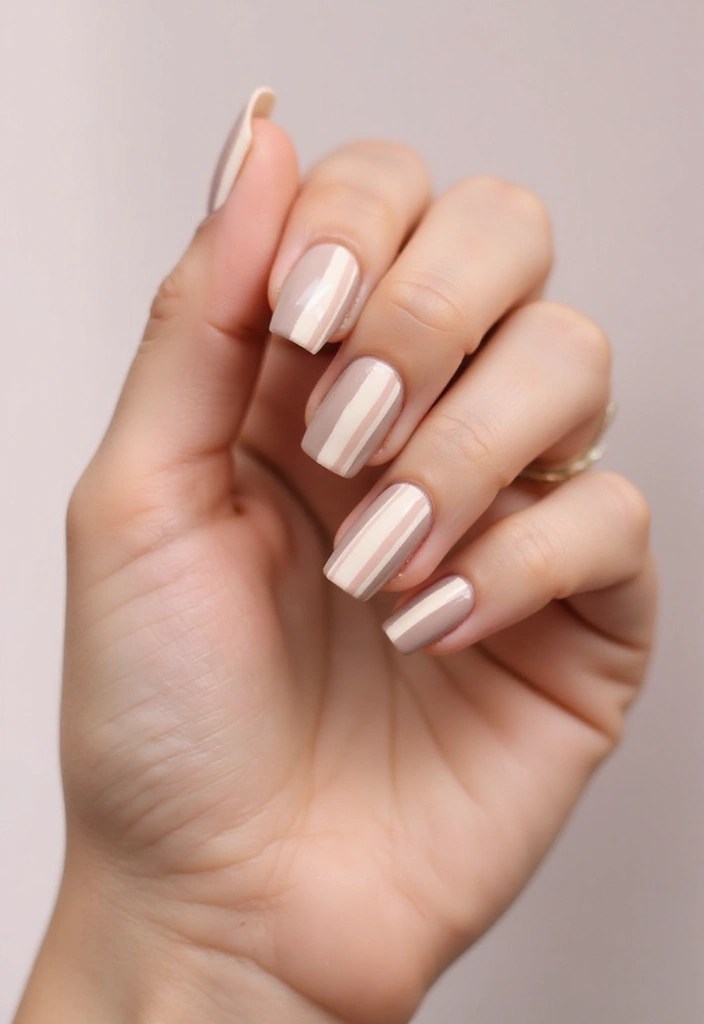
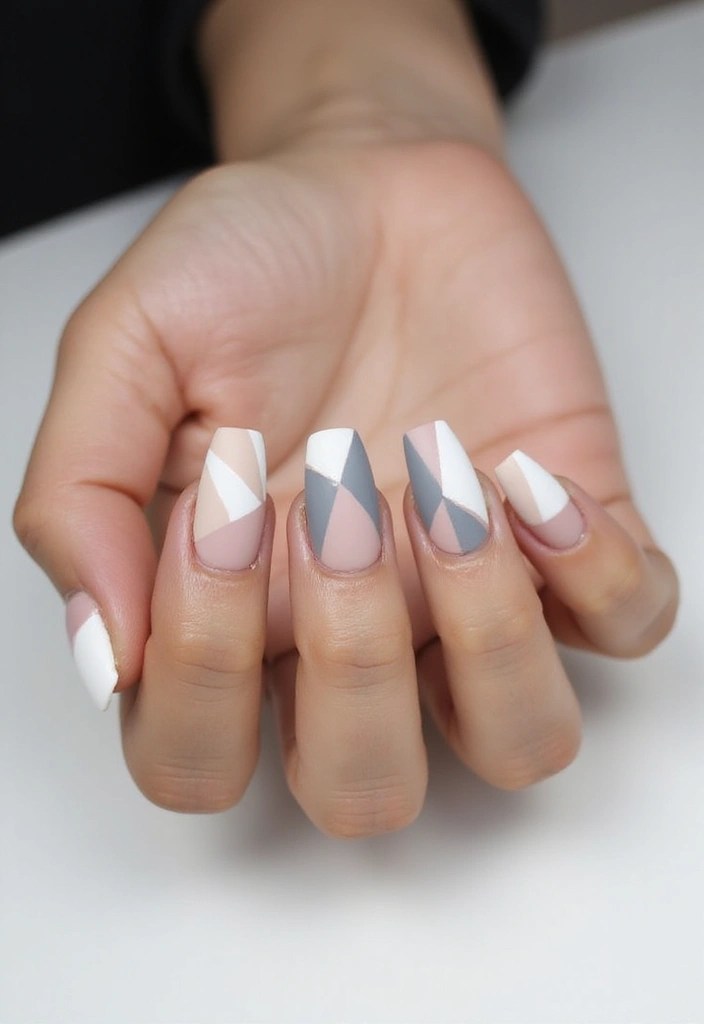
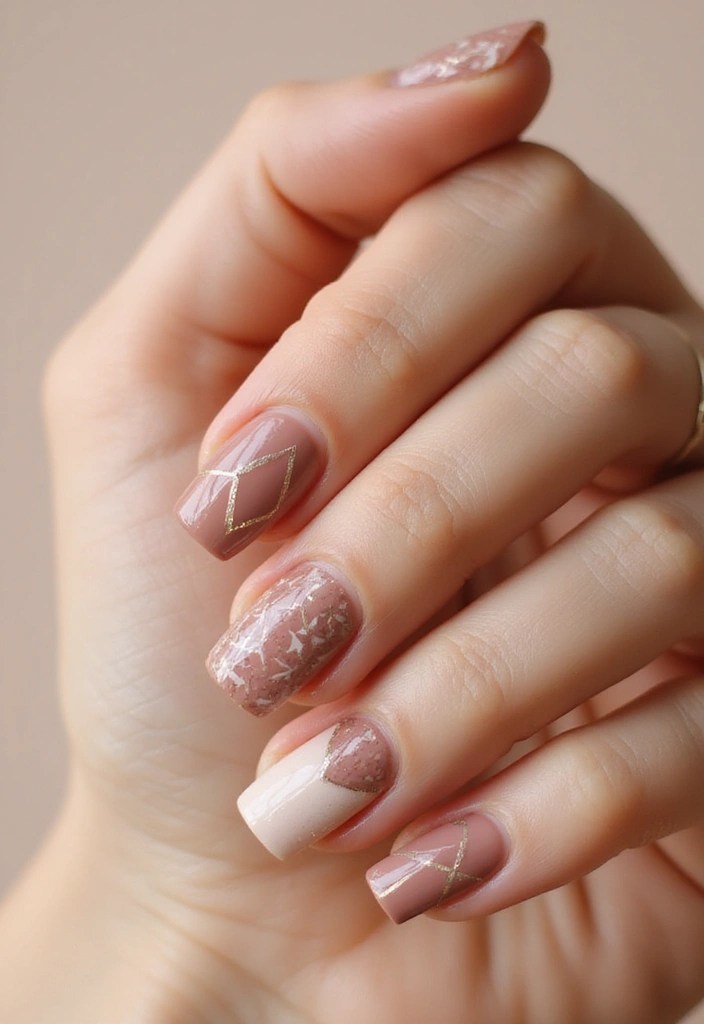
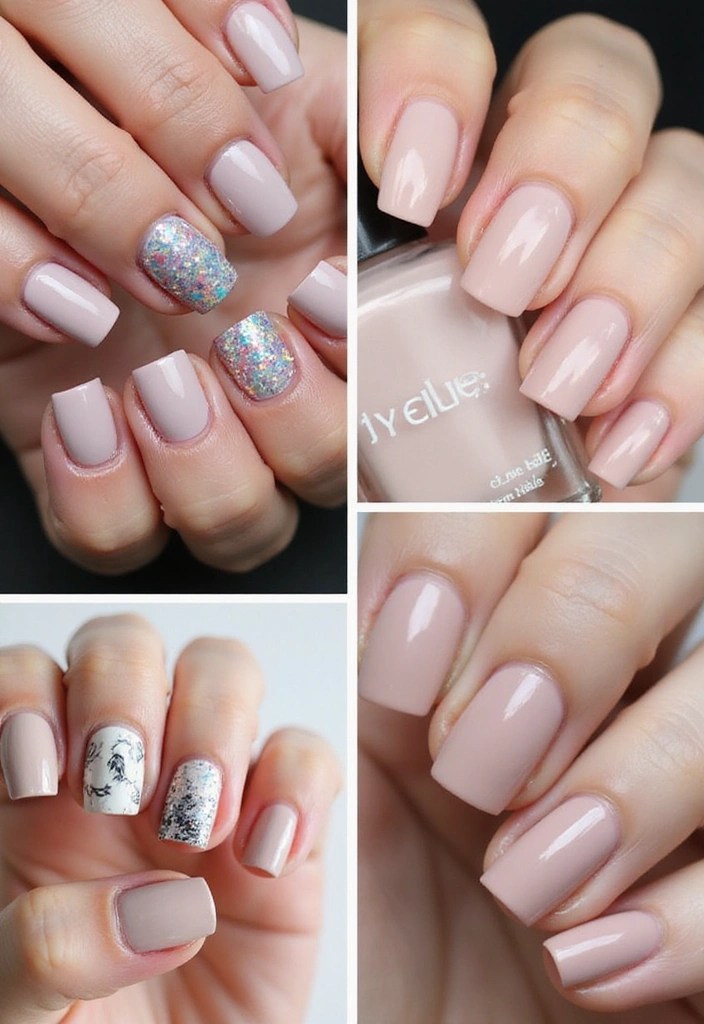
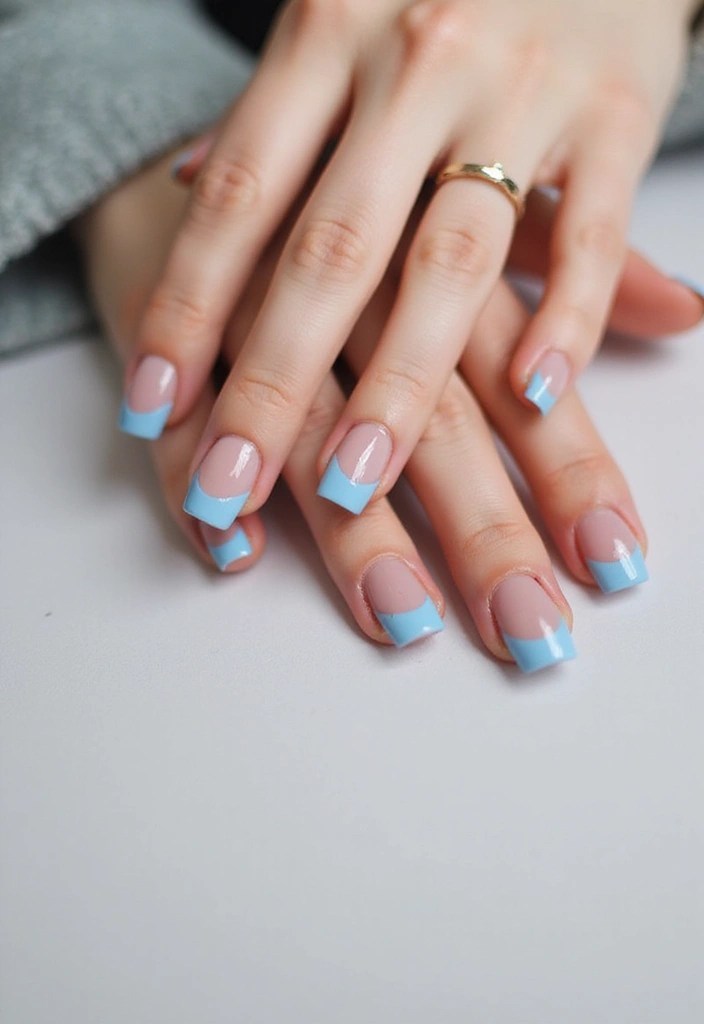
7. Chic Geometric Designs
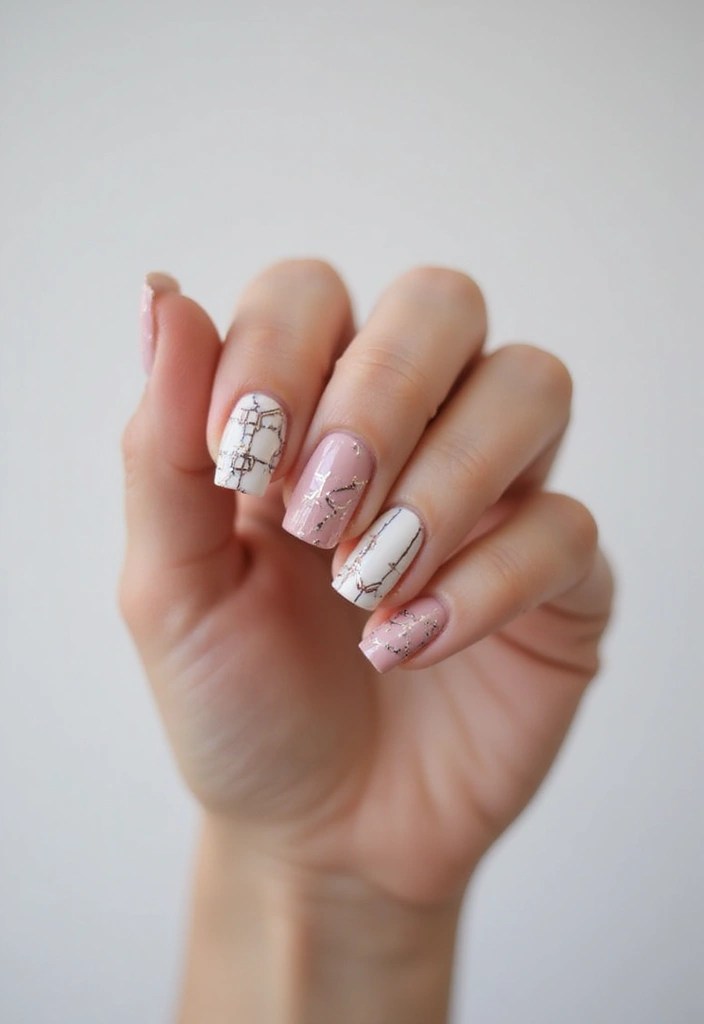
For those who love a bit of modern flair, geometric patterns can be a chic addition to your soft French manicure.
Opt for a soft base color like beige or soft pink, and use fine tape to create geometric patterns at the tips. This look is not only stylish but also allows for personal expression through design.
To achieve this, apply the base color, let it dry, then use tape to section off areas for the geometric look. You can paint these sections in contrasting colors or stick with the same color family for a monochromatic vibe.
Consider these tips:
– Ensure your base coat is completely dry before applying tape.
– Use a small detailing brush for precision.
– A matte top coat can give a sophisticated finish.
Products to consider: CND Shellac Beige Nail Polish, Nail Art Tape, Detailing Brush Set.
Product Recommendations:
• CND Shellac Beige Nail Polish
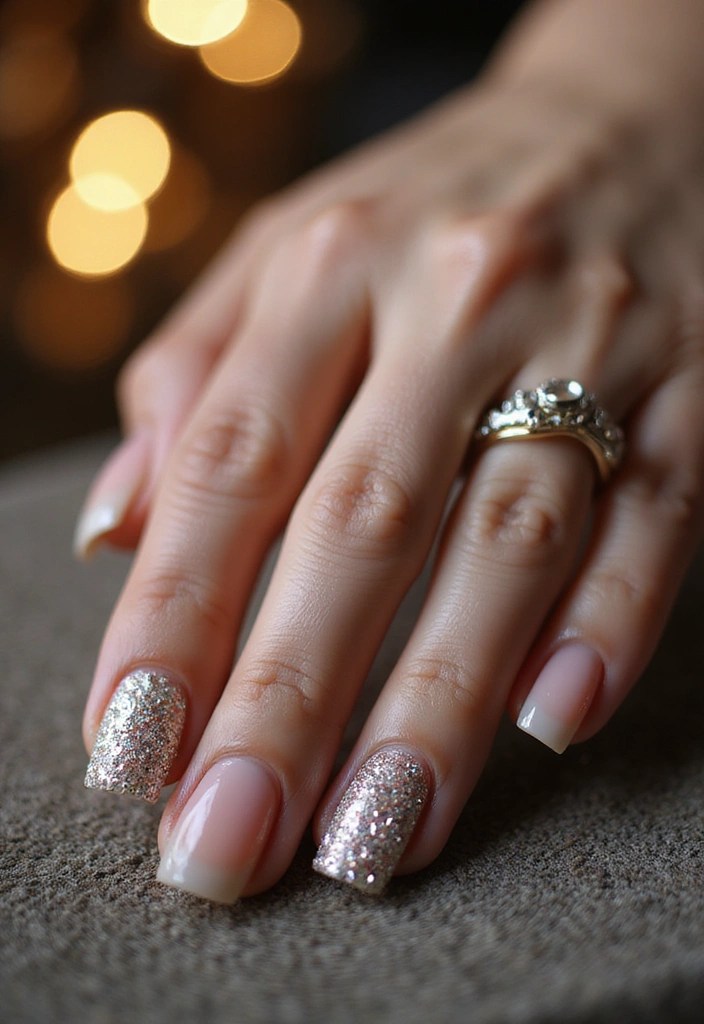
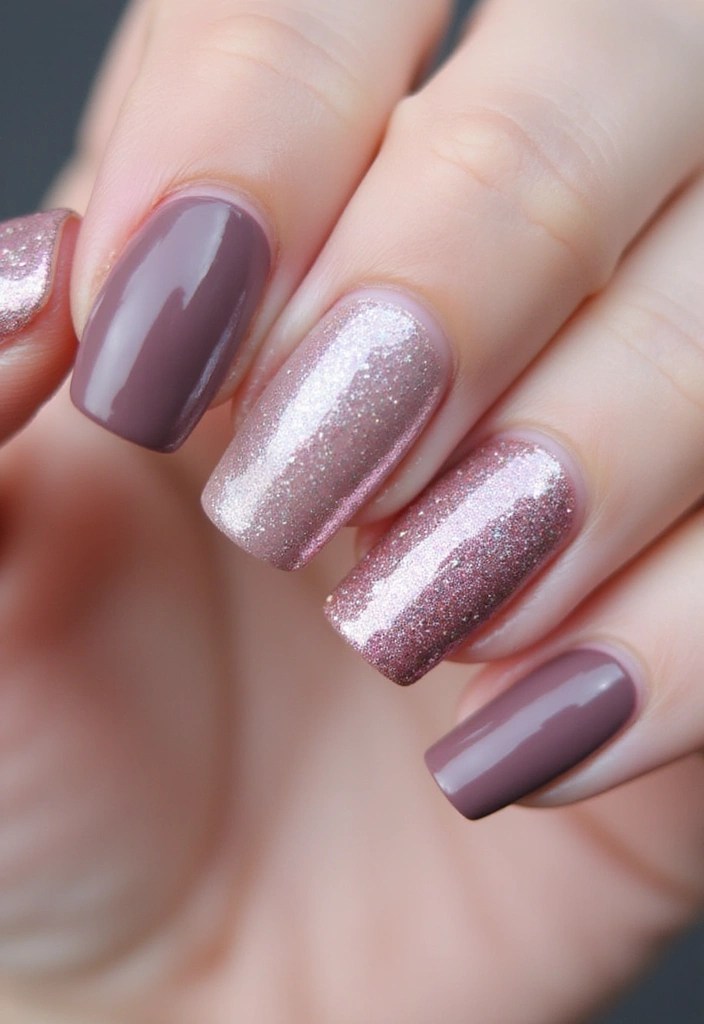
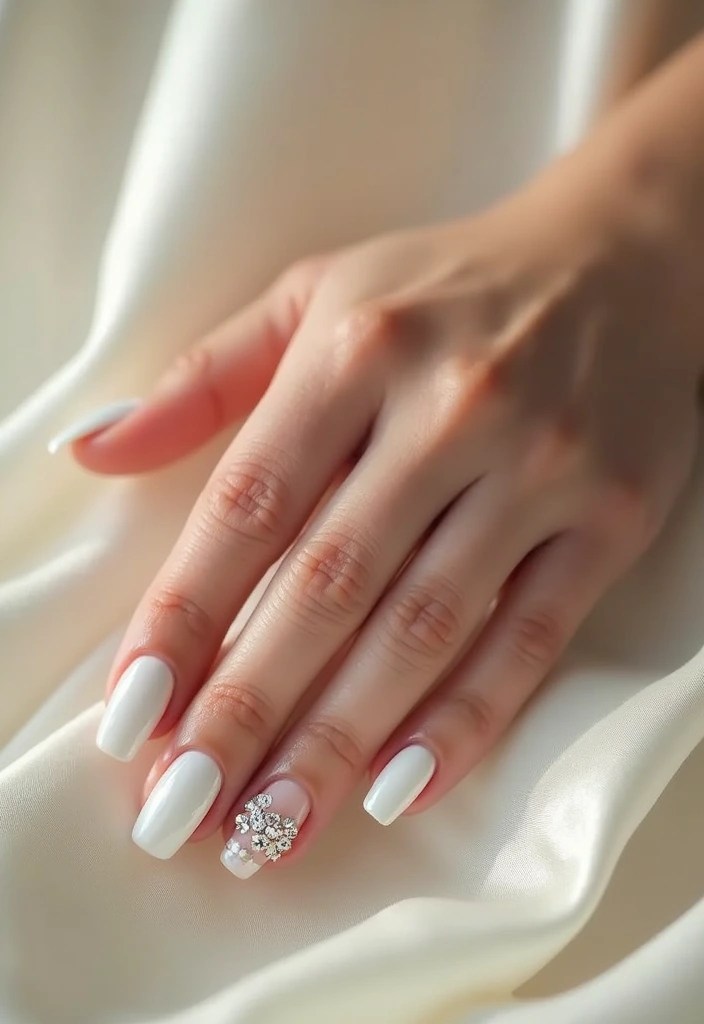
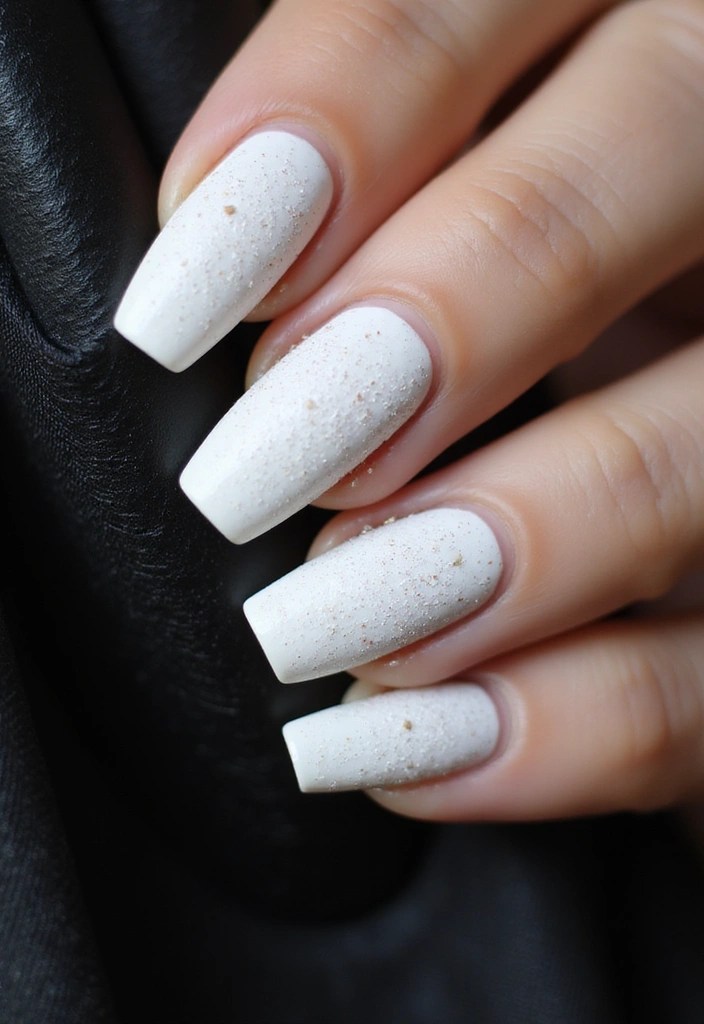
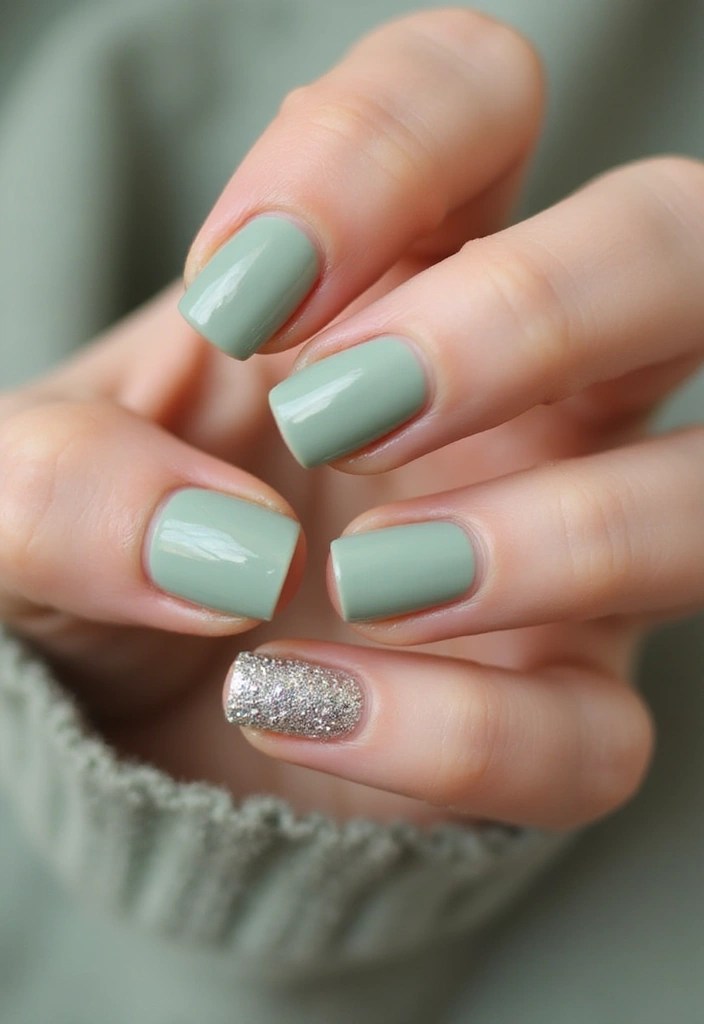
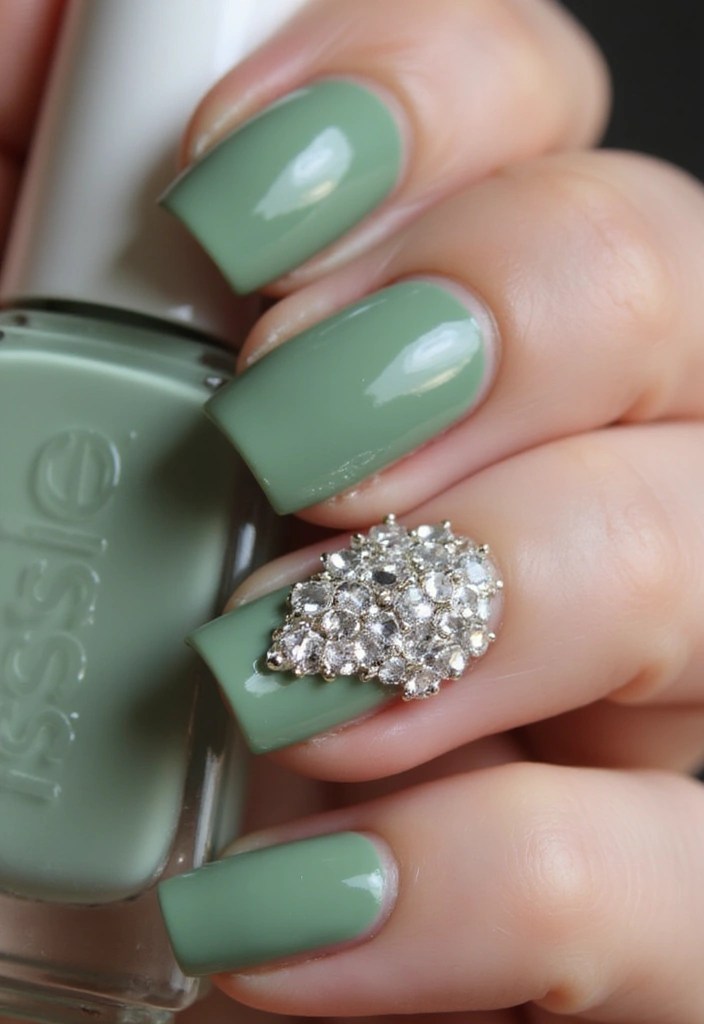
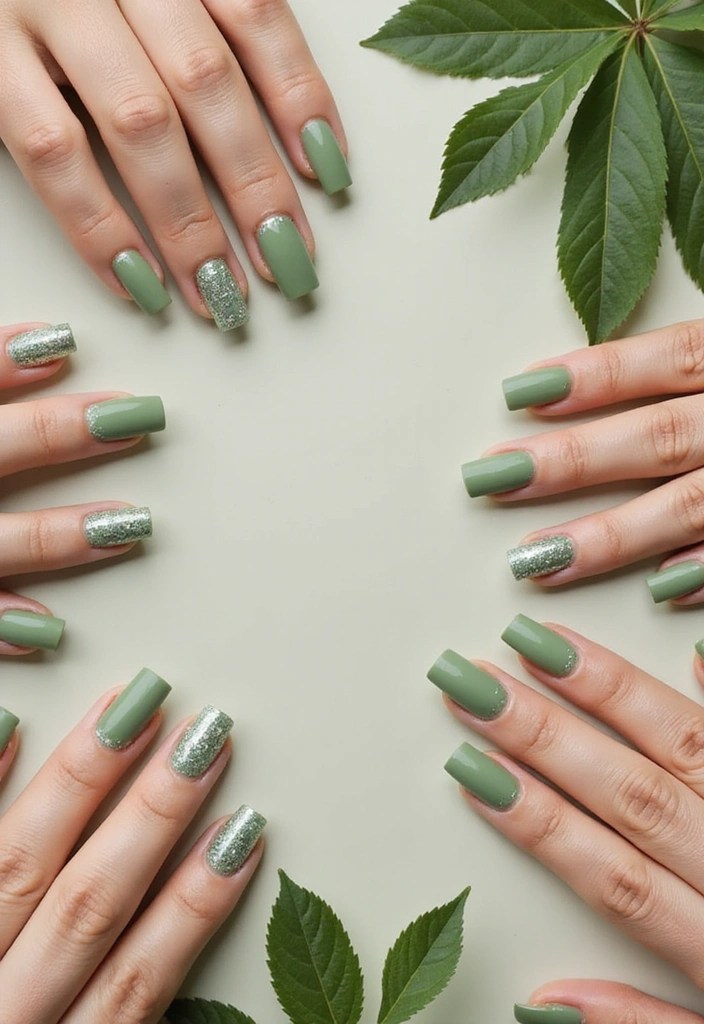
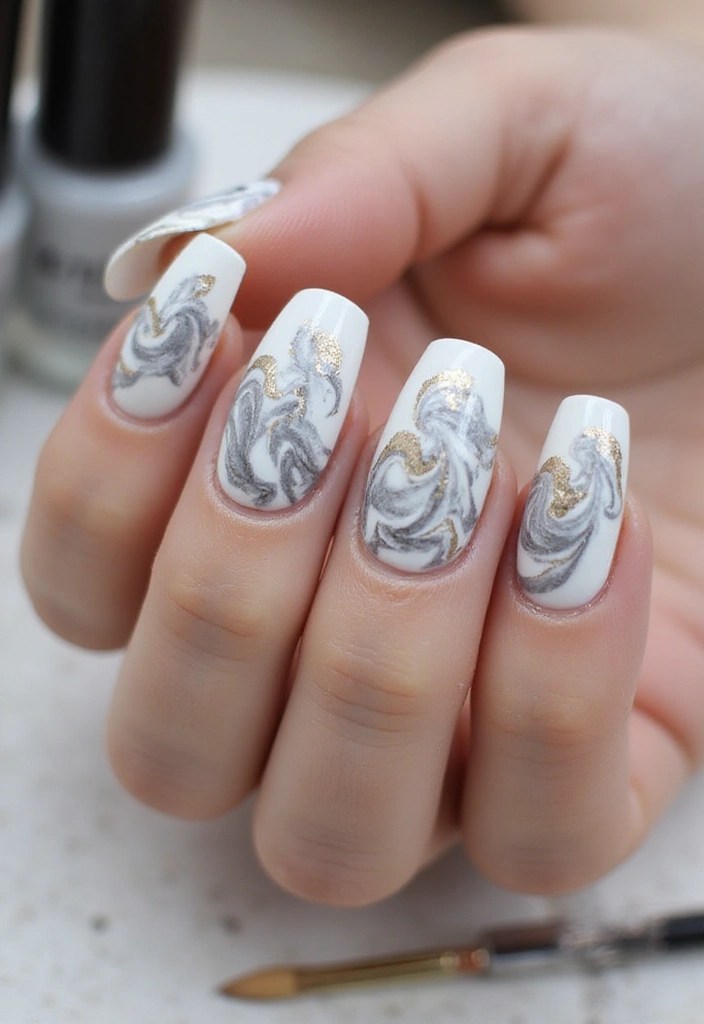
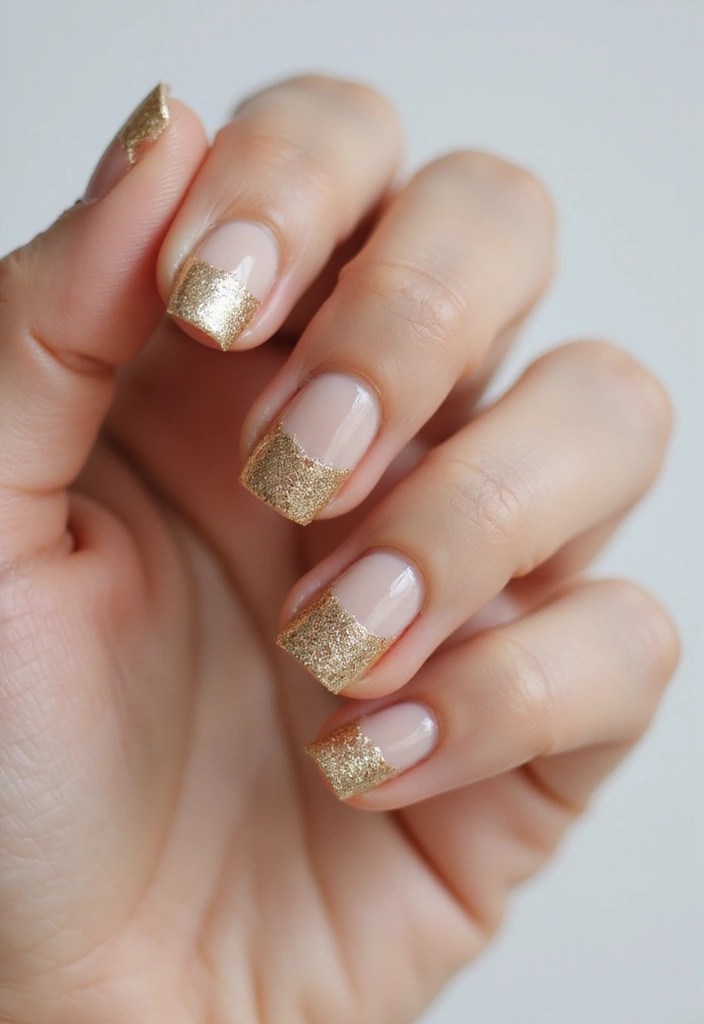
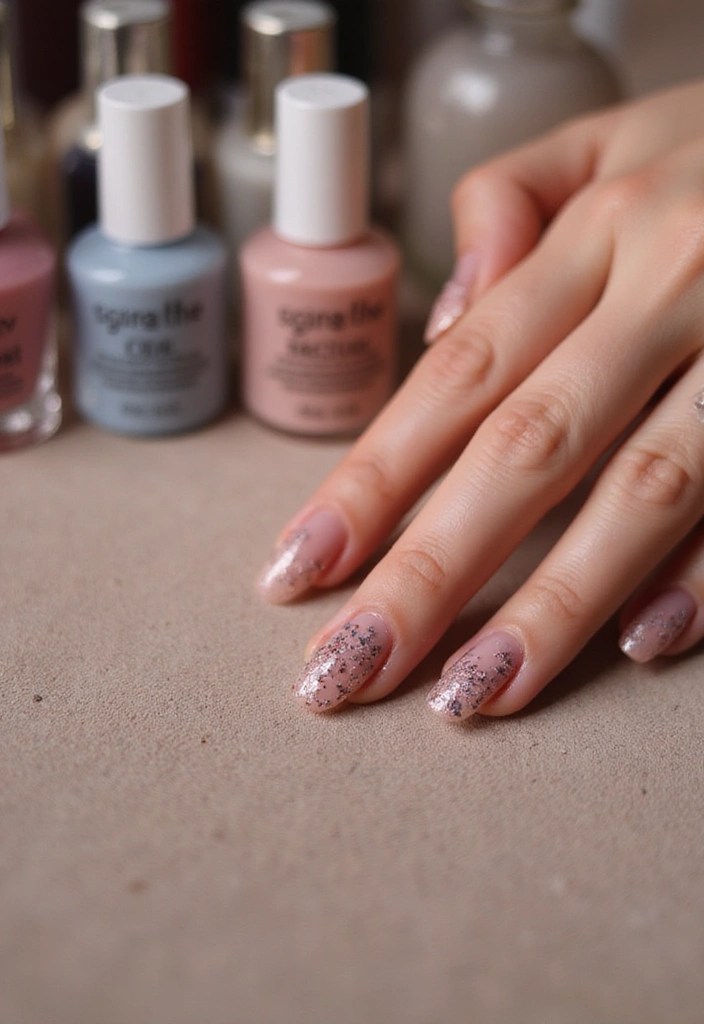
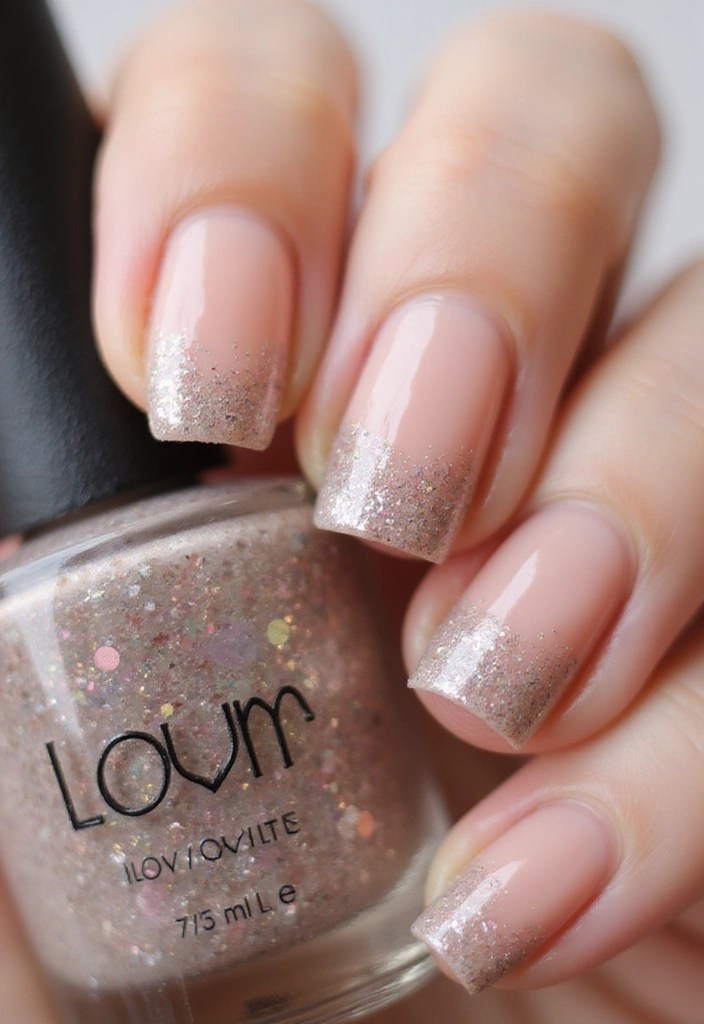
8. Glittery Tips
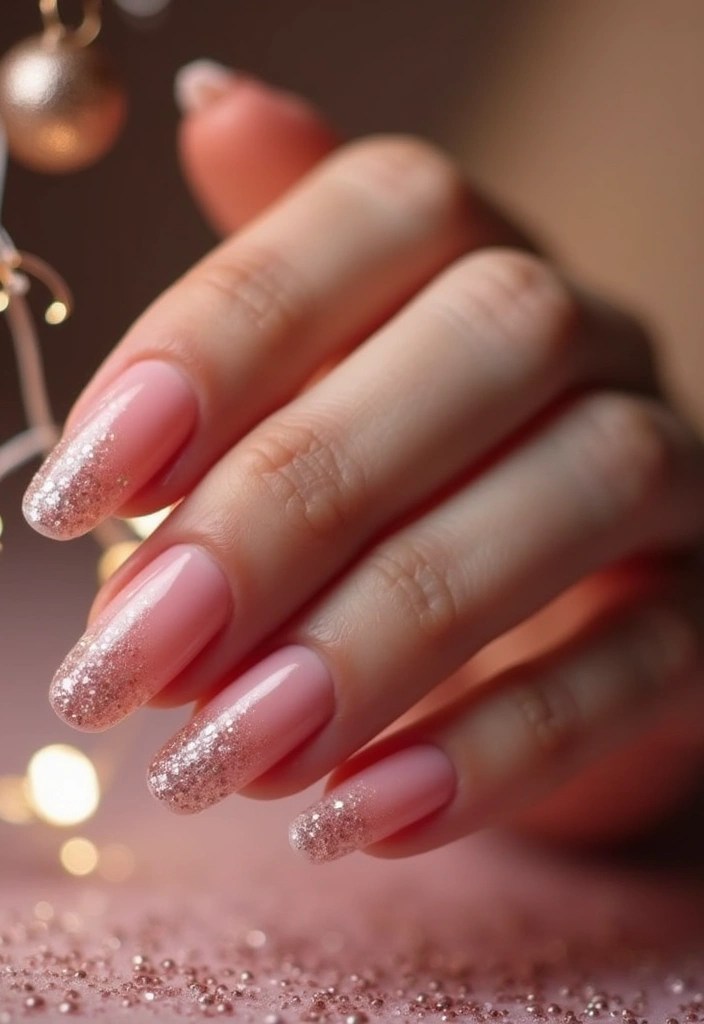
If you want to add a little glam to your soft French manicure, consider glittery tips! This look combines the elegance of a classic French with a touch of sparkle.
Start with a soft base color like pale pink or nude, then apply a glitter polish to the tips. This is perfect for special occasions or when you just want to feel a bit more fabulous.
To create this look, ensure your base color is dry before applying the glitter. You can use a sponge to dab the glitter on for a more blended effect or a brush for a cleaner line.
Here are some tips:
– Choose a glitter polish that complements your base color.
– Use a top coat to smooth out any rough glitter edges.
– Consider a gradient effect with the glitter for added dimension.
Products to consider: Essie Pale Pink Nail Polish, Glitter Nail Polish, Quick-Dry Top Coat.
Product Recommendations:
• Essie Gel Couture Nail Polish
• Seche Vite Dry Fast Top Coat
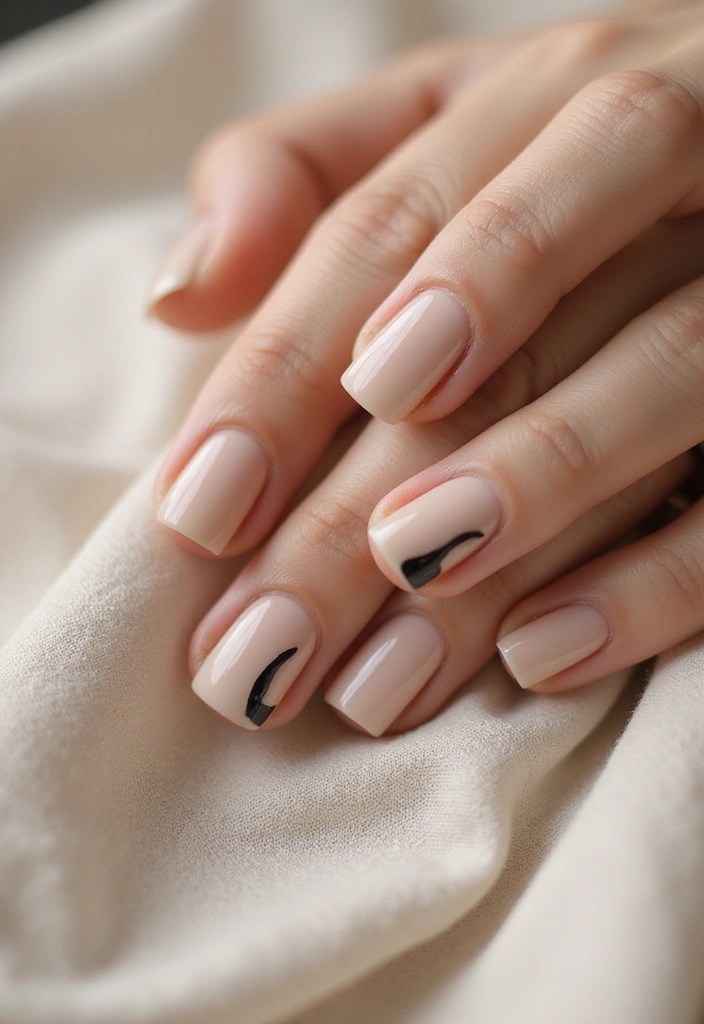
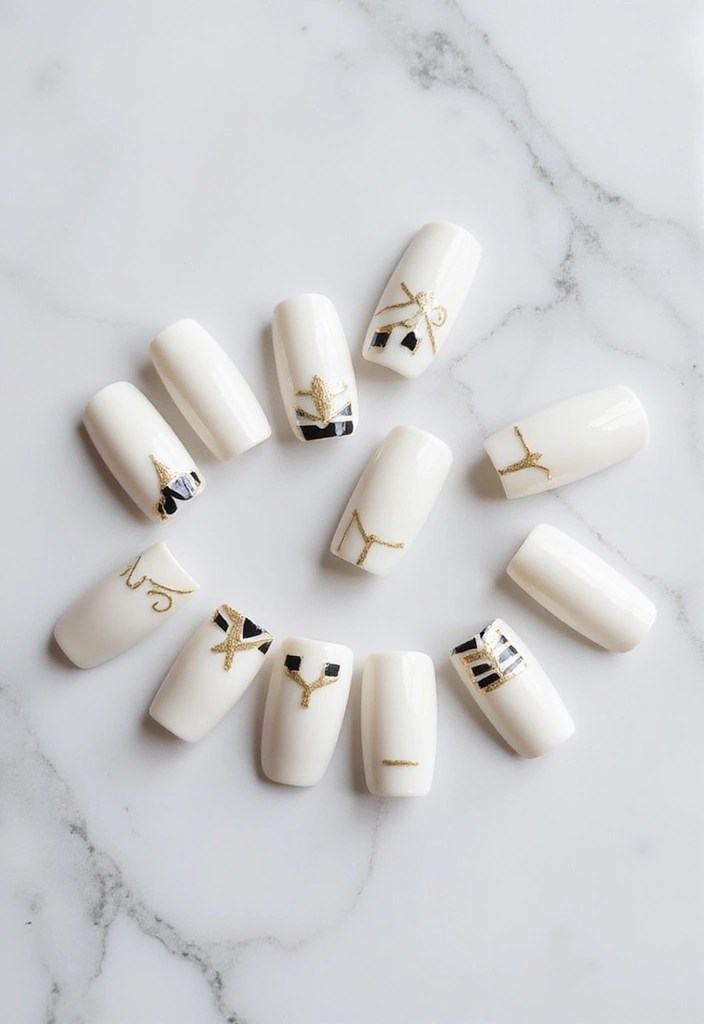
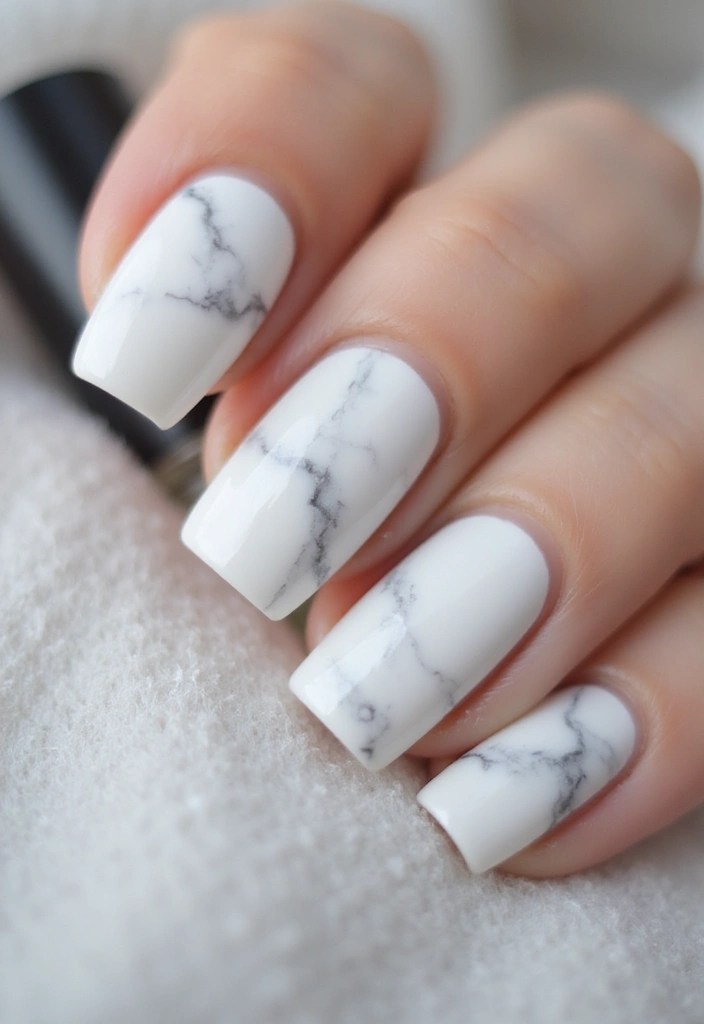
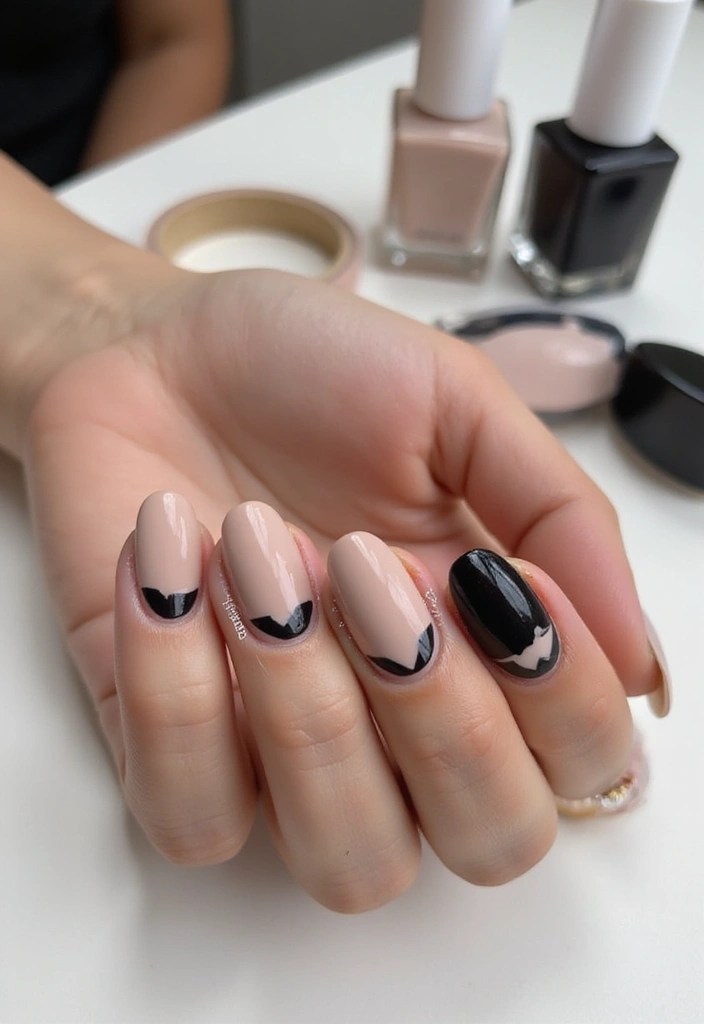
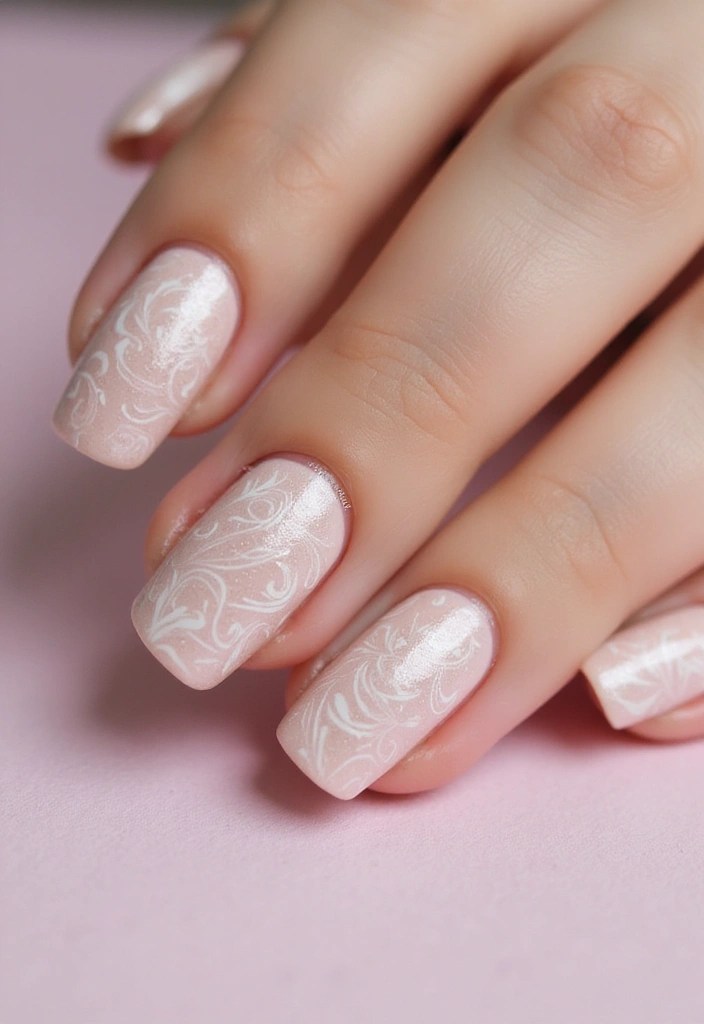
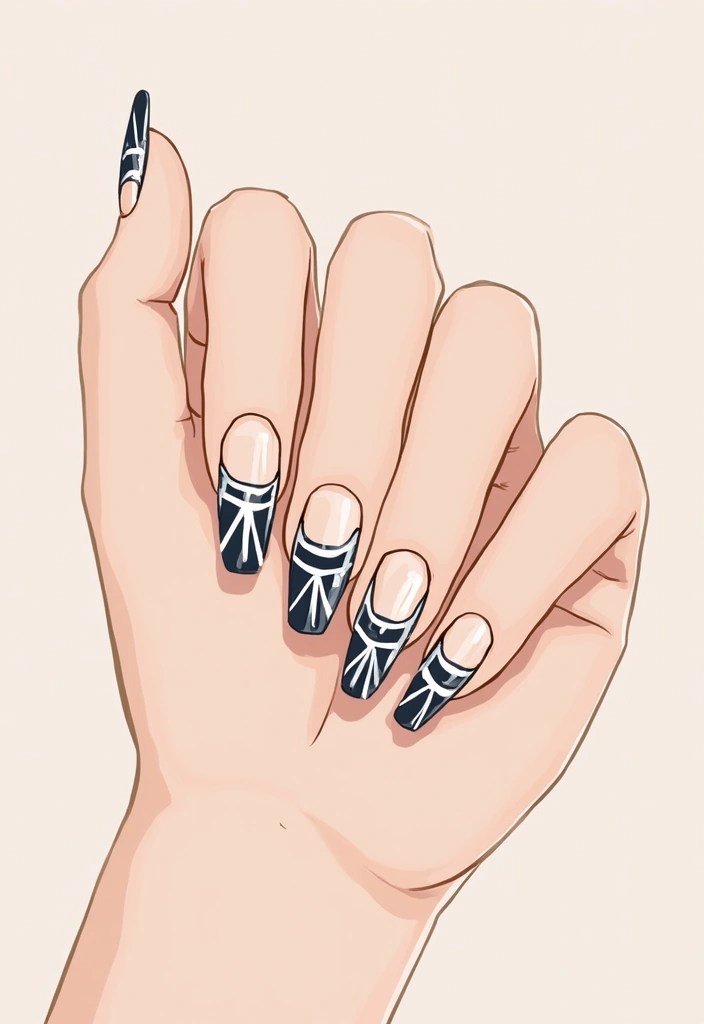
9. Minimalist Line Art
For the artsy soul, minimalist line art on a soft French manicure is a perfect fit. This style allows for creativity without overpowering the classic French look.
Choose a soft base color and use a fine brush to create simple line art designs, such as abstract shapes or minimalist floral patterns, on one or two accent nails. This look is versatile and can be dressed up or down, making it suitable for any occasion.
To get started, paint your base coat, let it dry, and then carefully add your line art.
Here are some helpful tips:
– Practice your line art on a piece of paper before applying it to your nails.
– Keep the designs simple for a more elegant look.
– Finish with a glossy top coat to enhance the designs.
Products to consider: OPI Soft Beige Nail Polish, Nail Art Brush Set, High-Gloss Top Coat.
Product Recommendations:
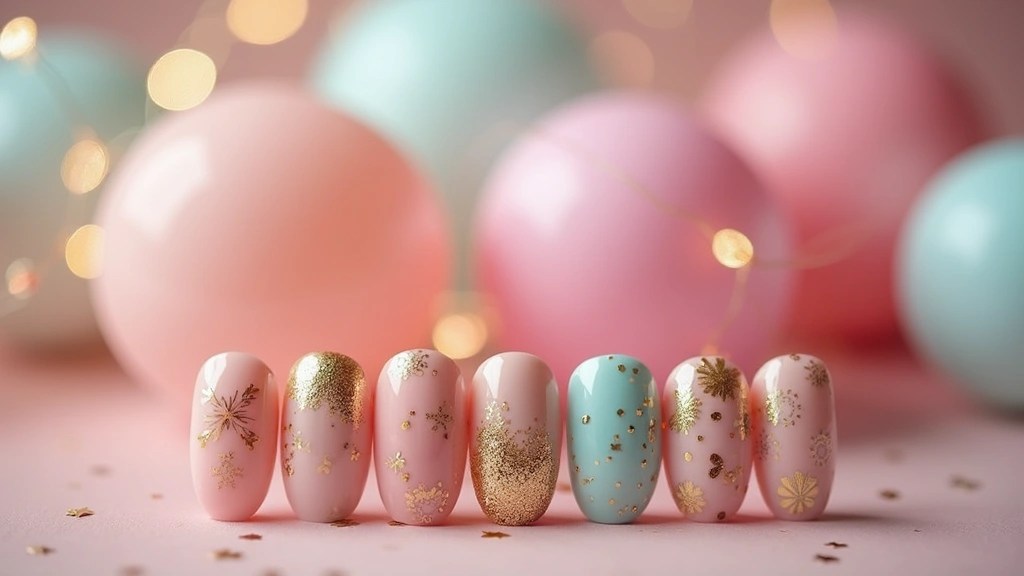
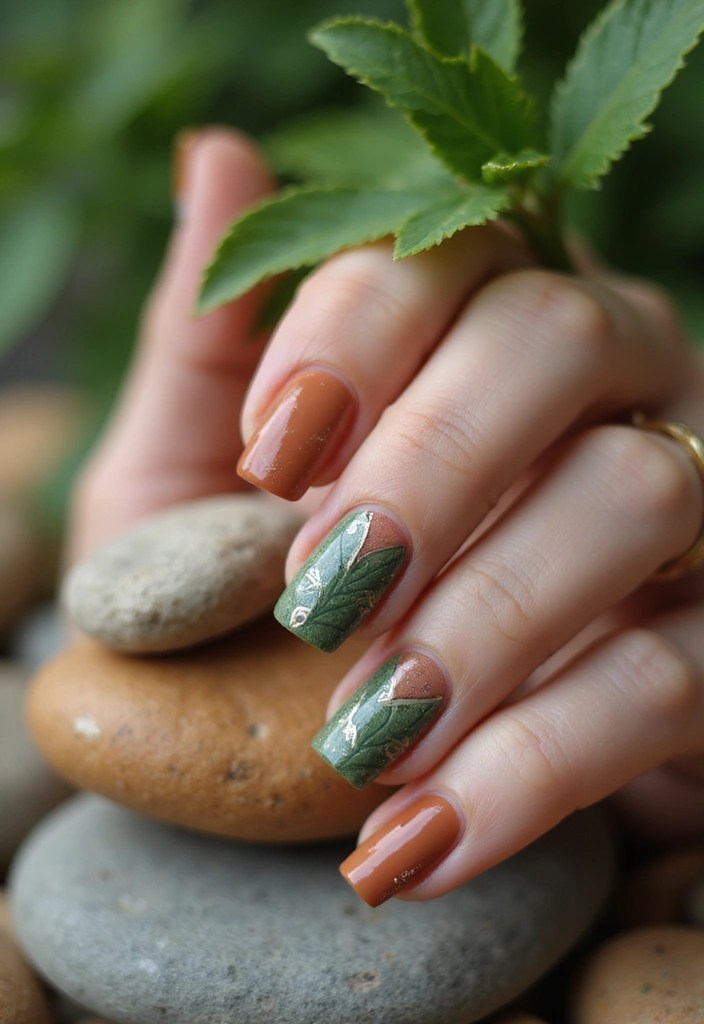
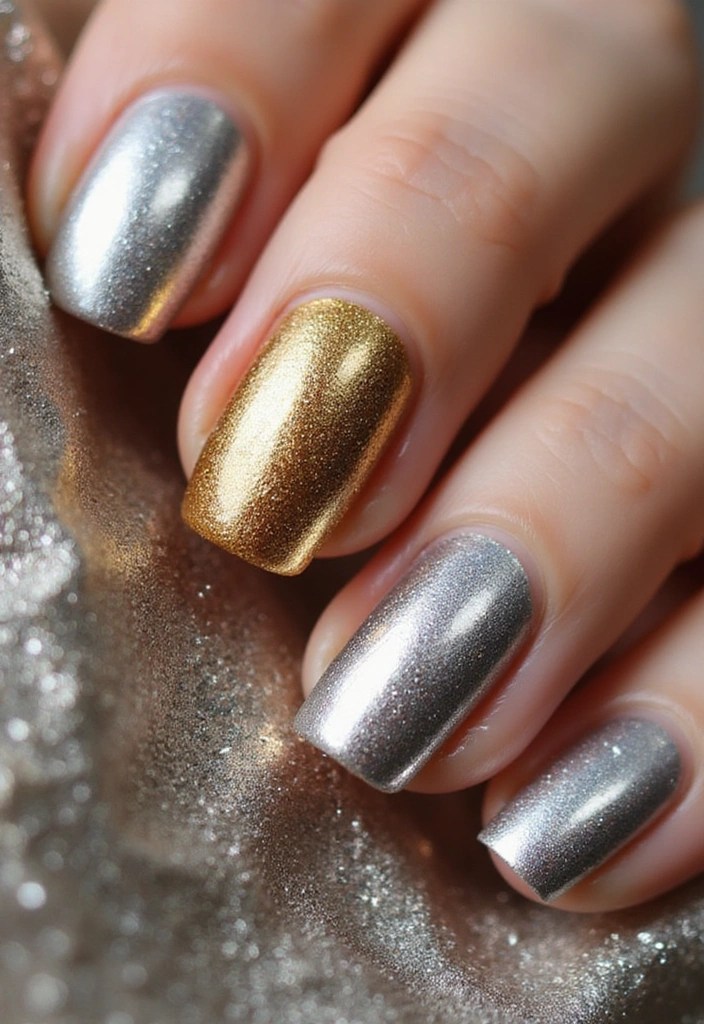
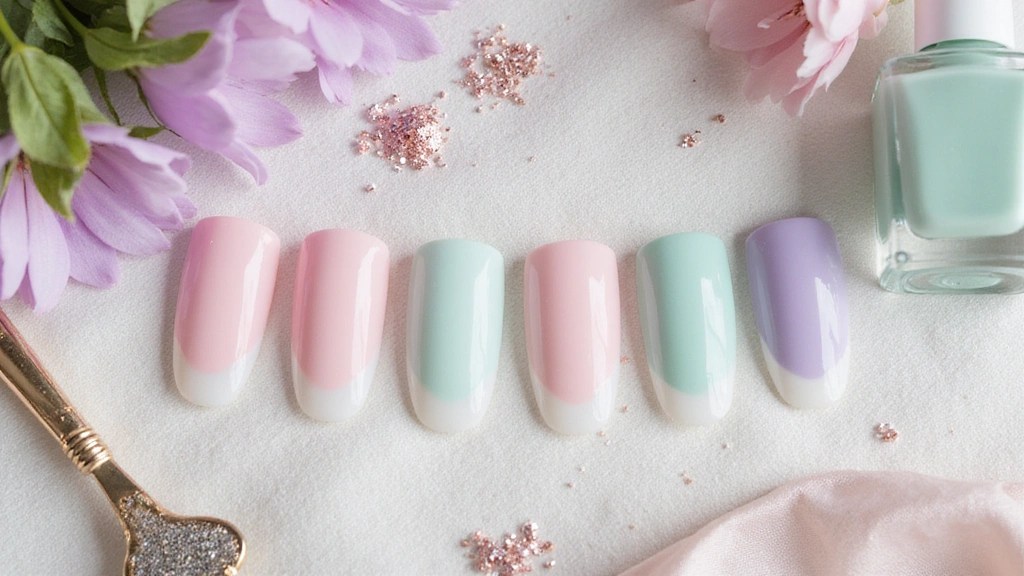
10. Seasonal Inspirations
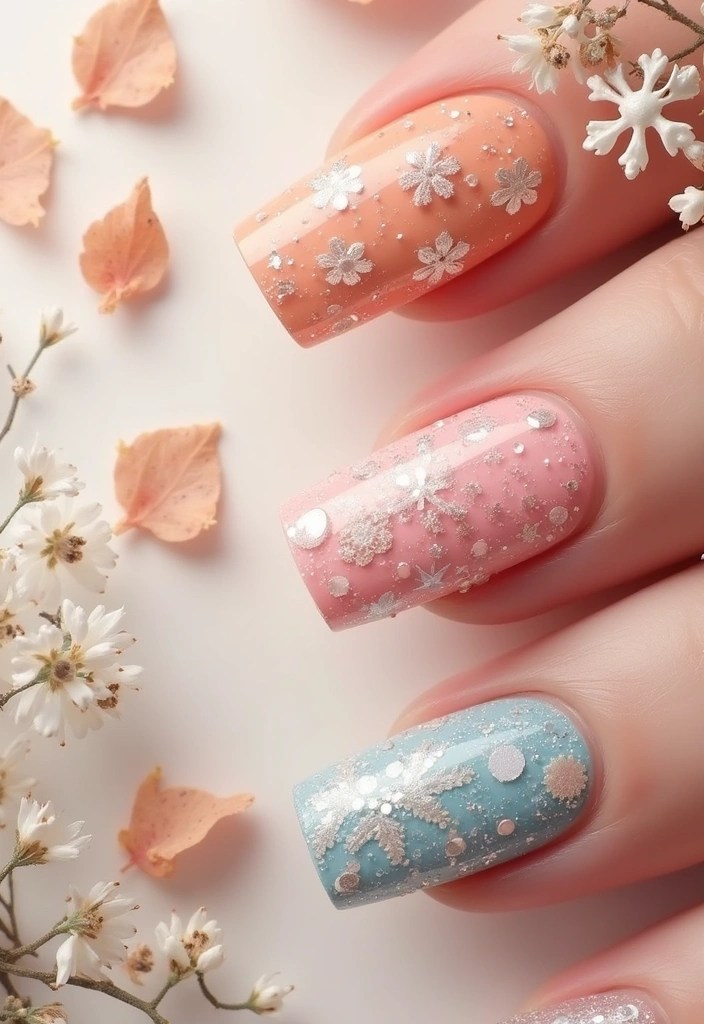
Each season brings unique color palettes and inspirations. For instance, soft pastels are perfect for spring, while warmer tones work beautifully in fall.
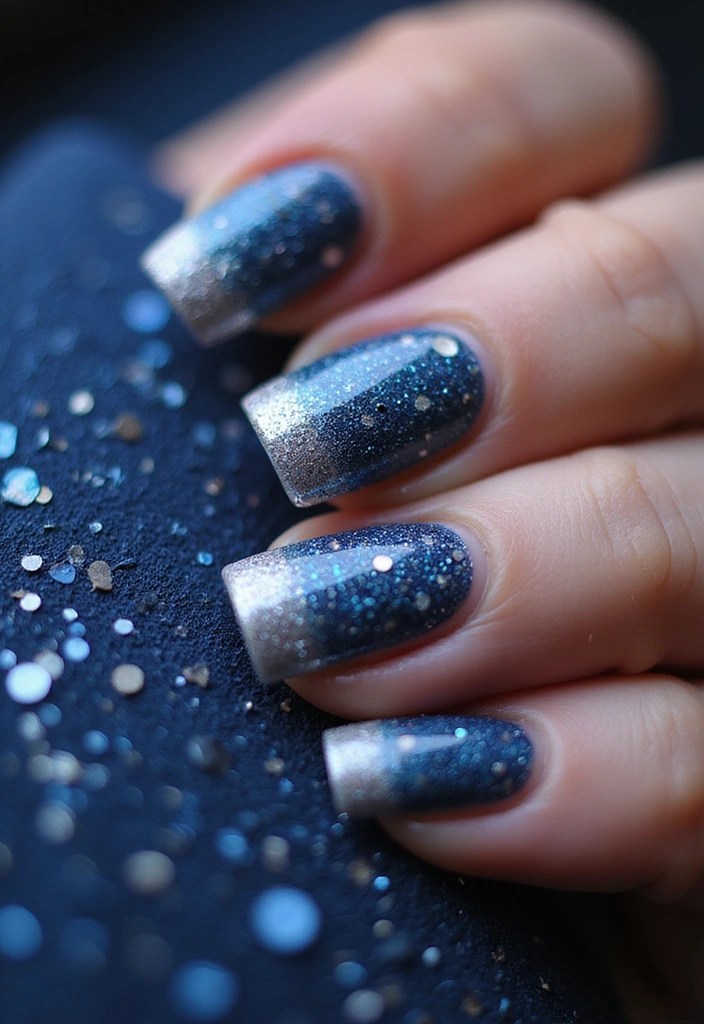
Consider adapting your soft French manicure to reflect the season by using colors and designs that resonate with the changing environment. For spring, think florals; for summer, perhaps beach-inspired colors; for fall, warm earthy tones; and for winter, consider icy blues or silvers.
To create a seasonal manicure, start with a base color that represents the season, and add designs that reflect that vibe, such as leaves for autumn or snowflakes for winter.
Here are some tips:
– Stay updated with seasonal color trends to stay fashionable.
– Use seasonal nail stickers for easy application.
– Don’t be afraid to experiment with textures like matte and gloss in your designs.
Products to consider: Seasonal Nail Polish Collections, Nail Stickers for Every Season, Texture Top Coats.
Product Recommendations:
• Nail Polish Set with Seasonal Colors
• Matte and Gloss Top Coat Set
Conclusion
Soft French manicures are a beautiful blend of classic charm and modern elegance.
Whether you prefer pastels, ombres, or chic designs, there’s a soft French manicure inspiration for every taste and occasion.
So grab your nail polish and start experimenting with these stunning ideas that are sure to steal your heart!