Spring is the time for blooming flowers and vibrant colors, and what better way to celebrate the season than with stunning floral nail designs?
These creative nail art ideas not only brighten up your look but also bring a touch of nature to your fingertips. Whether you’re heading to a garden party or just want to show off your style, floral nails are a perfect choice.
Join us as we explore 11 breathtaking floral nail designs that’ll undoubtedly make heads turn this spring. Each design is unique and bursting with creativity, so get ready to be inspired and find your next favorite manicure!
Contents
- 1. Delicate Cherry Blossom Dreams
- 2. Vibrant Wildflower Burst
- 3. Elegant Rose Gold Floral
- 4. Tropical Floral Fiesta
- 5. Pastel Floral Watercolor
- 6. Bold Floral Geometric
- 7. Minimalist Floral Accent
- 8. Vintage Floral Charm
- 9. Whimsical Floral Doodles
- 10. Ombre Floral Fusion
- 11. Floral French Tips
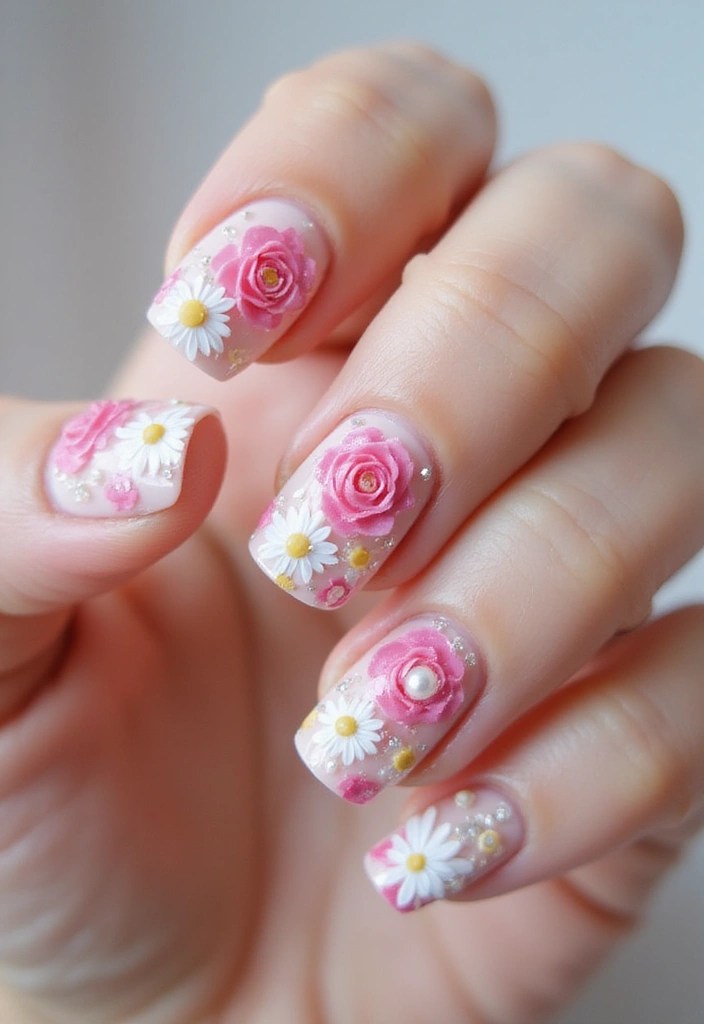
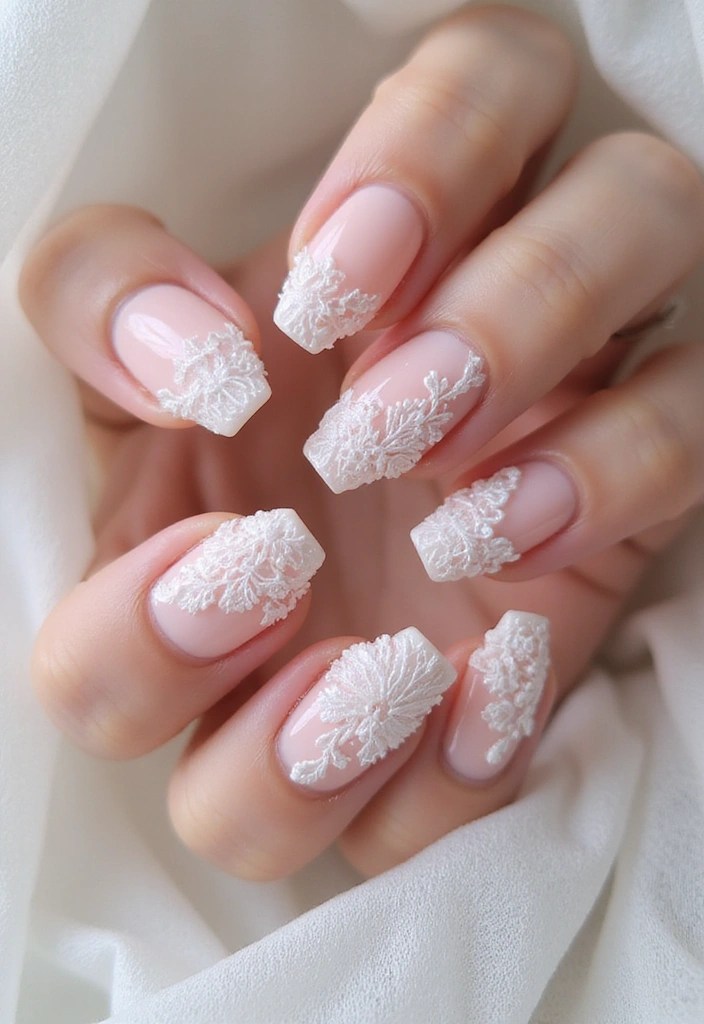
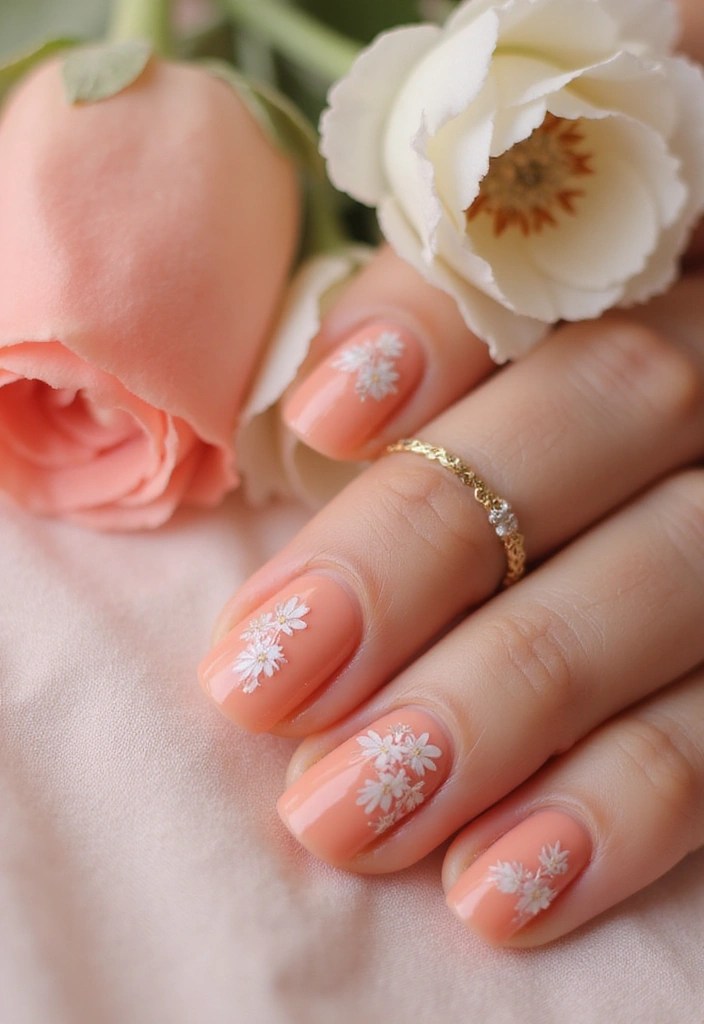
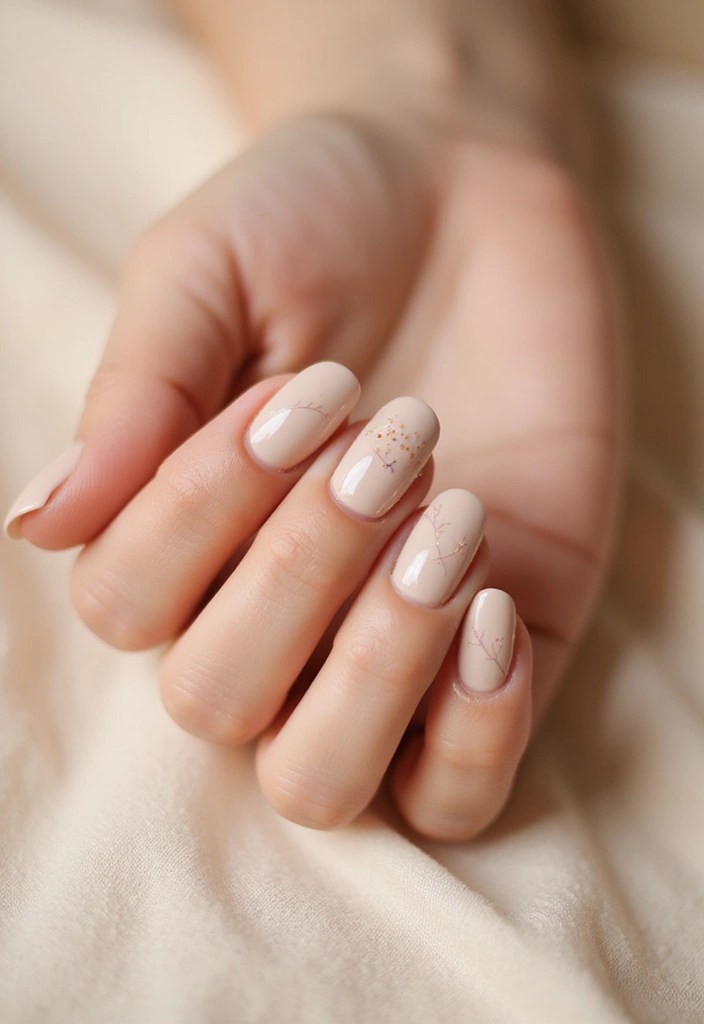
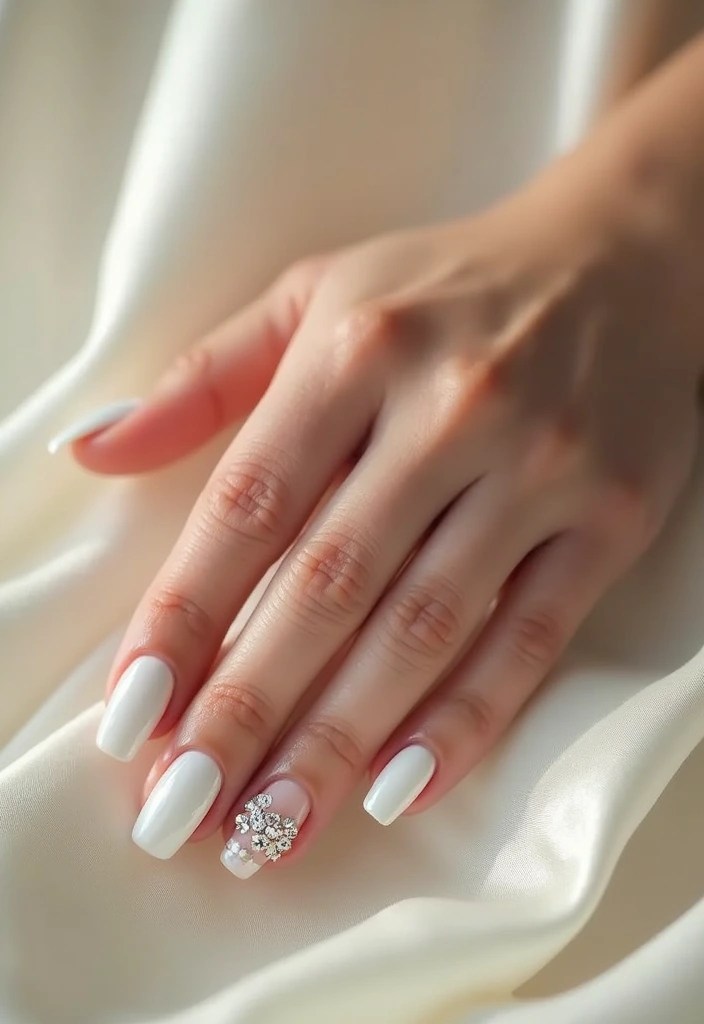
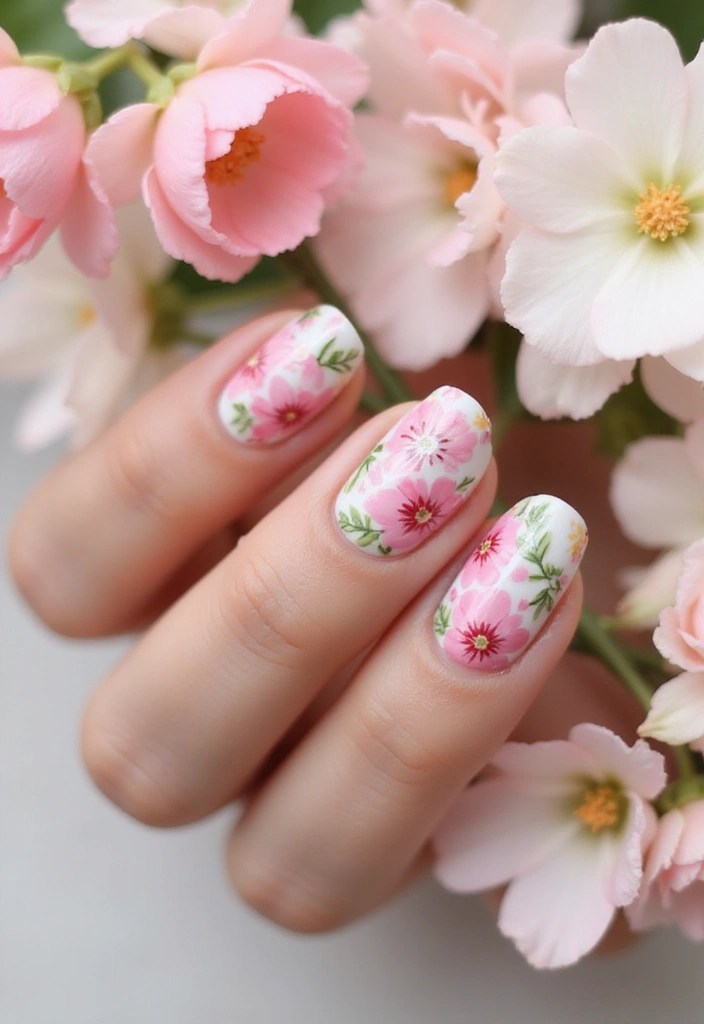
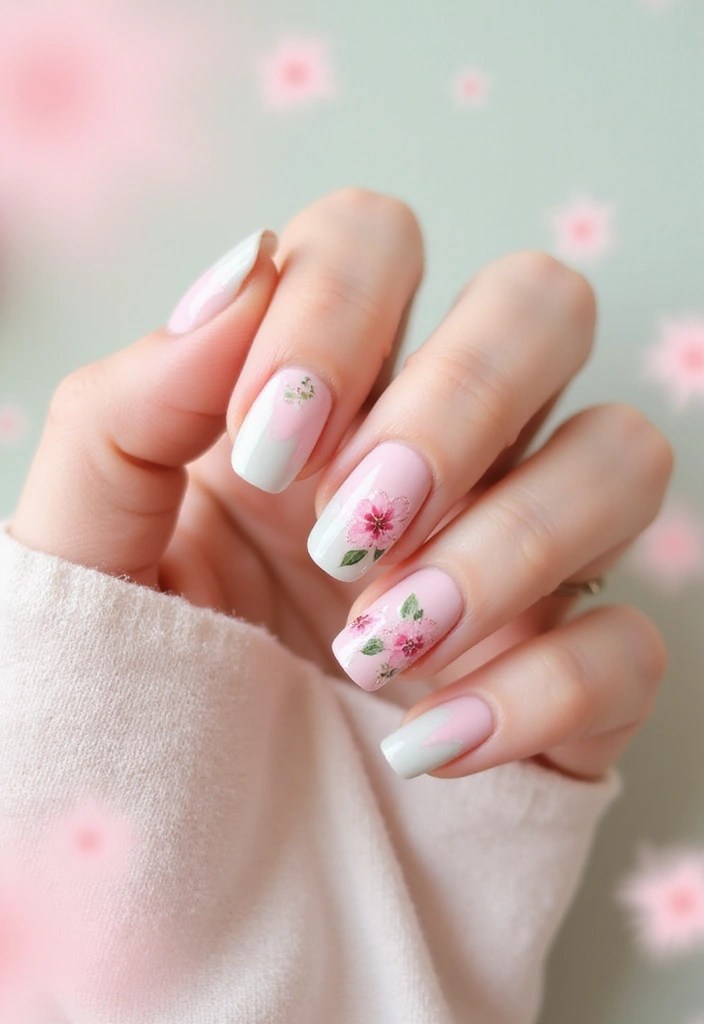
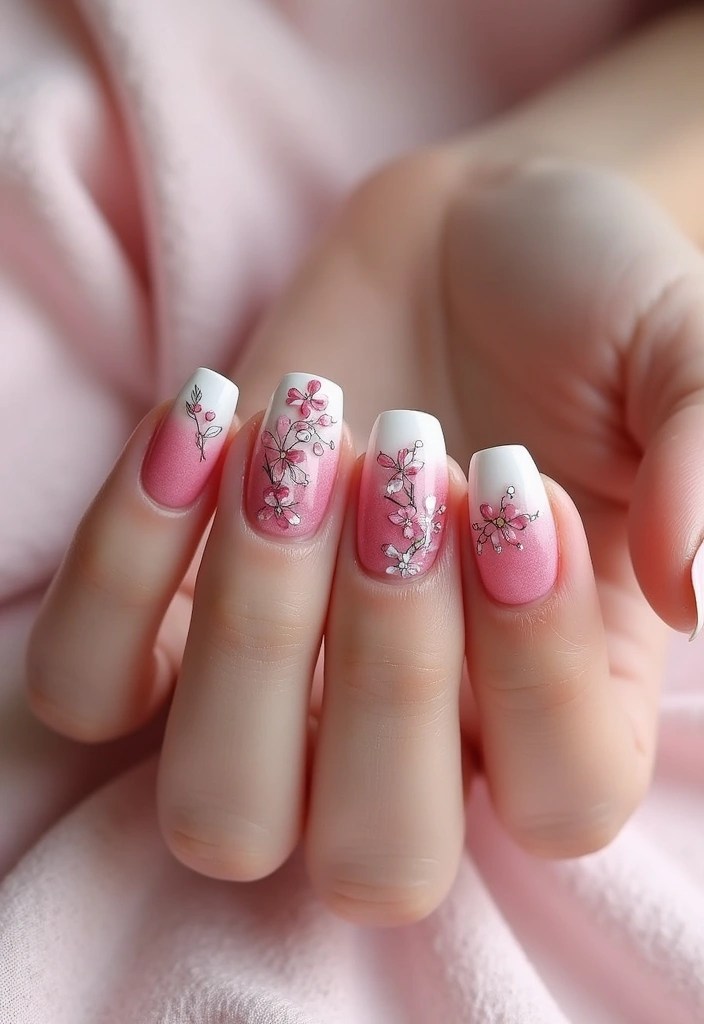
1. Delicate Cherry Blossom Dreams

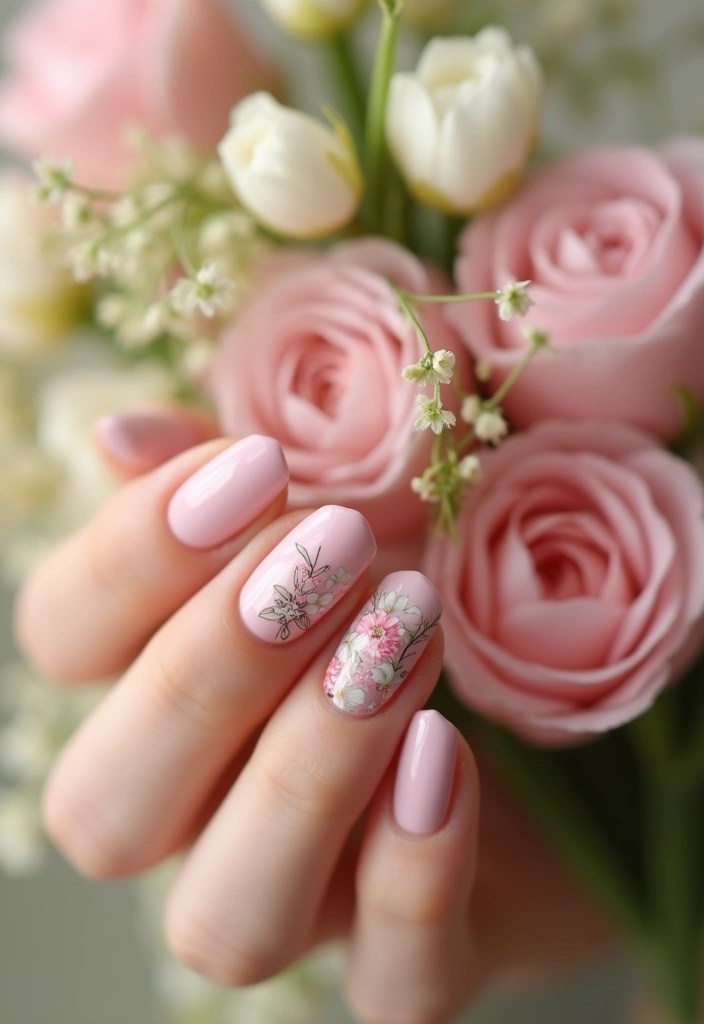
Cherry blossoms are synonymous with spring, and they make for a delicate yet stunning nail design. Imagine soft pinks and whites swirling together on a nude base, resembling a serene cherry blossom tree in full bloom.
To create this look, start with a nude or light pink base coat. Once dry, use a fine brush to paint tiny branches and delicate flowers in various shades of pink. Don’t forget to add white accents for highlights!
Tip: To make your design pop, consider using a matte top coat to create contrast against the glossy base.
This design is perfect for any occasion, whether you’re out for brunch or attending a spring wedding. The subtle elegance of cherry blossoms will catch the eye without being overly bold.
Ideas for additional flair include adding a small rhinestone at the center of each flower for a touch of sparkle.
For maintenance, use a gentle nail polish remover to avoid damaging the design. Remember, less is more with this lovely floral touch.
Product Recommendations:
• fine detail nail art brush set
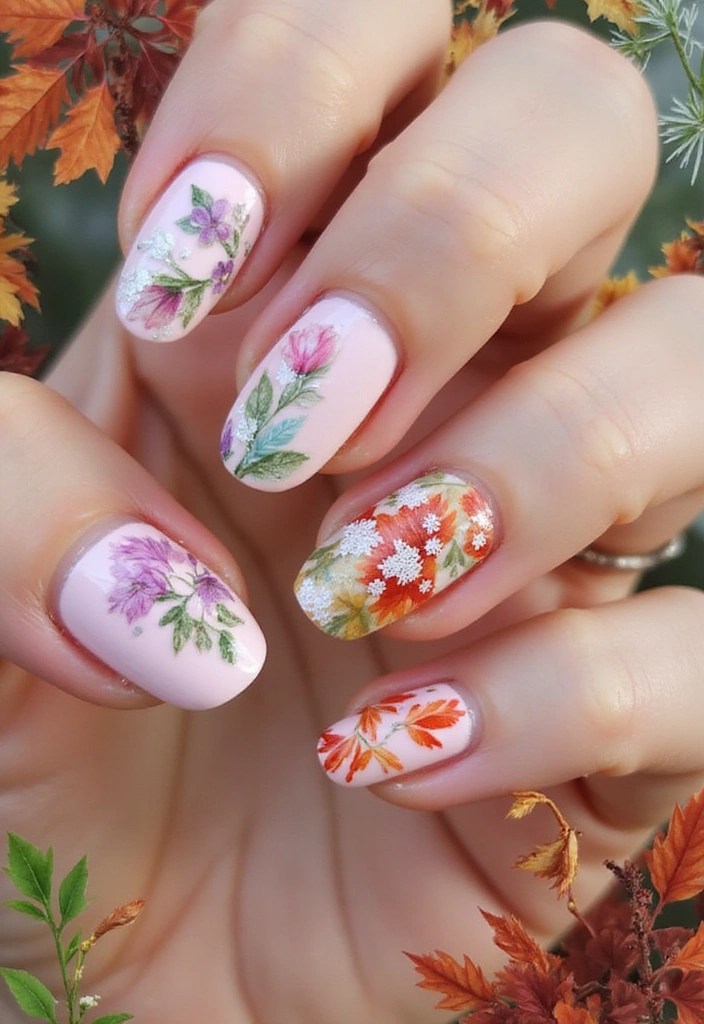
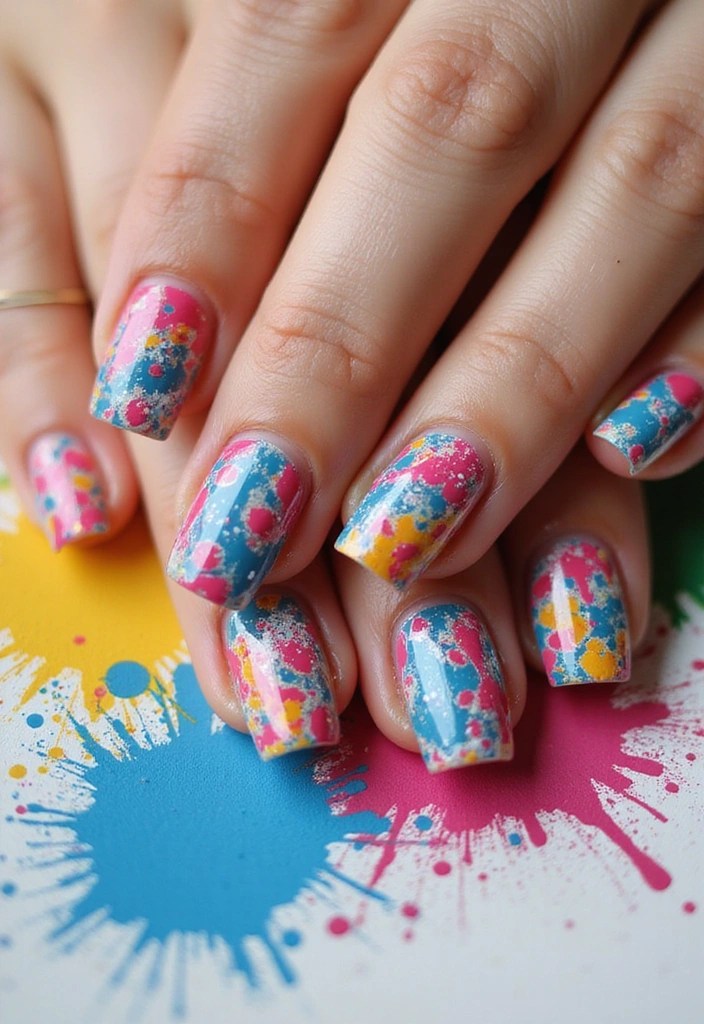
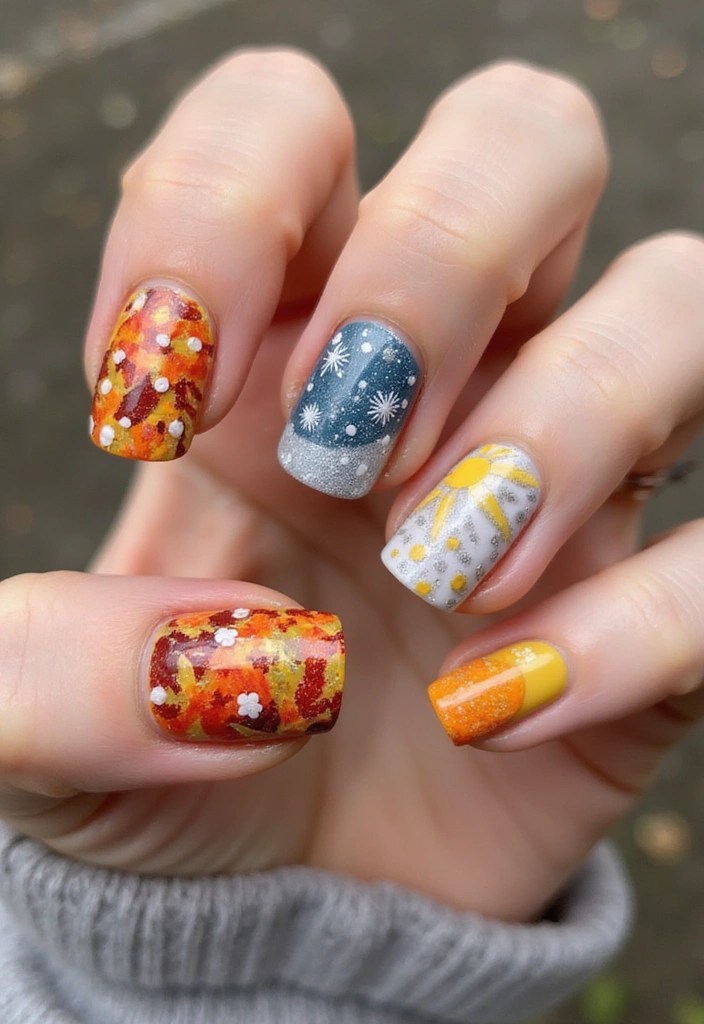
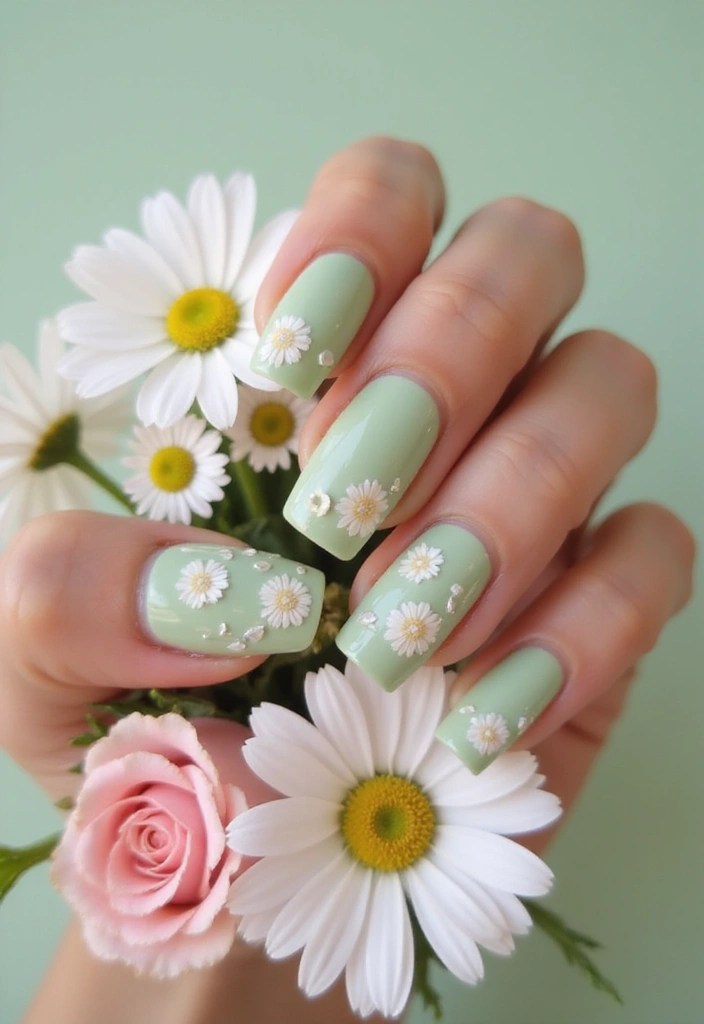
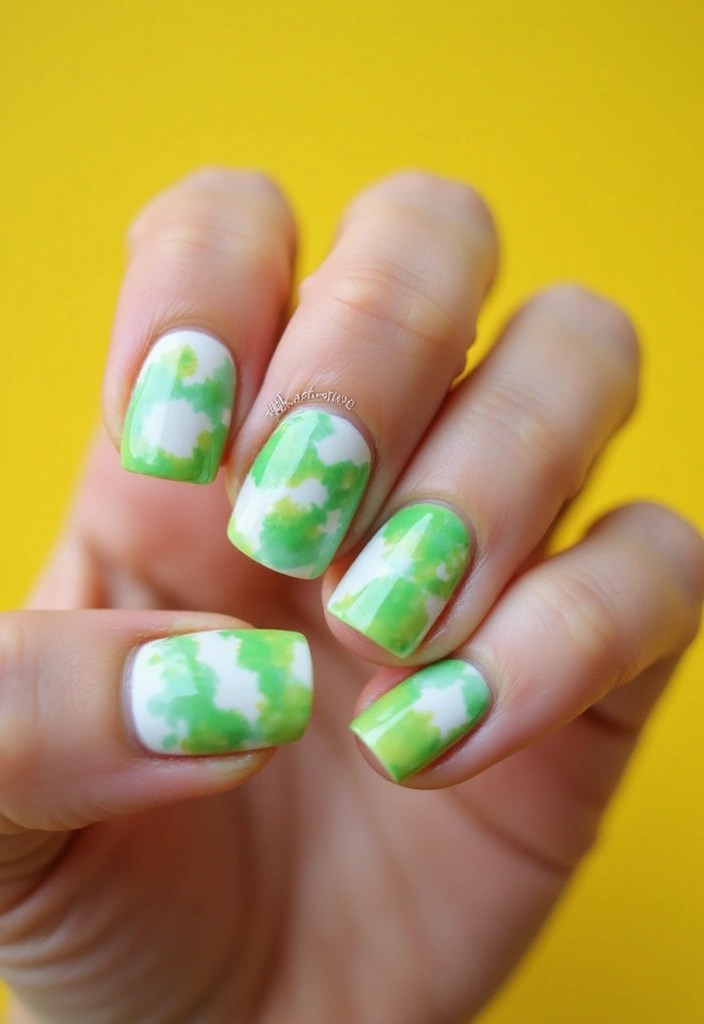
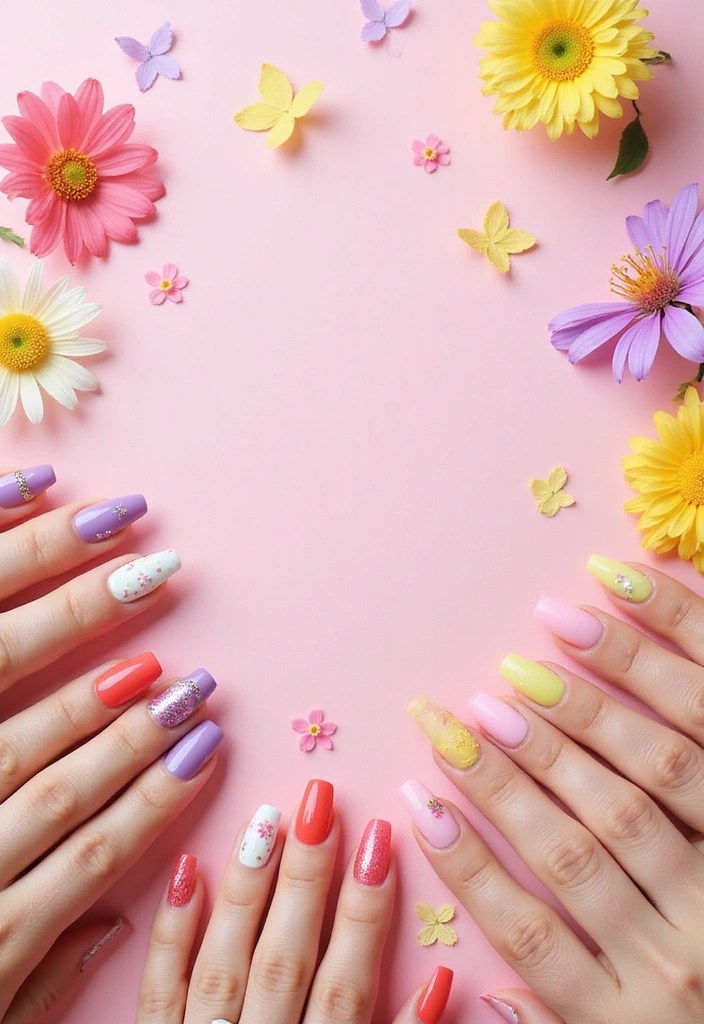
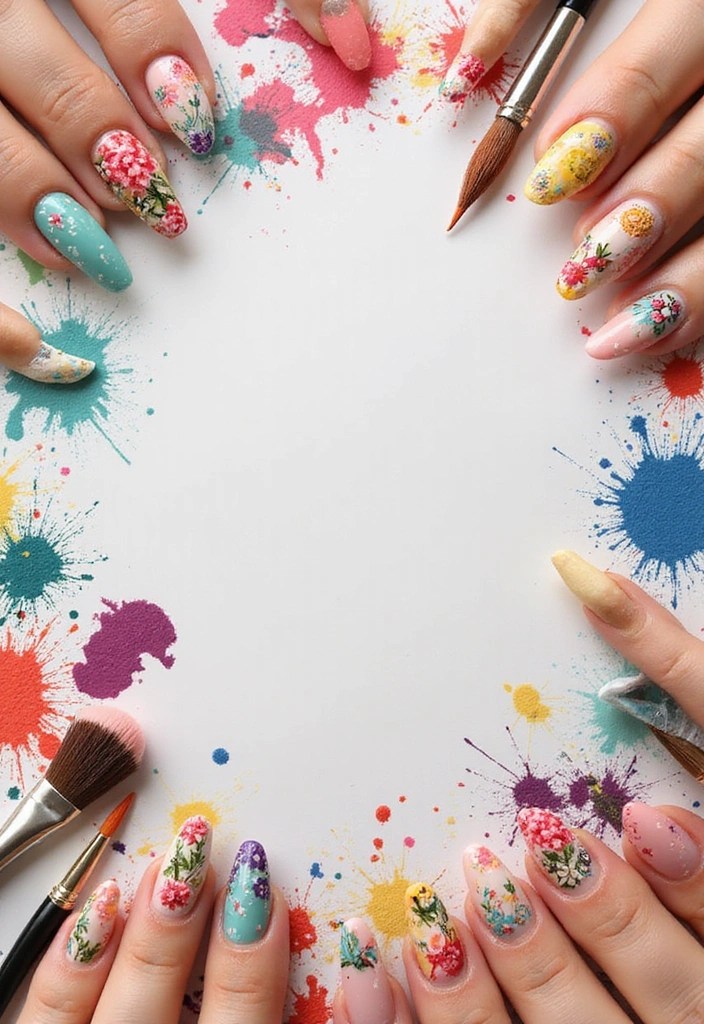
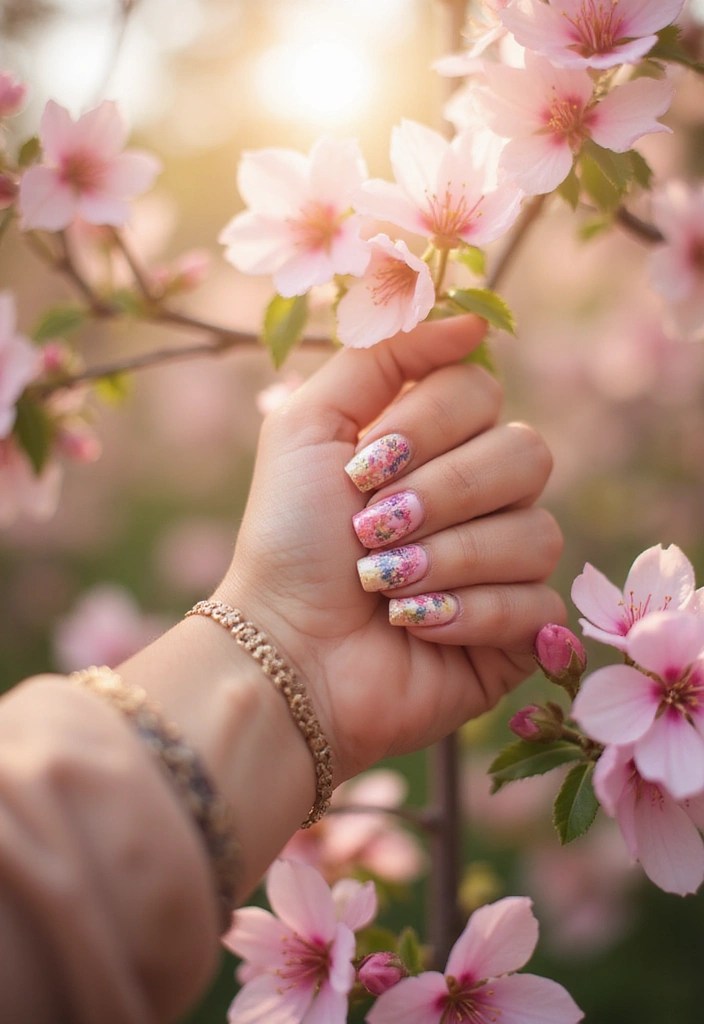
2. Vibrant Wildflower Burst
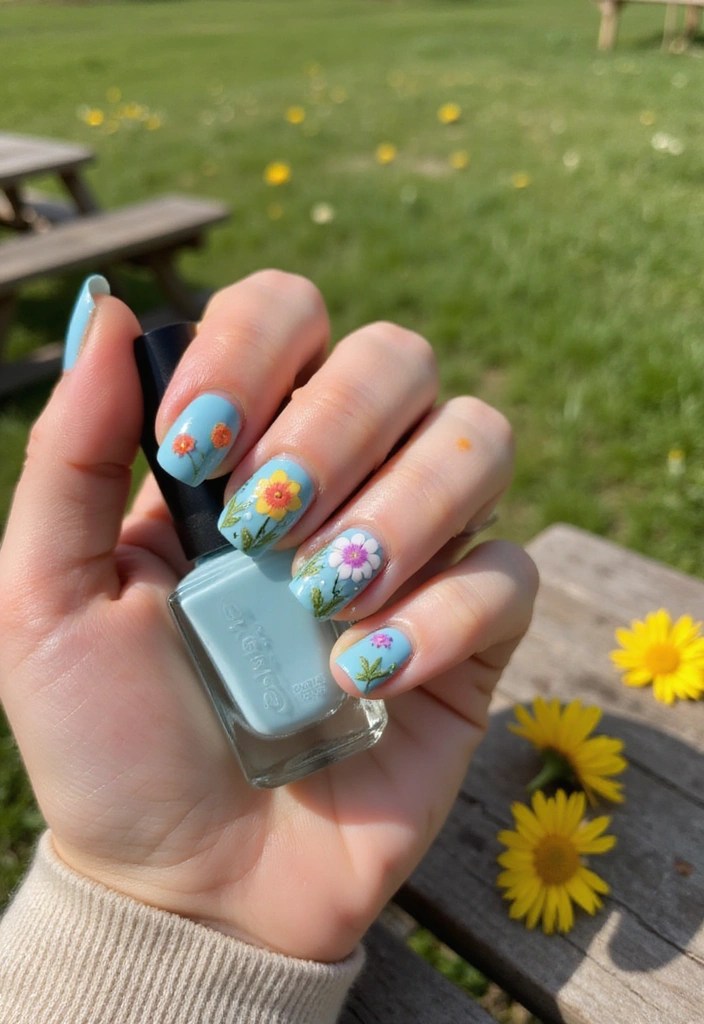
Capture the essence of a wildflower meadow with a vibrant mix of colors. This nail design is all about creativity and fun, perfect for those who want to express their unique personality.
Start with a white or light blue base coat to mimic the sky or canvas of a blooming field. Using a dotting tool, create clusters of colorful flowers in shades of yellow, purple, pink, and orange.
Tip: Vary the sizes of your flowers to add depth and interest. Add green leaves around the flowers to bring the whole look together.
This design is not only visually striking but also incredibly cheerful and perfect for the sunny days ahead. Imagine showing off these nails at a picnic or outdoor gathering!
For a playful twist, consider painting one nail as a field scene with a tiny butterfly or ladybug to complement your wildflower theme. Always finish with a glossy top coat to ensure the colors stay vibrant and fresh.
Product Recommendations:
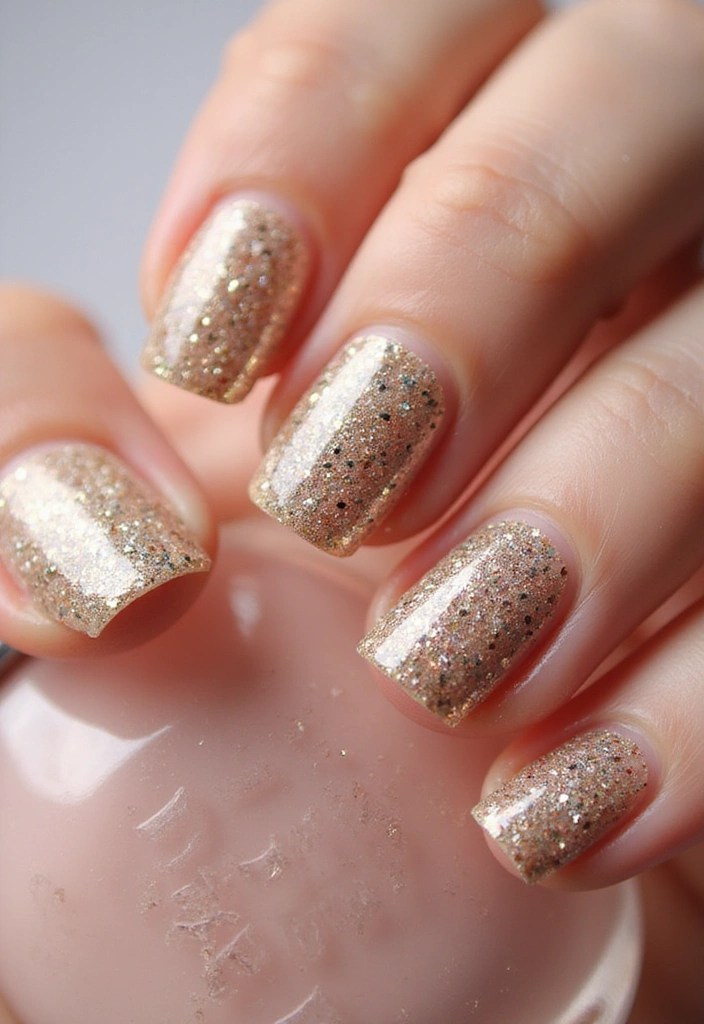
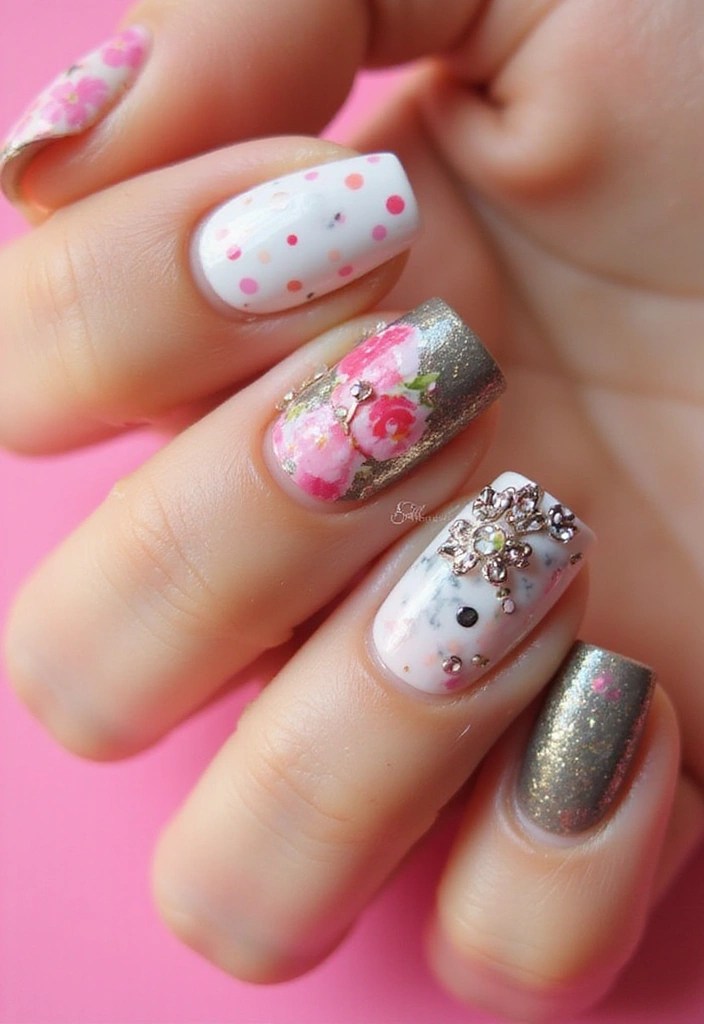
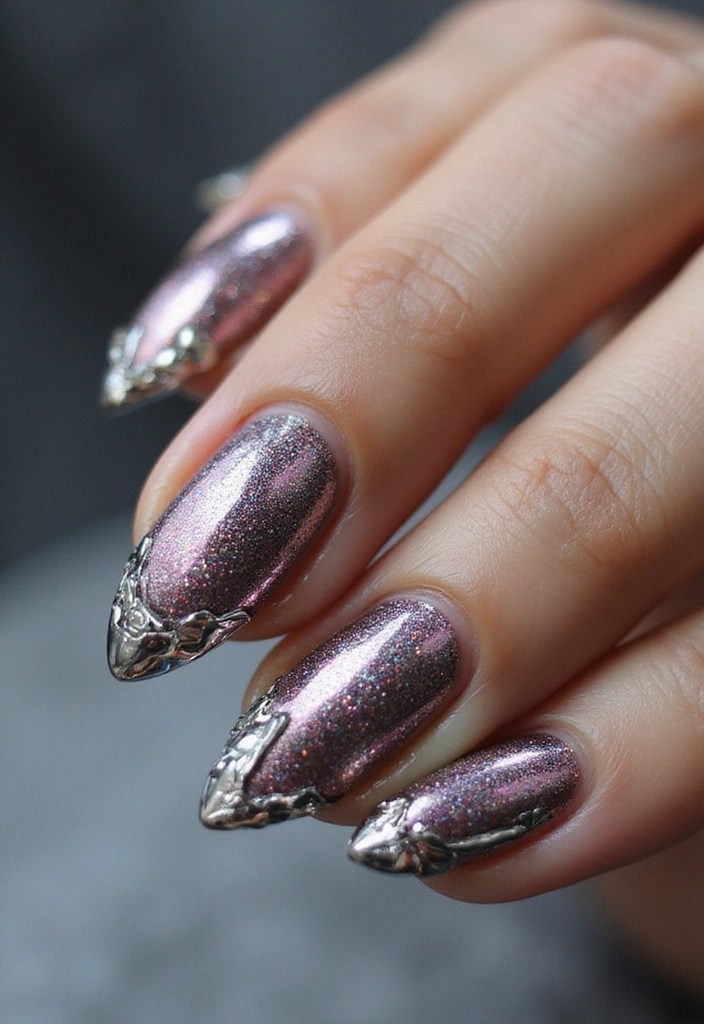
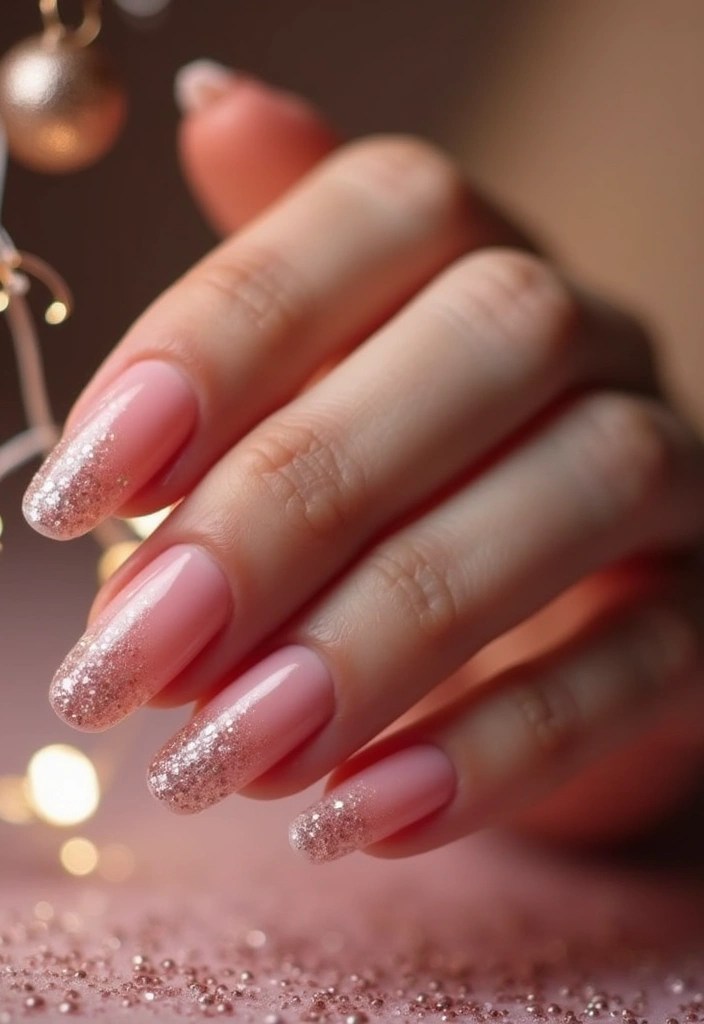
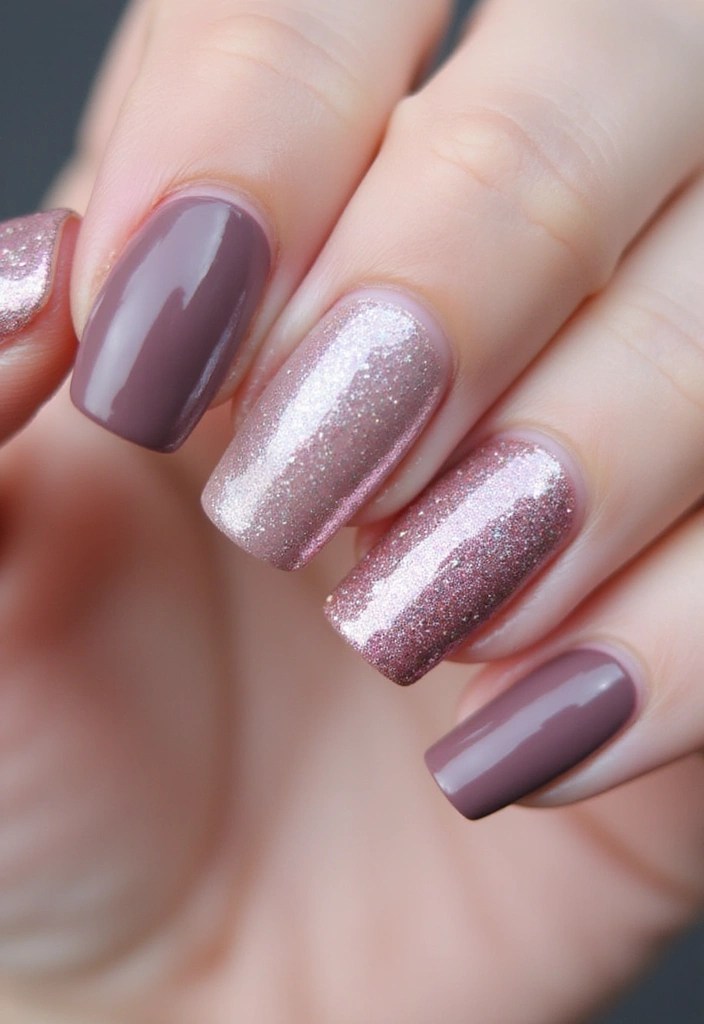
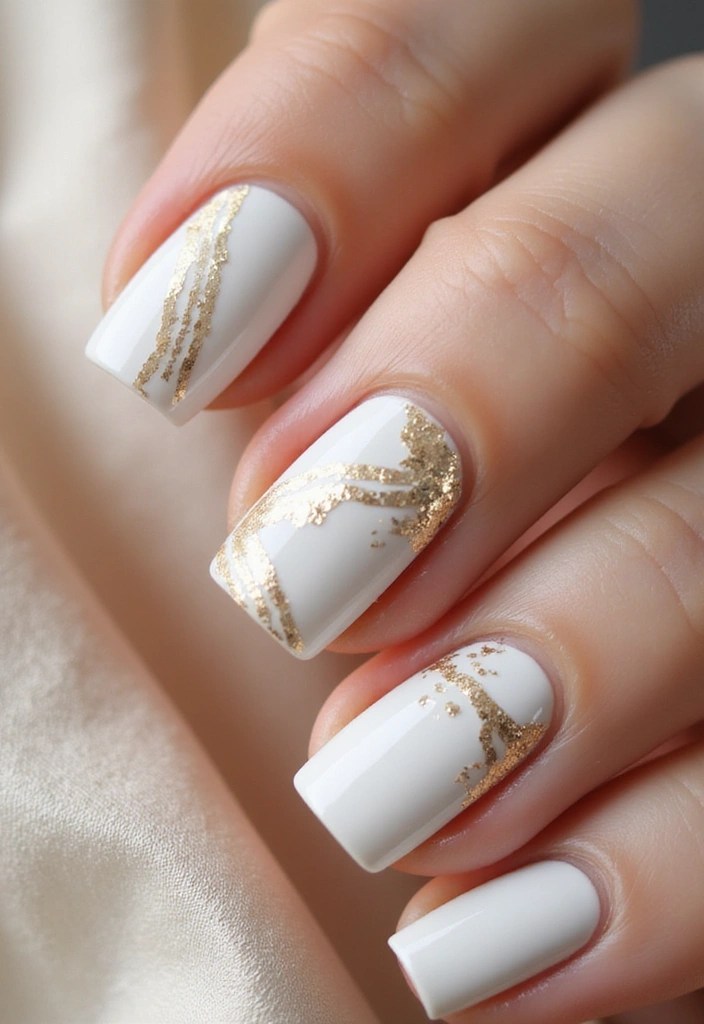
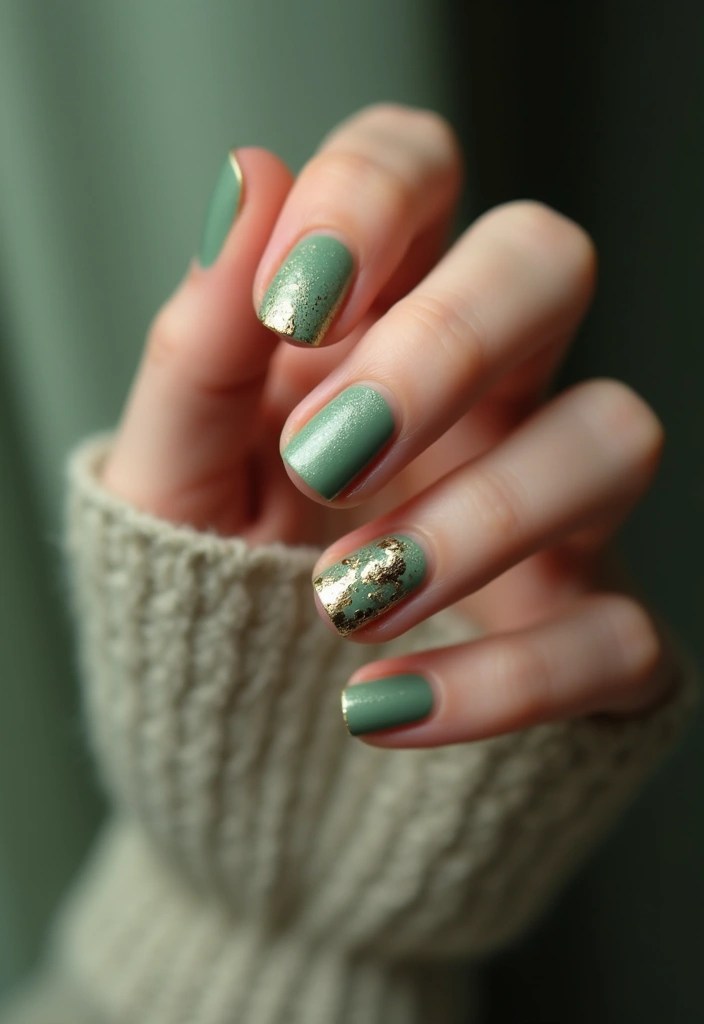
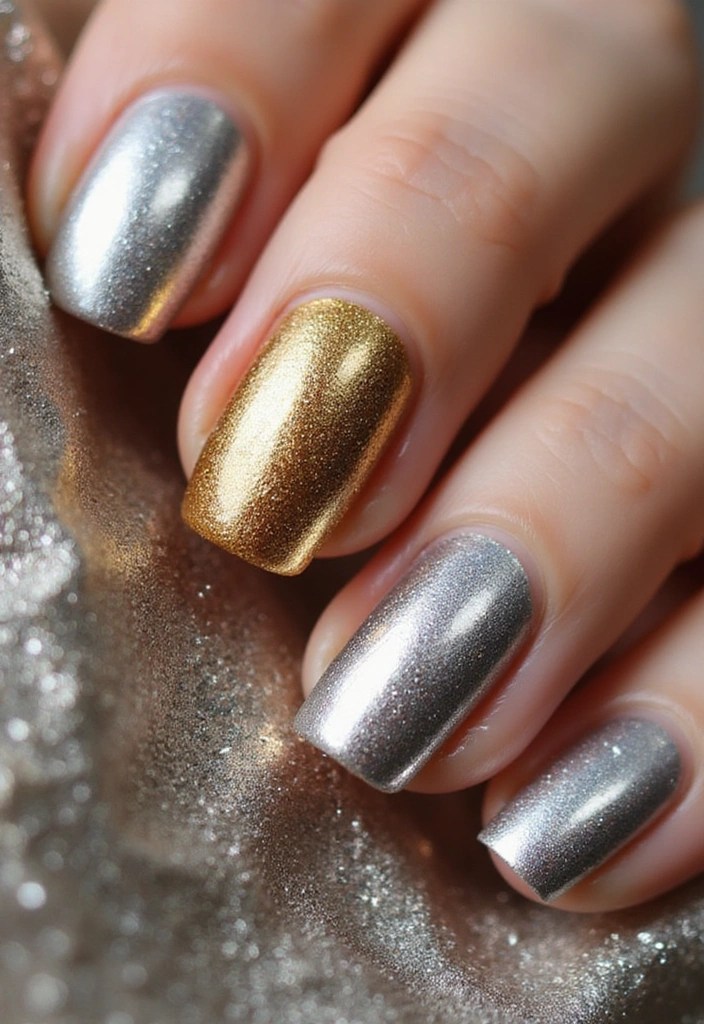
3. Elegant Rose Gold Floral
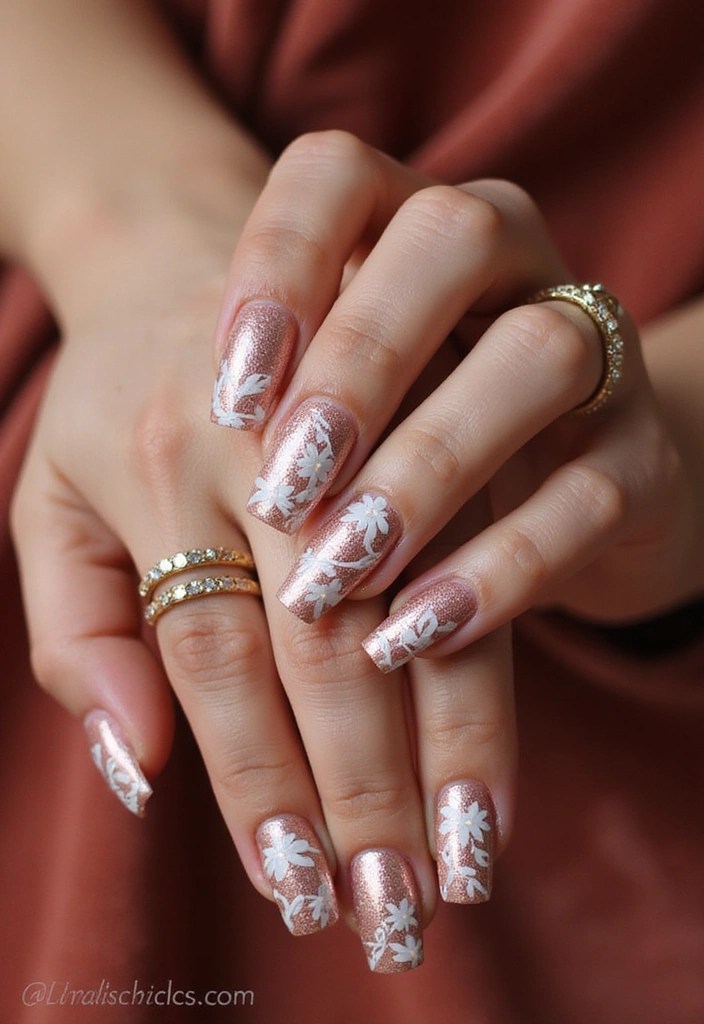
Rose gold is a trending color that brings a touch of elegance to any design, especially when paired with floral accents. This design is perfect for those who love a bit of glamour while keeping it classy.
Begin with a rose gold base coat, allowing it to dry completely. Next, use a white or soft pink polish to paint rose patterns and leaves. The contrast between the metallic hue and the delicate florals creates a stunning visual effect.
Tip: For added depth, use a darker shade of green for the leaves to make them stand out against the rose gold background.
This design is ideal for special occasions, such as date nights or formal events, where you want your nails to be a conversation starter.
To make your nails last longer, apply a high-quality top coat that provides both shine and protection. Remember to keep your cuticles moisturized for a polished look.
Product Recommendations:
• high-quality top coat for nails
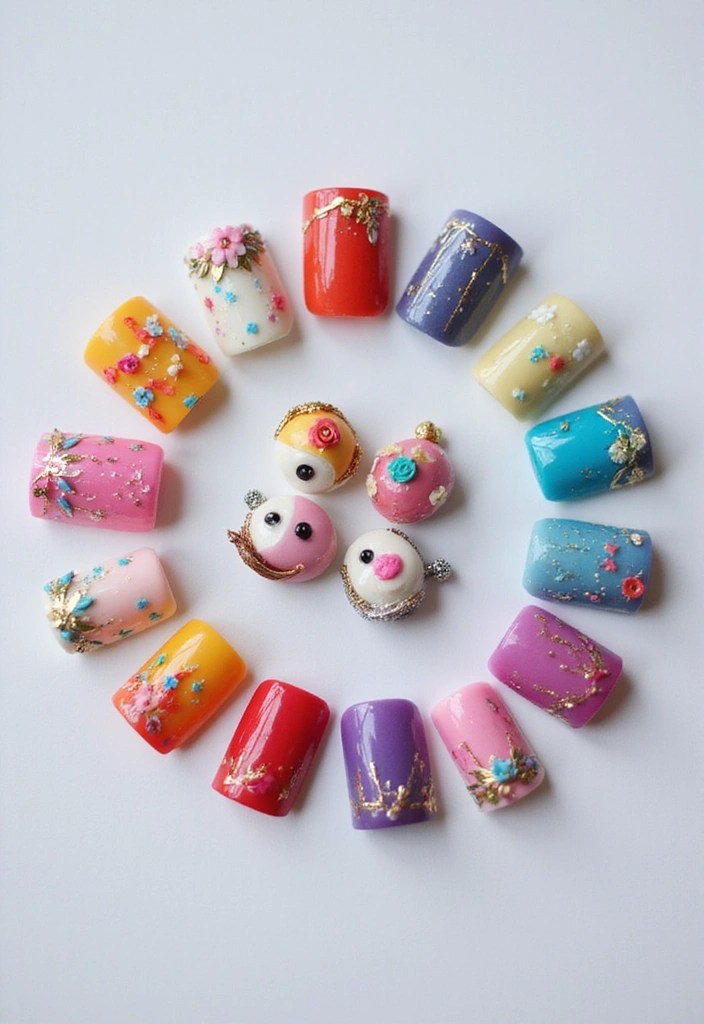
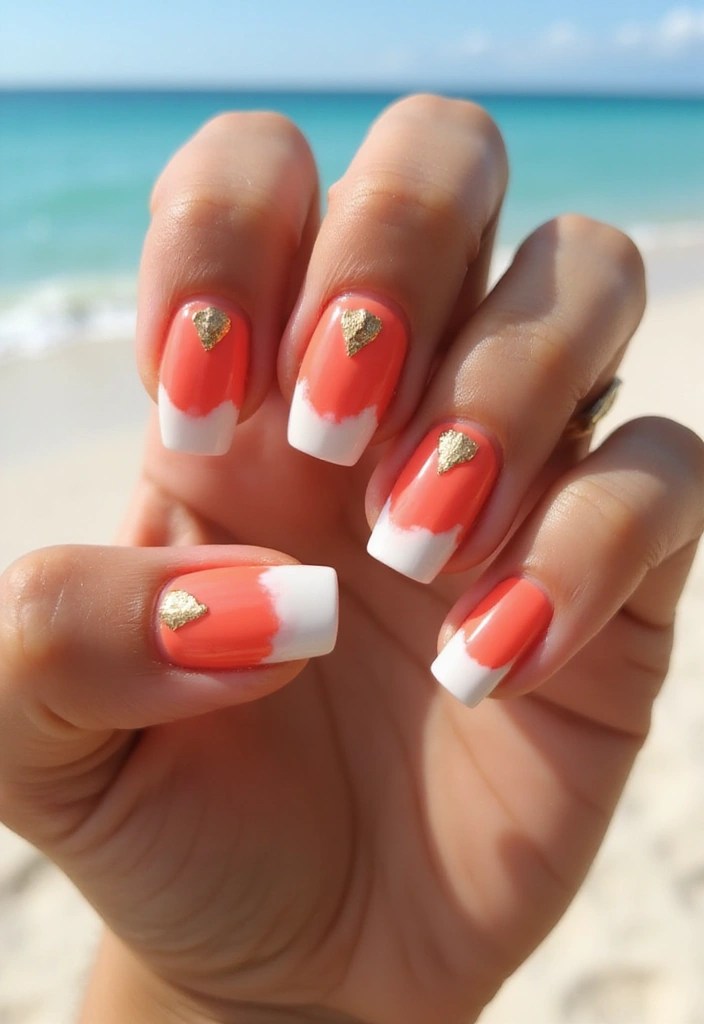
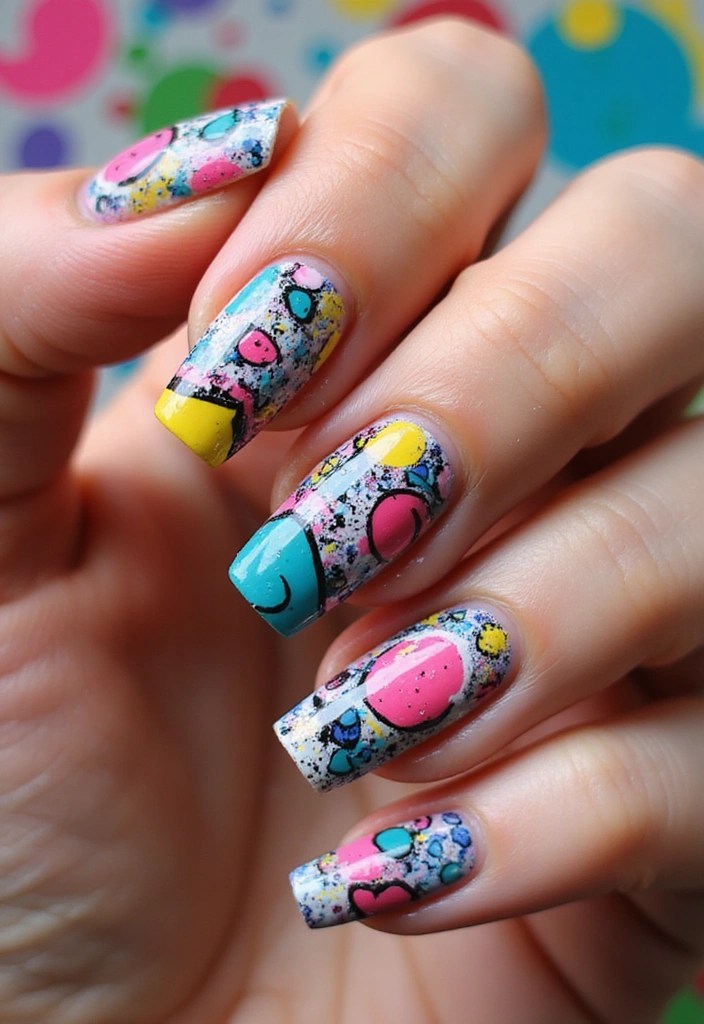
4. Tropical Floral Fiesta
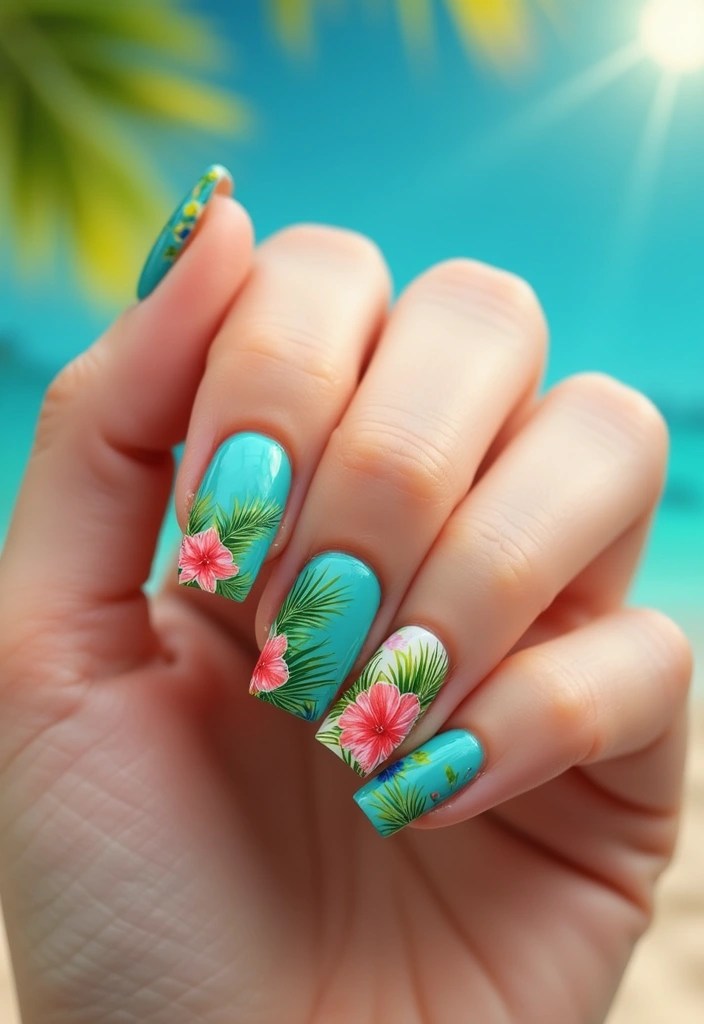
Bring the beach vibes to your nails with a tropical floral design that’s fun and vibrant! Think bright colors and bold patterns that scream summer vacation.
Start with a bright turquoise or coral base coat that reflects the ocean or sunset. Using a combination of colors like fuchsia, yellow, and green, create bold, oversized flowers that pop against the background.
Tip: Incorporate some palm leaves for that extra tropical feel. You can also experiment with different flower types—hibiscus, plumeria, or even abstract florals!
This design is perfect for summer parties or vacations, instantly lifting your mood and making you feel like you’re on a tropical getaway.
Be sure to finish with a shiny top coat to enhance the colors and keep them looking fresh. Consider using nail tape to create clean lines for your flowers if you want a more polished finish.
Product Recommendations:
• Nail polish set in bright colors
• nail art brush set for detailed designs
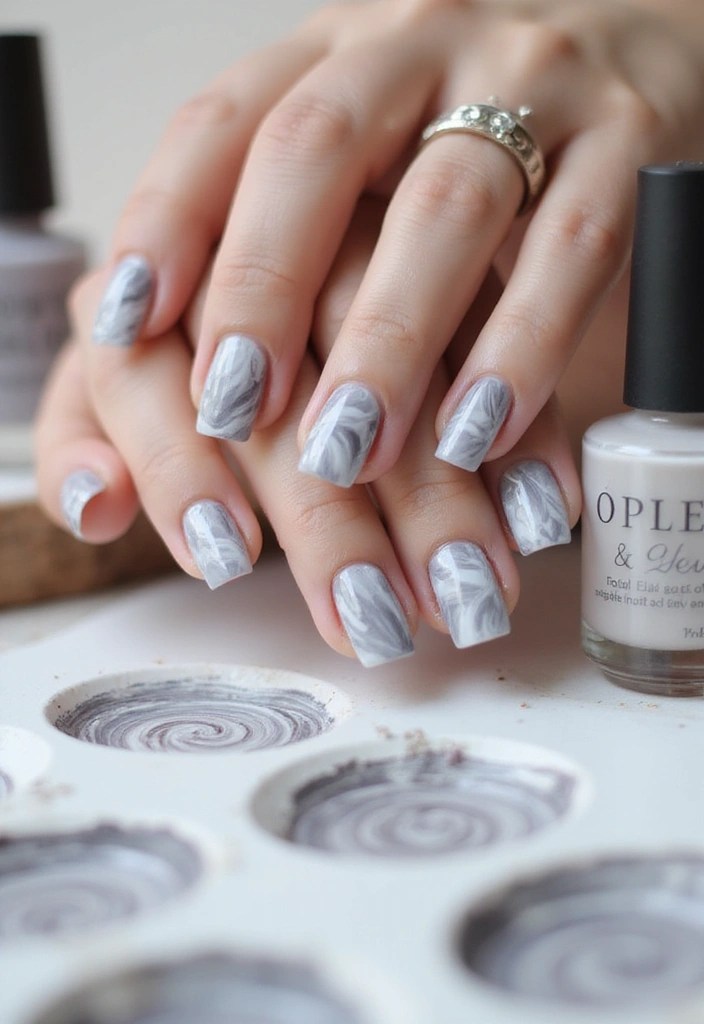
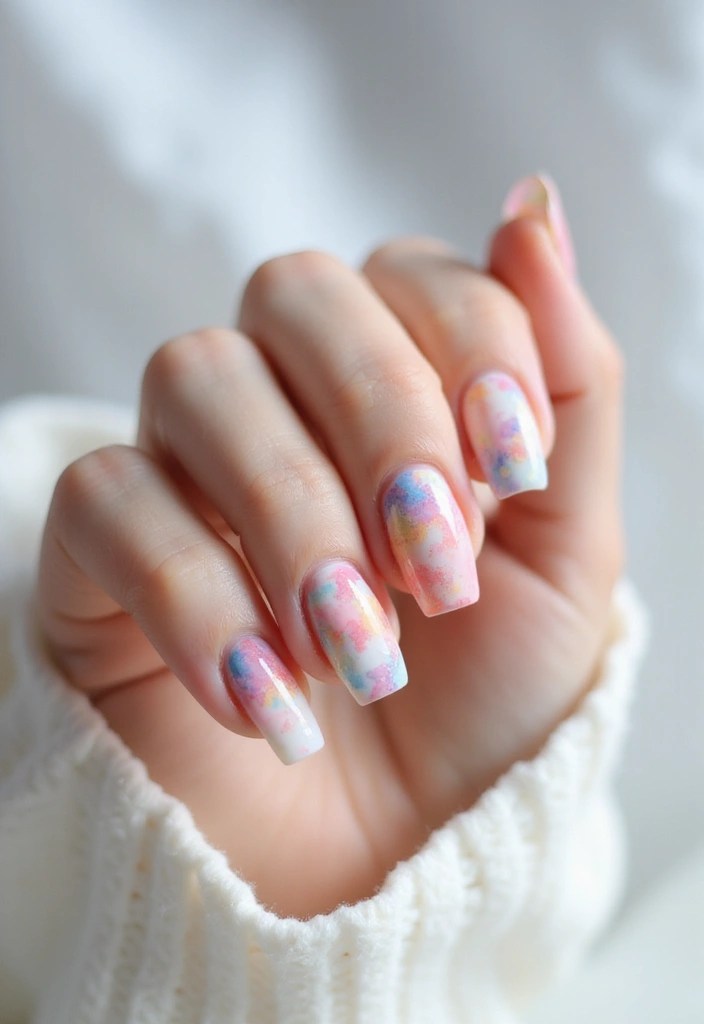
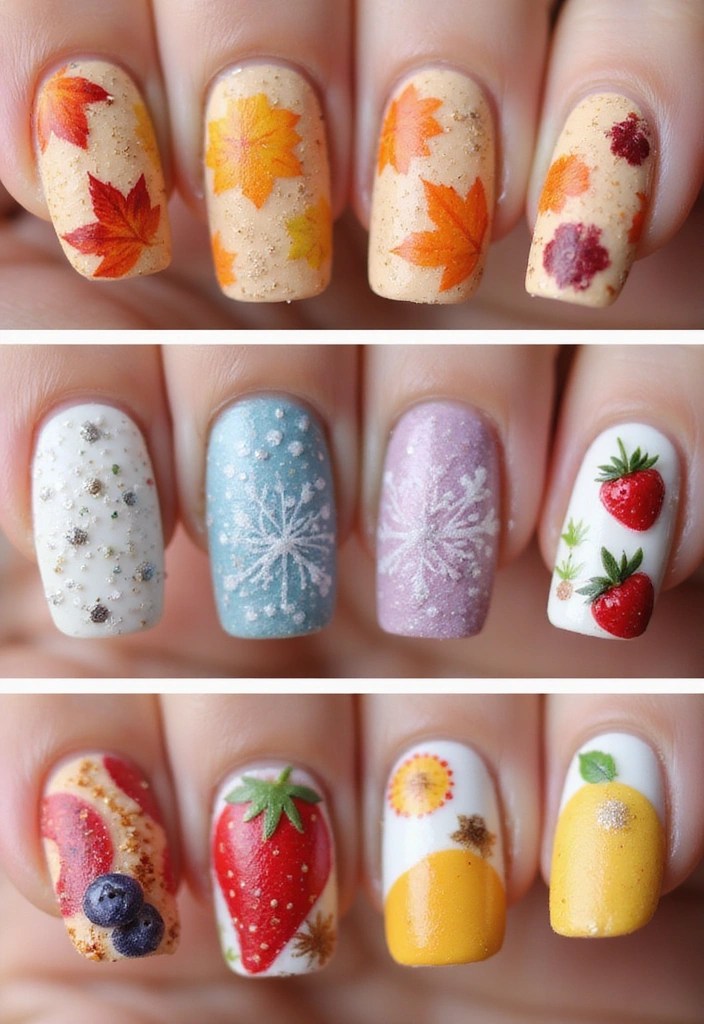
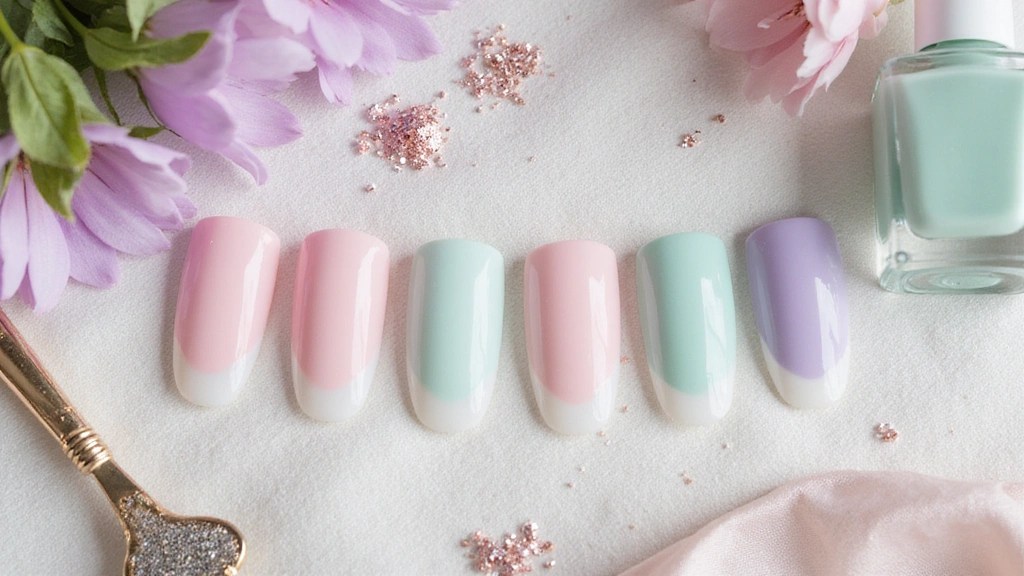
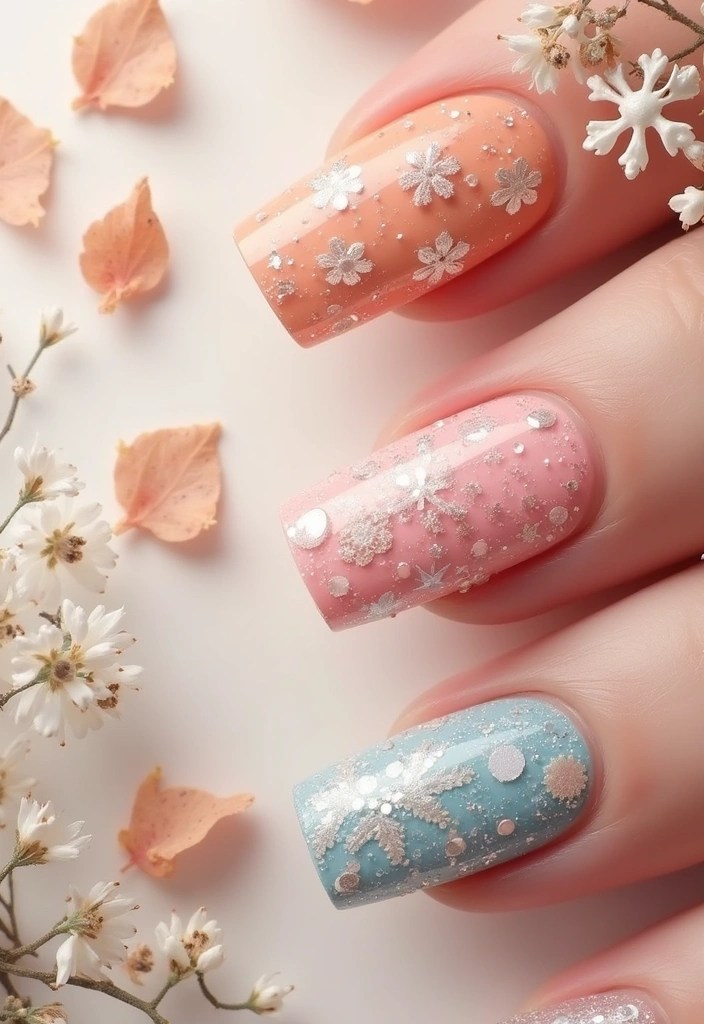
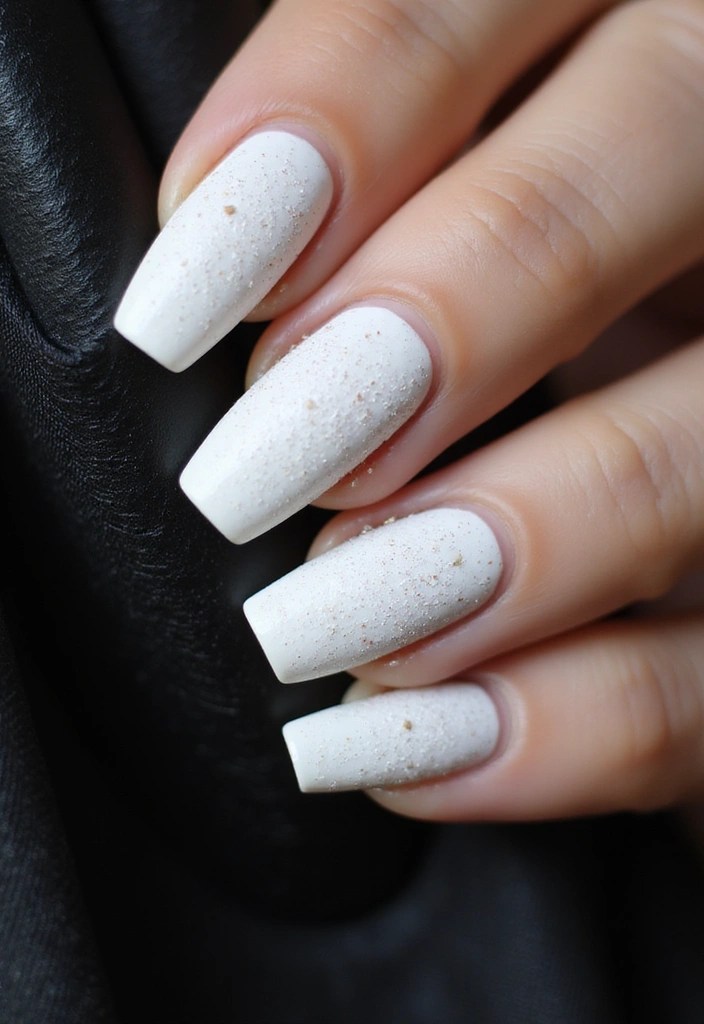
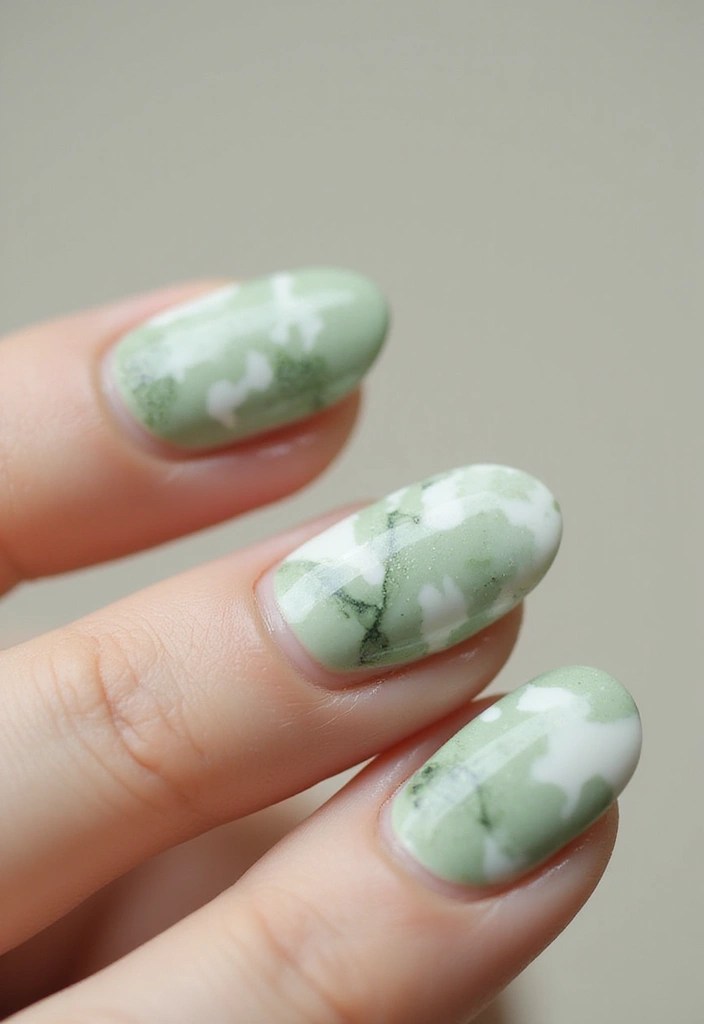
5. Pastel Floral Watercolor
Watercolor nail art is all about creating a soft, blended effect that mimics the look of watercolor paintings. This pastel floral design embodies the gentle hues of spring flowers.
Start with a white or light pastel base coat. Then, using a sponge, dab on light shades of pink, lavender, and mint green to create a soft gradient effect. Once dry, use a fine brush to paint delicate flower outlines in white or gold.
Tip: To achieve that watercolor look, add a bit of water to your polish before applying it, ensuring a more translucent effect.
This design is perfect for those who prefer subtlety over boldness. It’s great for work environments or casual outings where you want your nails to look effortlessly chic.
Finish with a matte top coat for a unique twist on the usual glossy finish. Remember to let each layer dry properly to avoid smudging.
Product Recommendations:
• fine detail nail art brush set
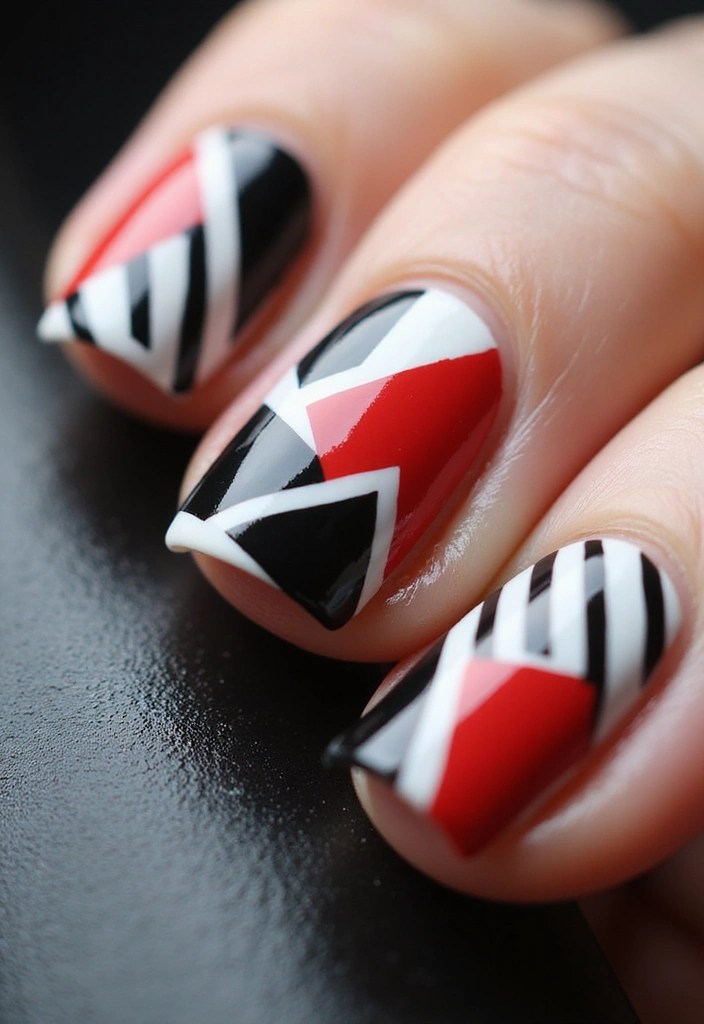
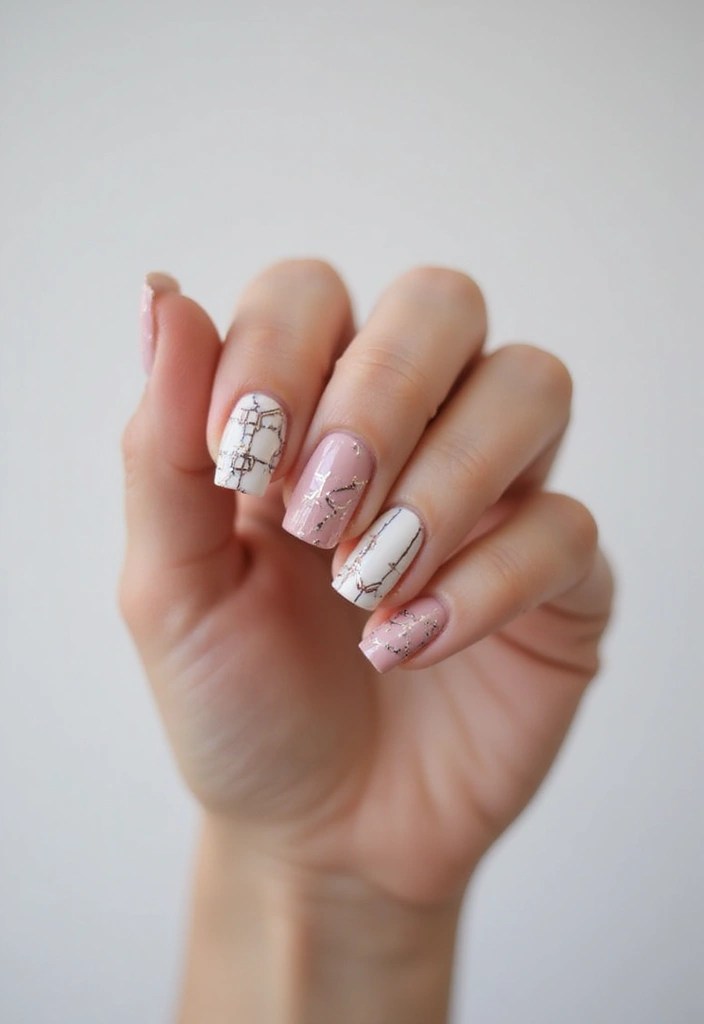
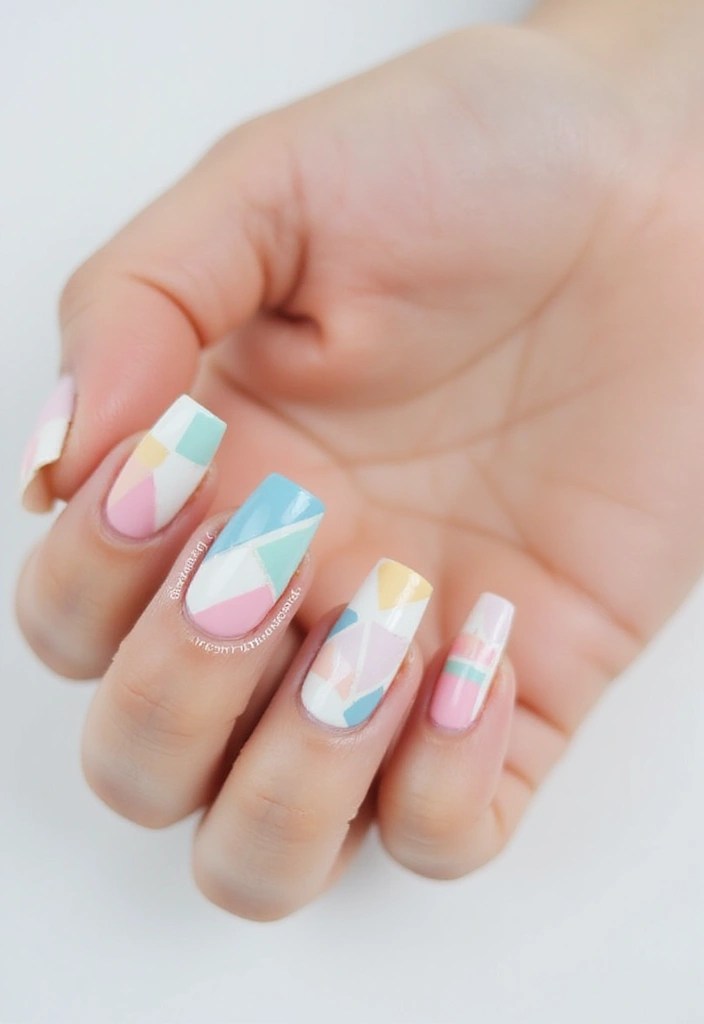
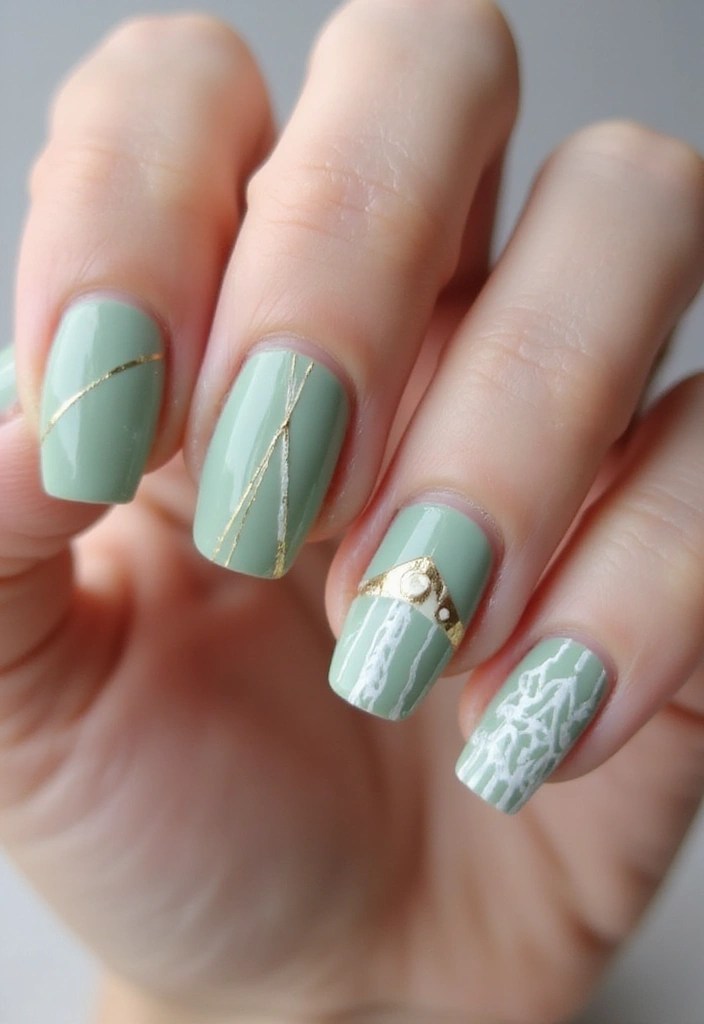
6. Bold Floral Geometric
Combine the beauty of florals with modern geometric patterns for a unique and edgy look. This design is perfect for anyone wanting to stand out with a creative twist.
Start with a solid base color, like white, black, or a bright shade. Then, using tape, create geometric shapes on your nails. Fill in some of these shapes with bold floral designs in contrasting colors.
Tip: Try using a mix of abstract florals and sharp lines to create a striking contrast. This design works well with both matte and glossy finishes, so feel free to experiment!
This bold look is fantastic for parties or events where you want to showcase your artistic side. You can even mix and match different designs on each finger for an eclectic vibe.
Be sure to use a quick-drying polish to avoid smudging, especially when working with multiple layers and colors.
Product Recommendations:
• Nail tape for geometric designs
• Quick-drying nail polish set
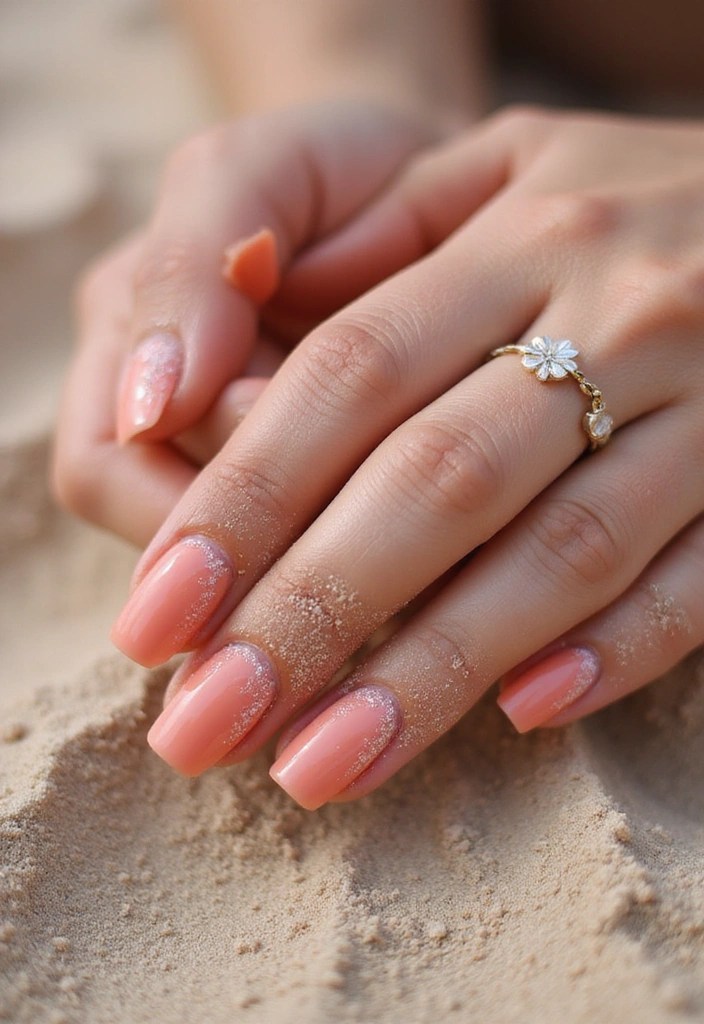
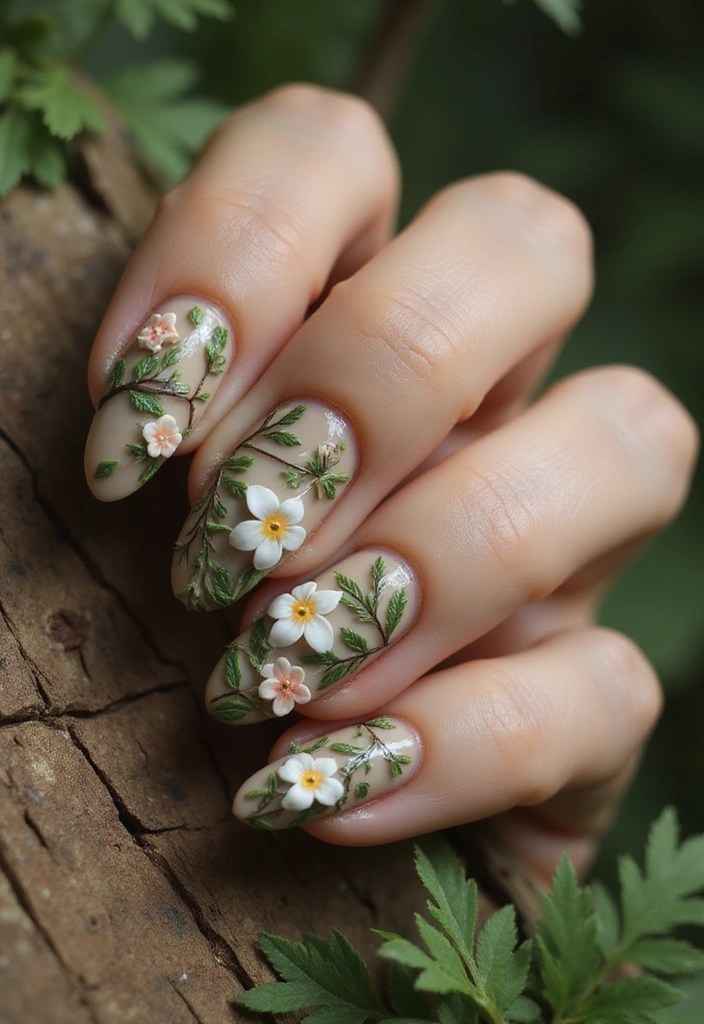
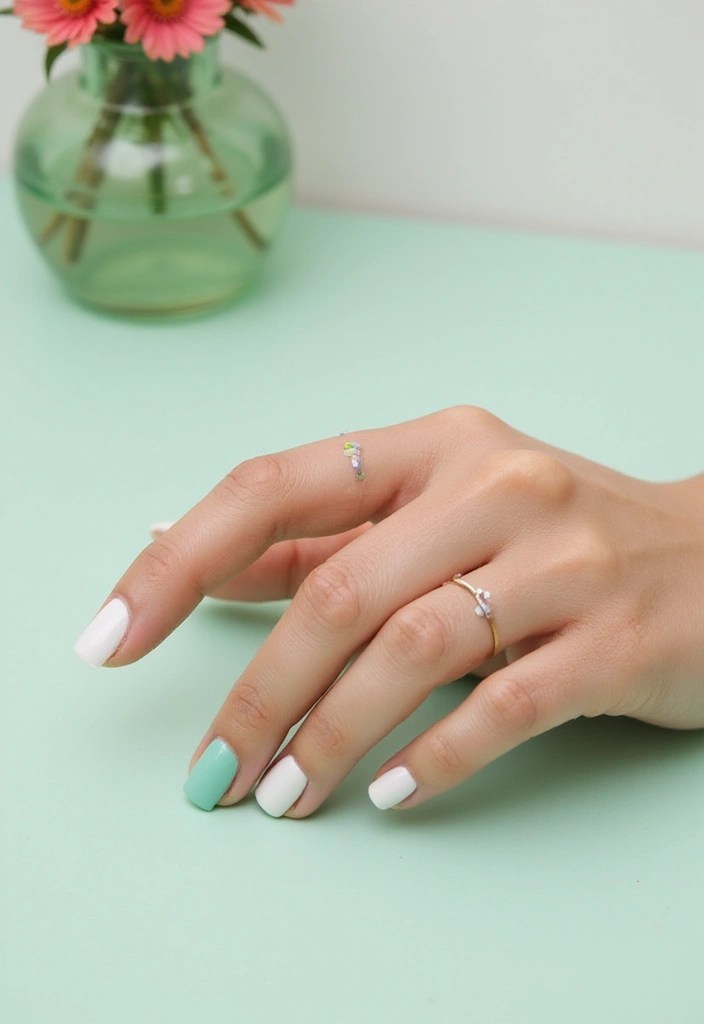
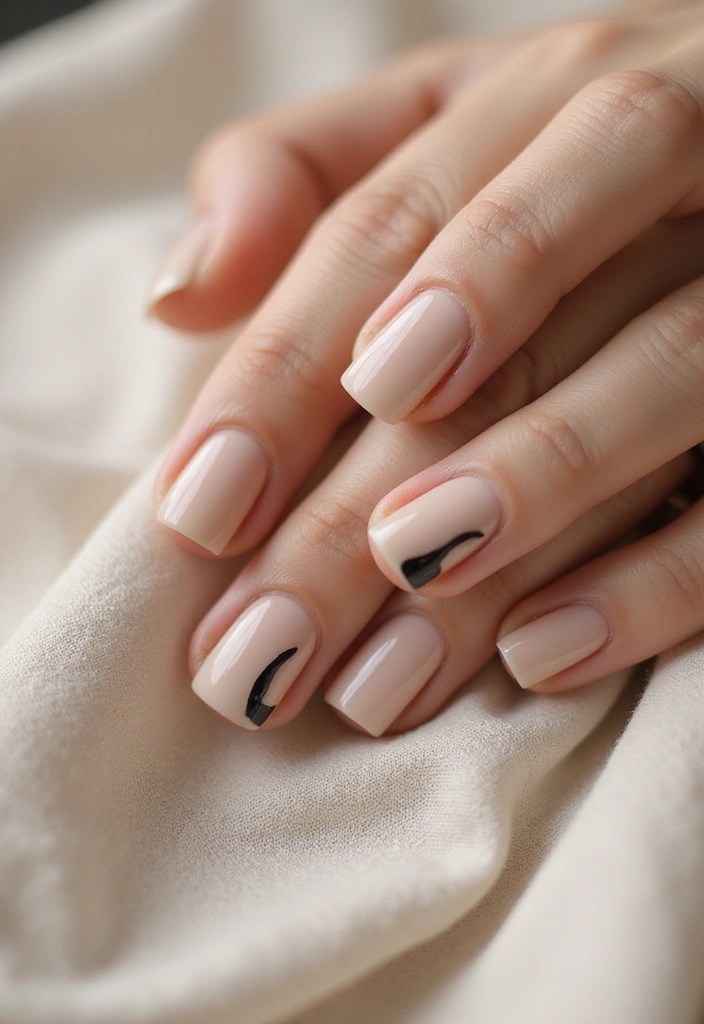
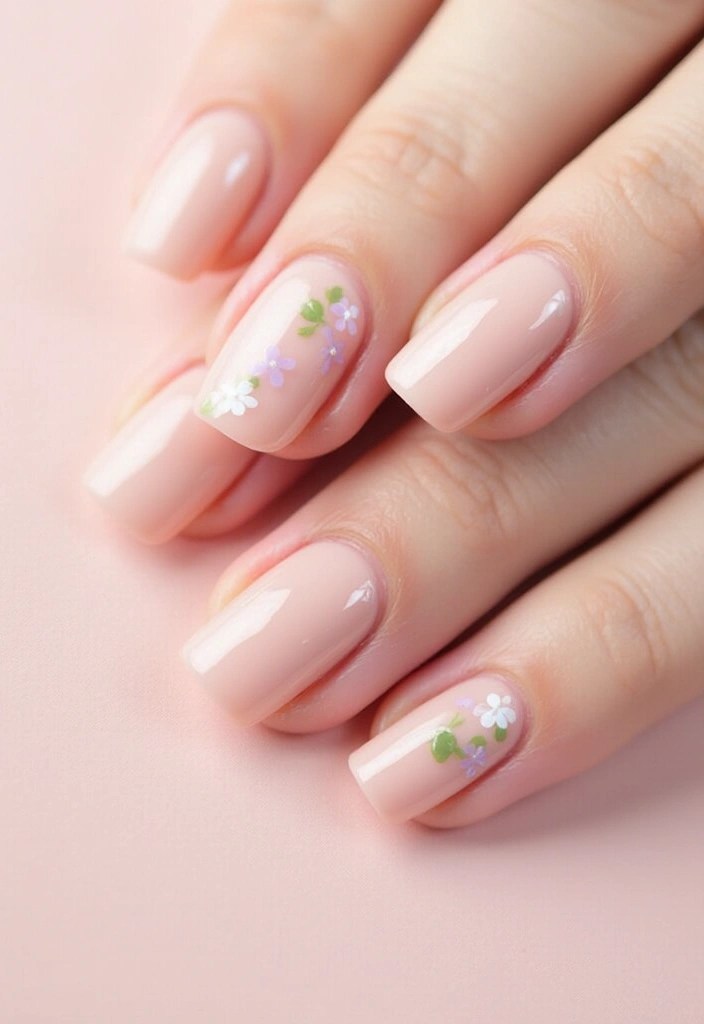
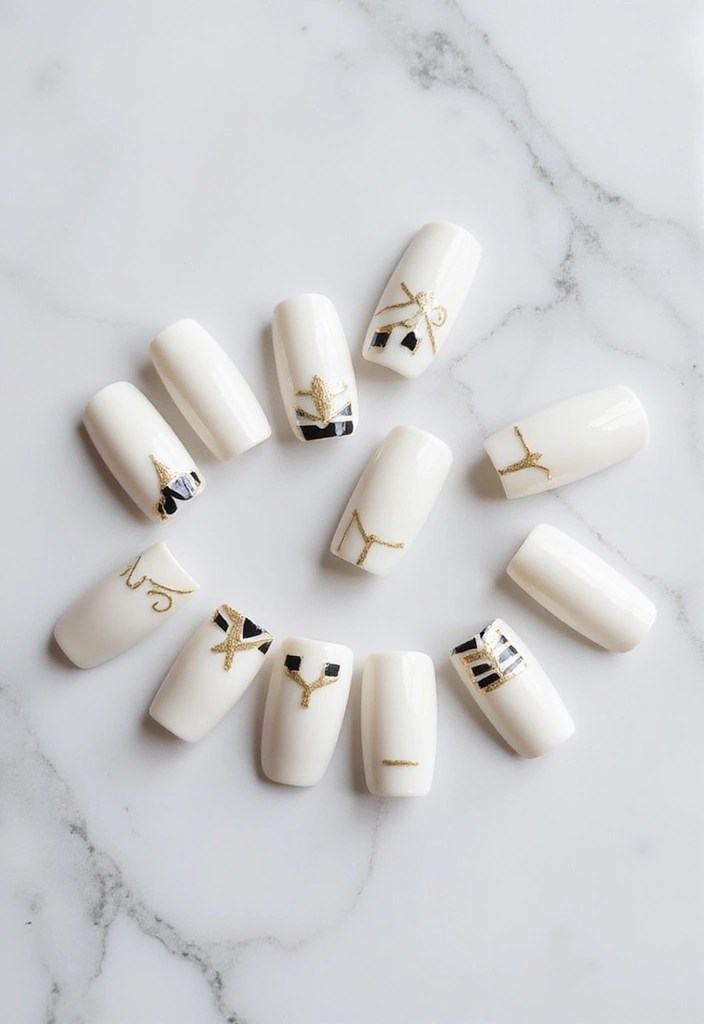
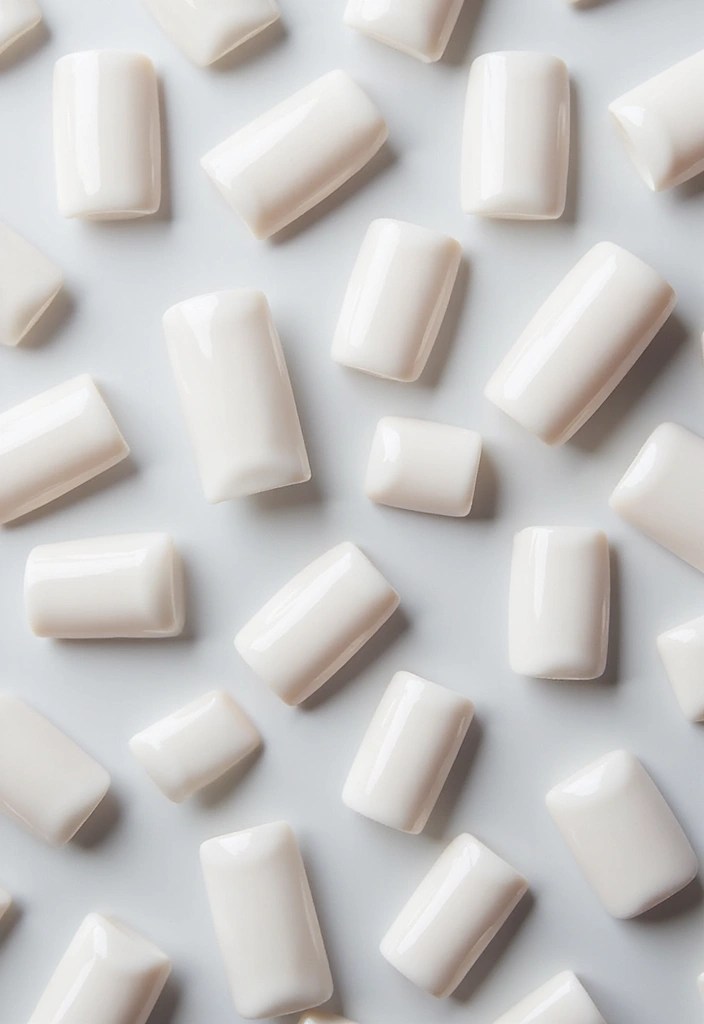
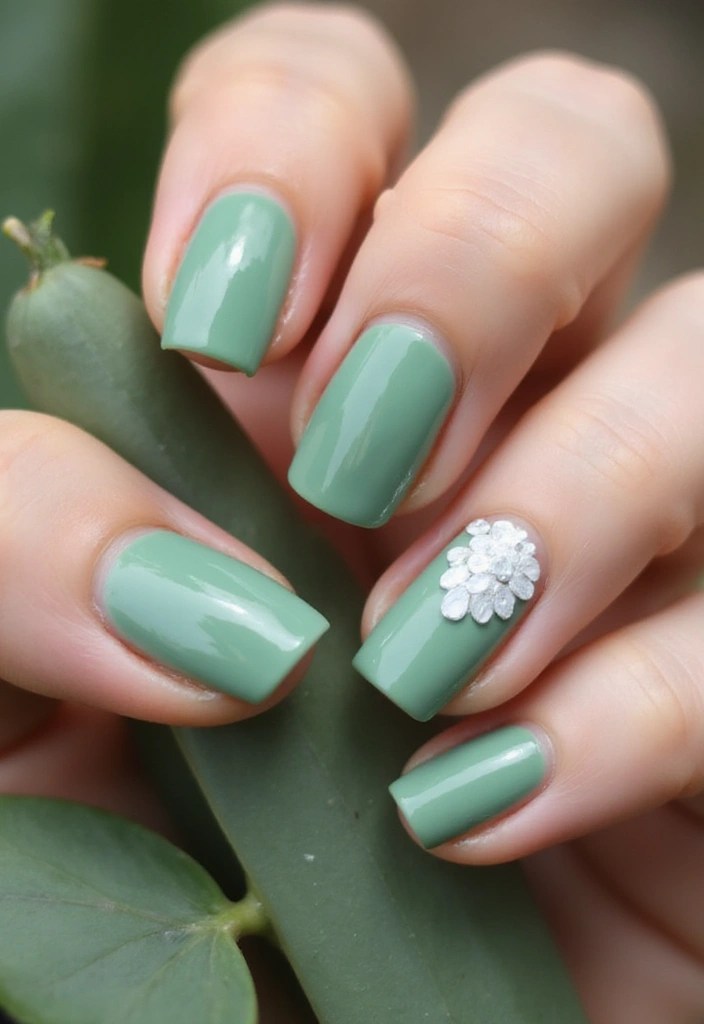
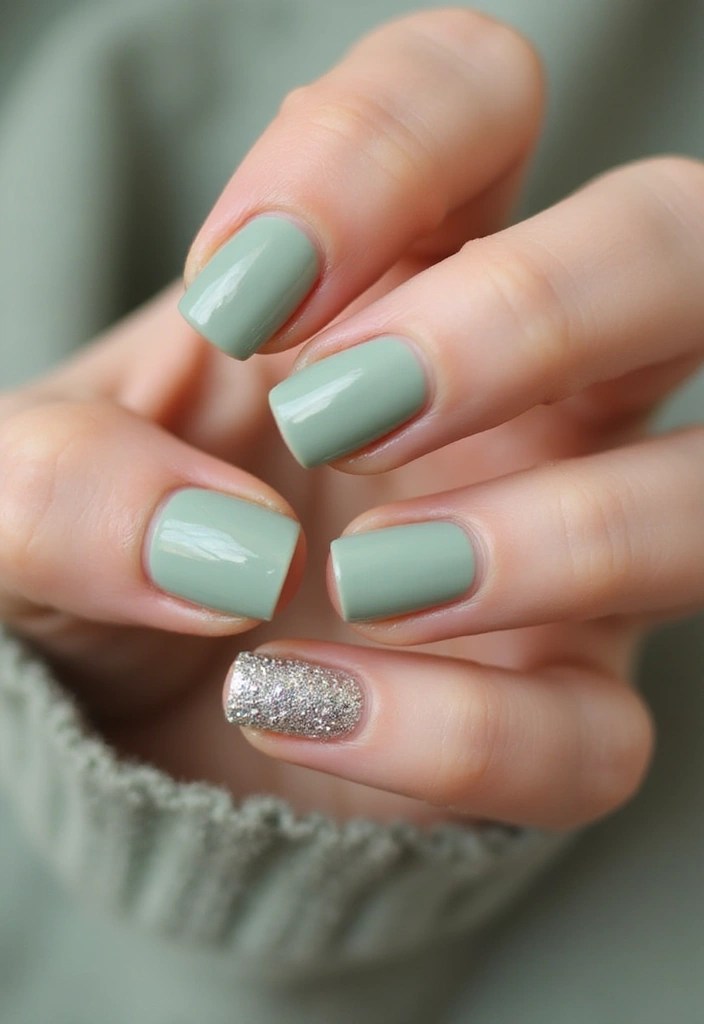
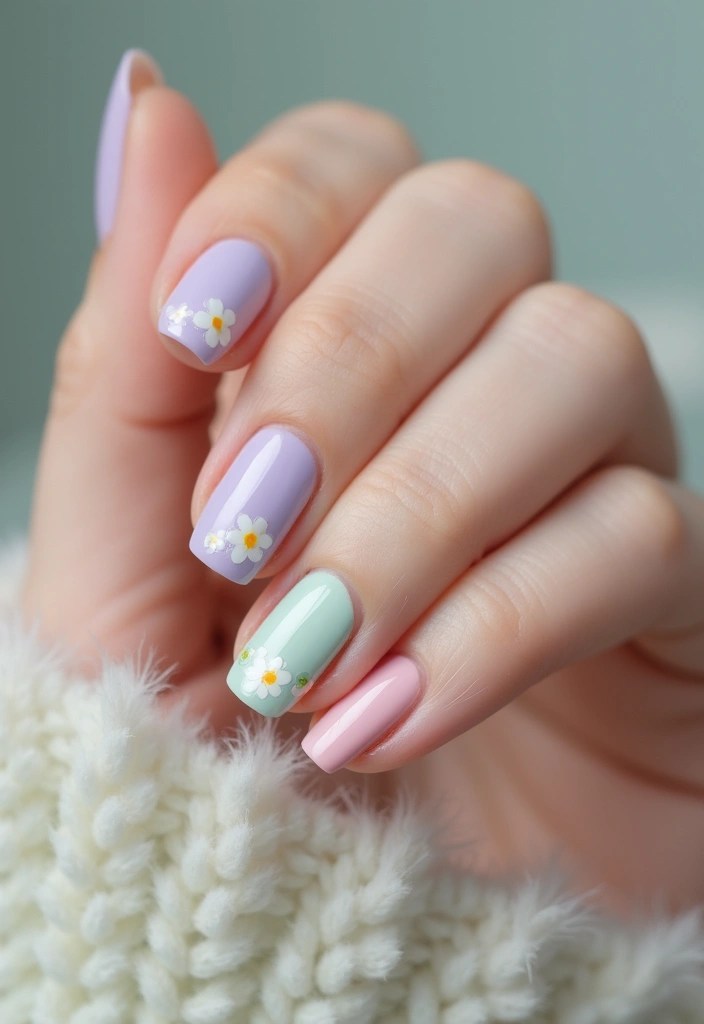
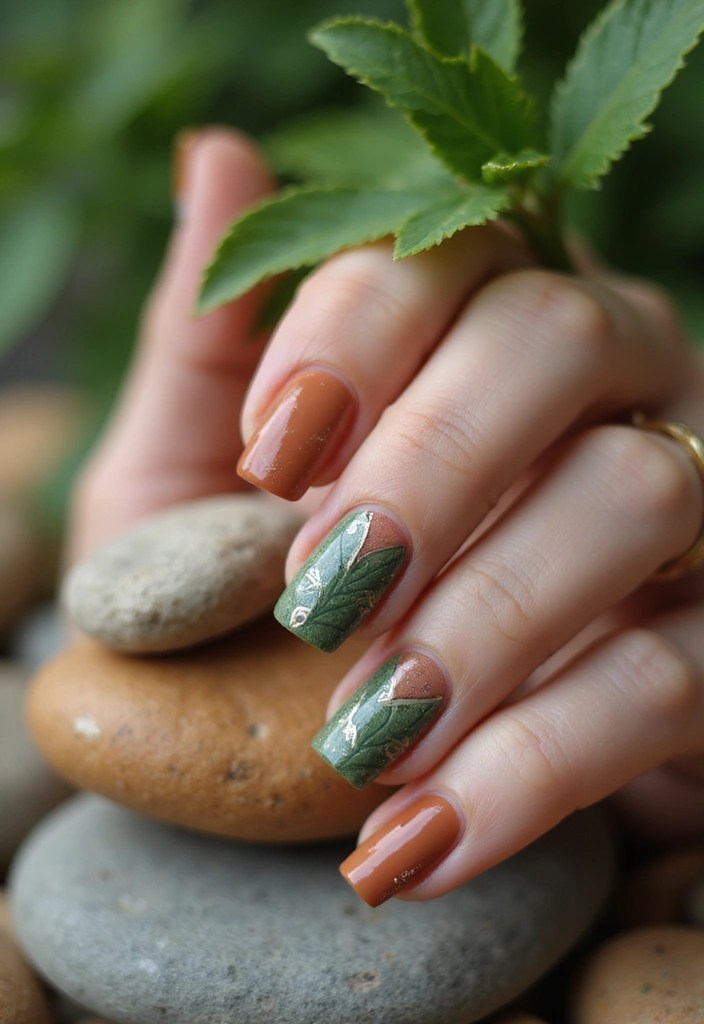
7. Minimalist Floral Accent

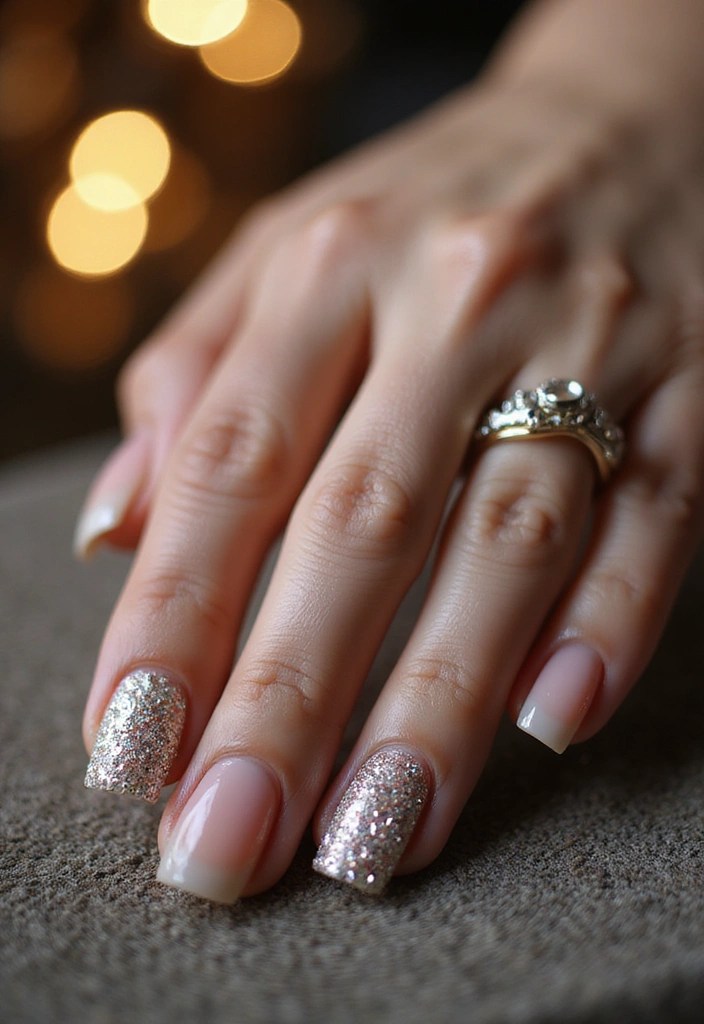
For those who prefer a more understated look, a minimalist floral accent nail design is the way to go. This style is perfect for anyone wanting a touch of floral elegance without overwhelming their look.
Start with a neutral base color like beige or soft gray. Choose one or two accent nails to showcase a simple floral design. Use a fine brush to create tiny flowers or leaves on these nails.
Tip: Keeping the design small and delicate allows for a chic look that’s perfect for any occasion. This style is versatile and can easily transition from day to night.
Perfect for the office or casual outings, this design maintains professionalism while still showing off your personality. Consider pairing with simple rings for a sophisticated touch.
To keep things fresh, regularly moisturize your nails and cuticles, ensuring they look their best.
Product Recommendations:
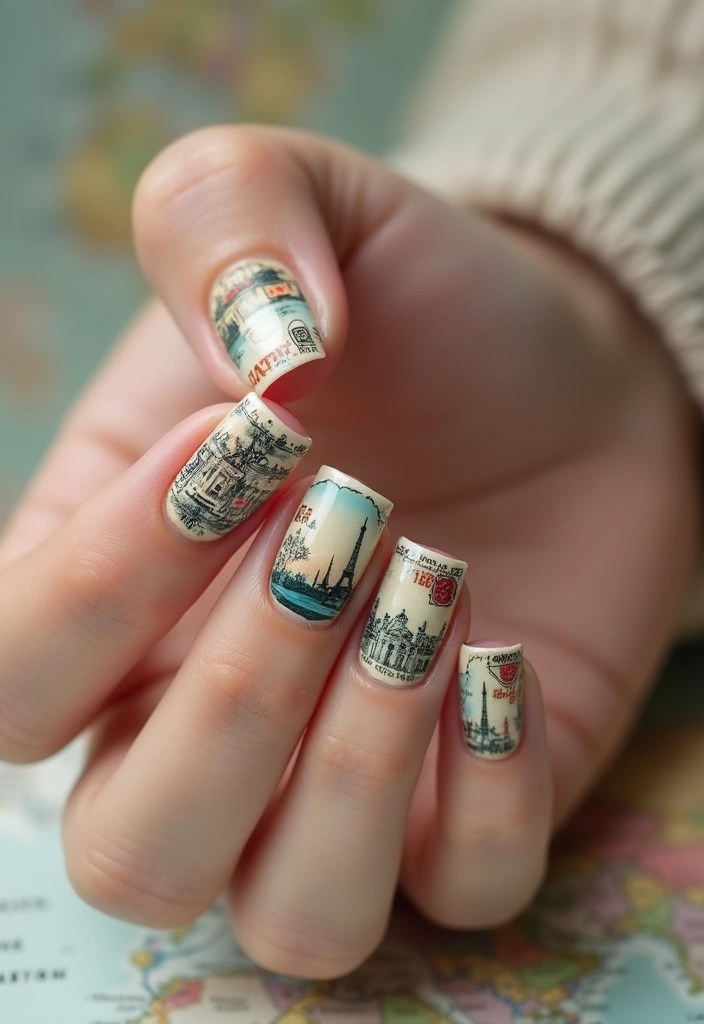
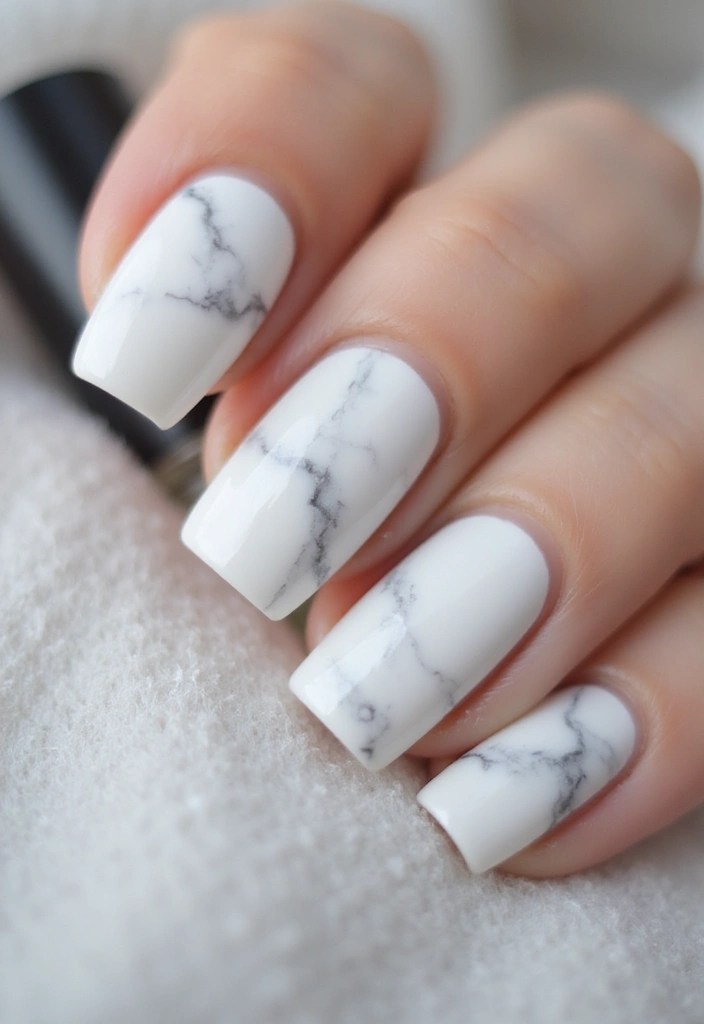
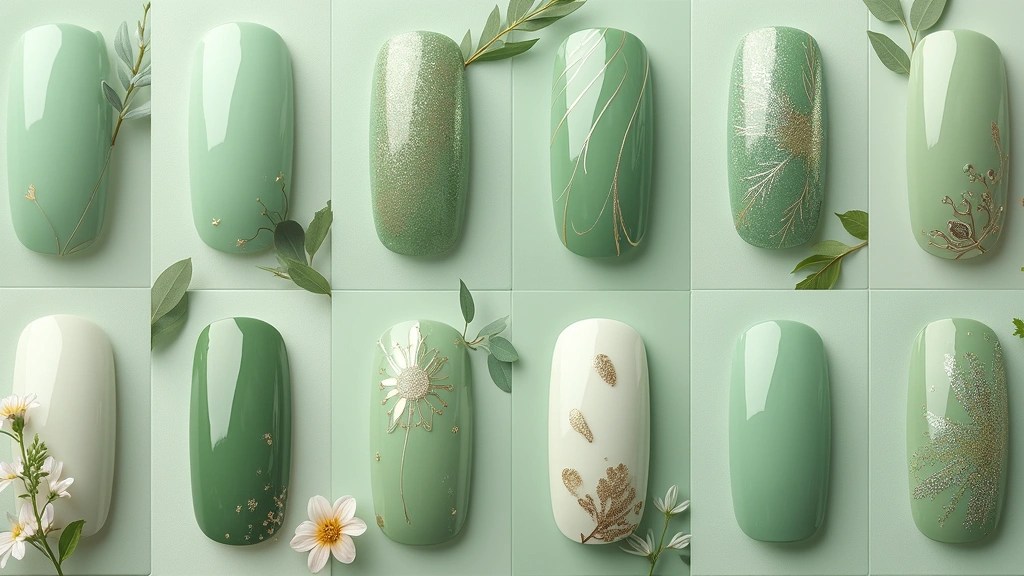
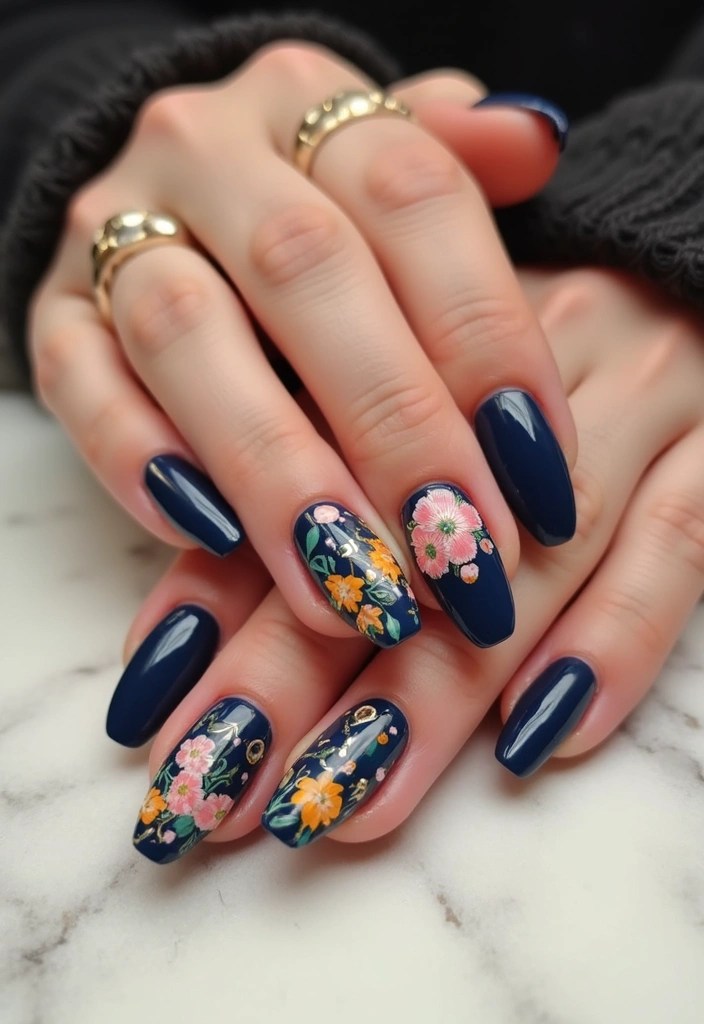
8. Vintage Floral Charm
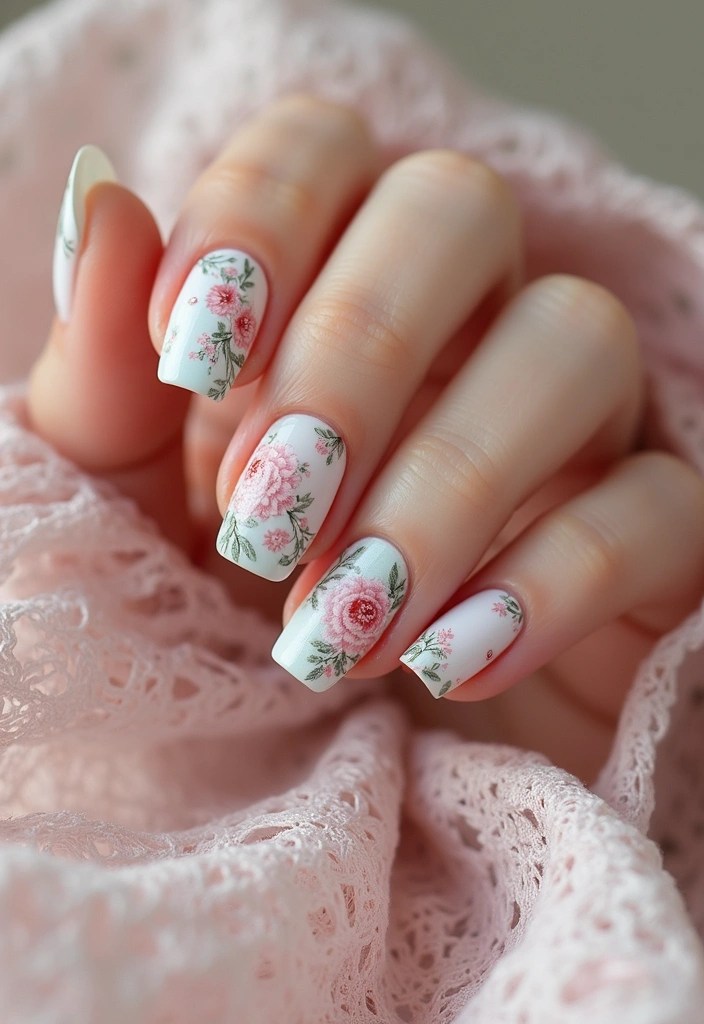
Bring a touch of vintage charm to your nails with intricate floral patterns reminiscent of classic floral fabrics. This design captures the beauty of nostalgia while remaining trendy.
Start with a soft pastel base color, like mint green or baby blue. Then, using a fine brush, create detailed floral designs with darker shades to add depth. Incorporate tiny leaves to complement the flowers.
Tip: Vintage florals thrive on intricate details, so take your time with each flower. Add a vintage top coat for that extra shine and longevity!
This design is perfect for tea parties or romantic dates, where you want to evoke a sense of elegance and grace. Consider pairing your nails with vintage jewelry for a cohesive look.
To ensure your design lasts, avoid harsh chemicals that could chip the polish.
Product Recommendations:
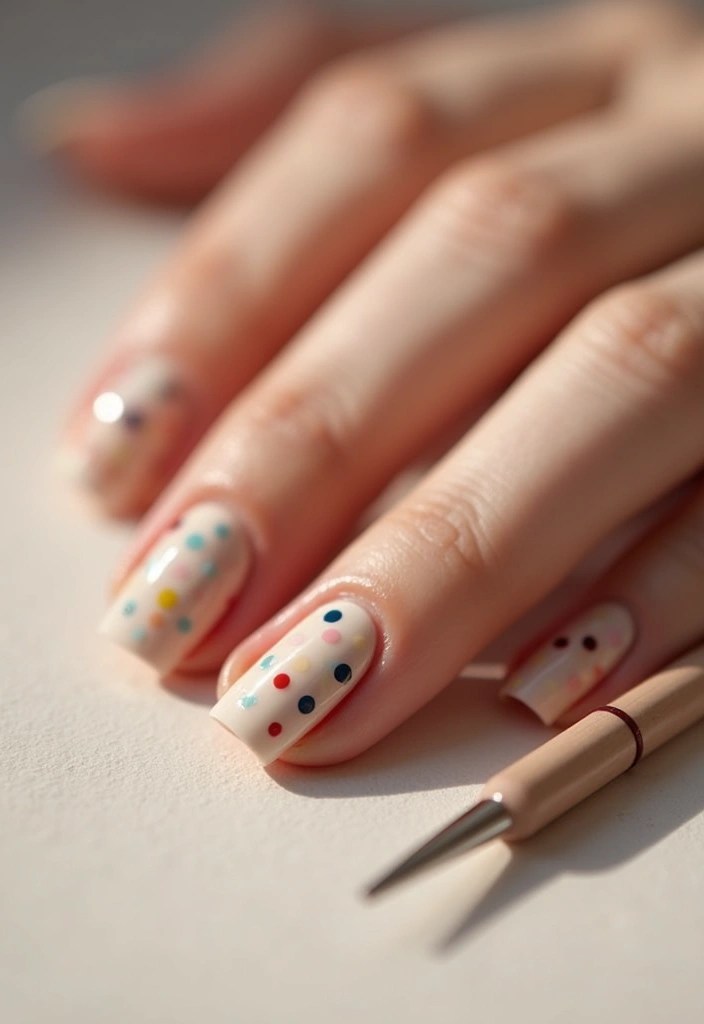
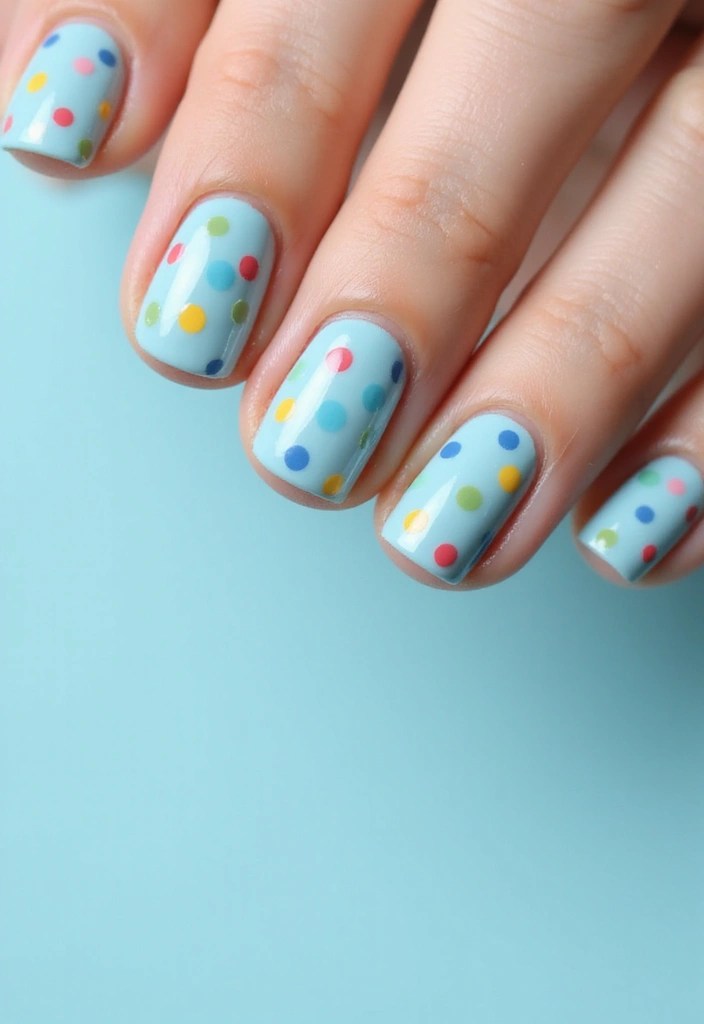
9. Whimsical Floral Doodles
Unleash your inner artist with whimsical floral doodles that are playful and fun! This design is all about creativity and self-expression, allowing you to mix and match different floral styles.
Start with a neutral base coat to let your doodles shine. Use a fine brush to create playful, abstract floral designs in a variety of colors. Don’t be afraid to experiment with different shapes and sizes!
Tip: Try incorporating polka dots or stripes within your doodles for added flair. This design is perfect for casual outings where you want to showcase your fun personality.
Consider using a matte top coat for a unique finish that contrasts with the glossy design. Remember to let each layer dry to avoid smudging your beautiful art!
This whimsical approach makes your nails a canvas for your imagination, so have fun with it!
Product Recommendations:
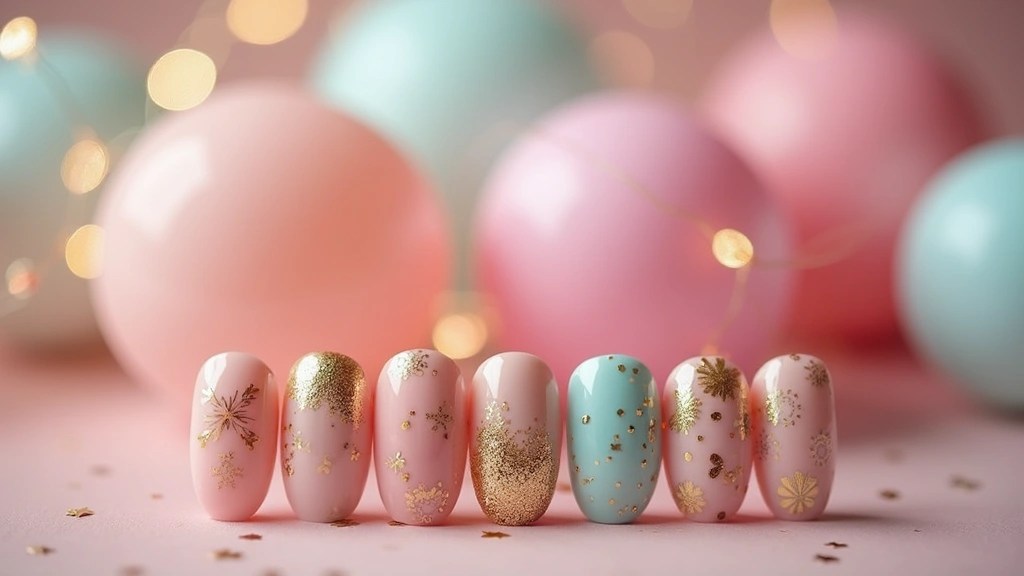
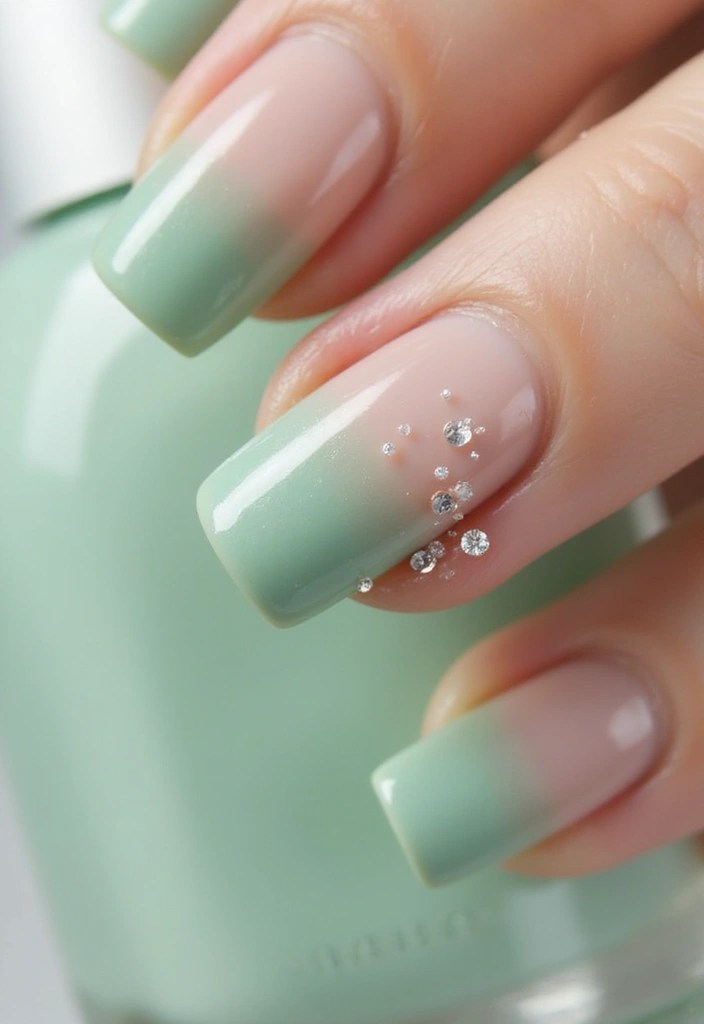
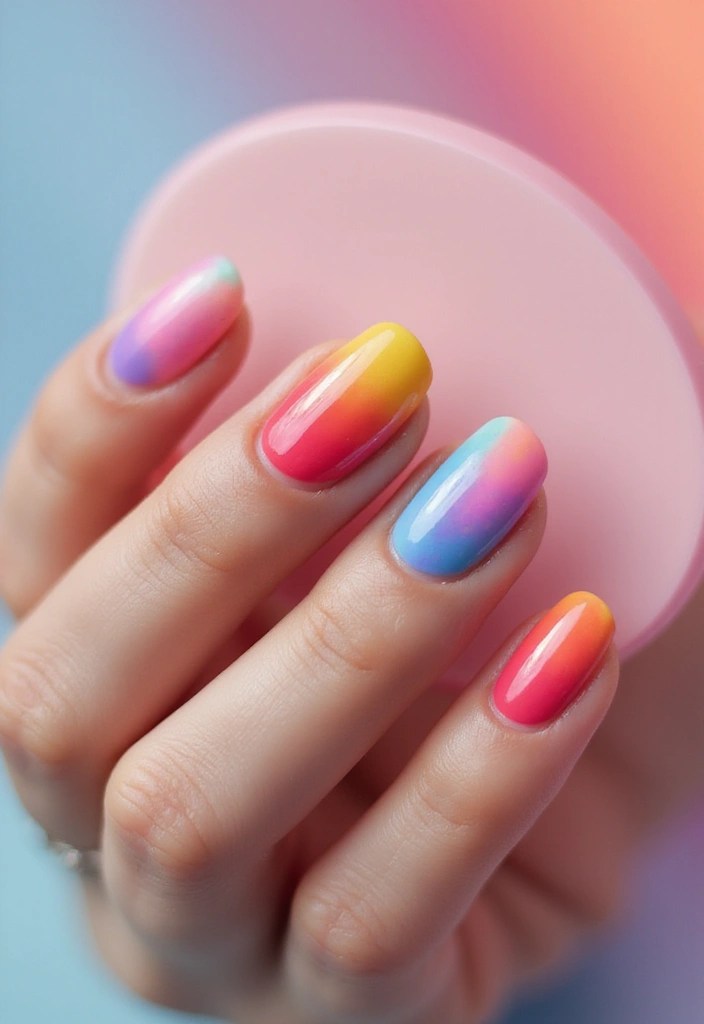
10. Ombre Floral Fusion
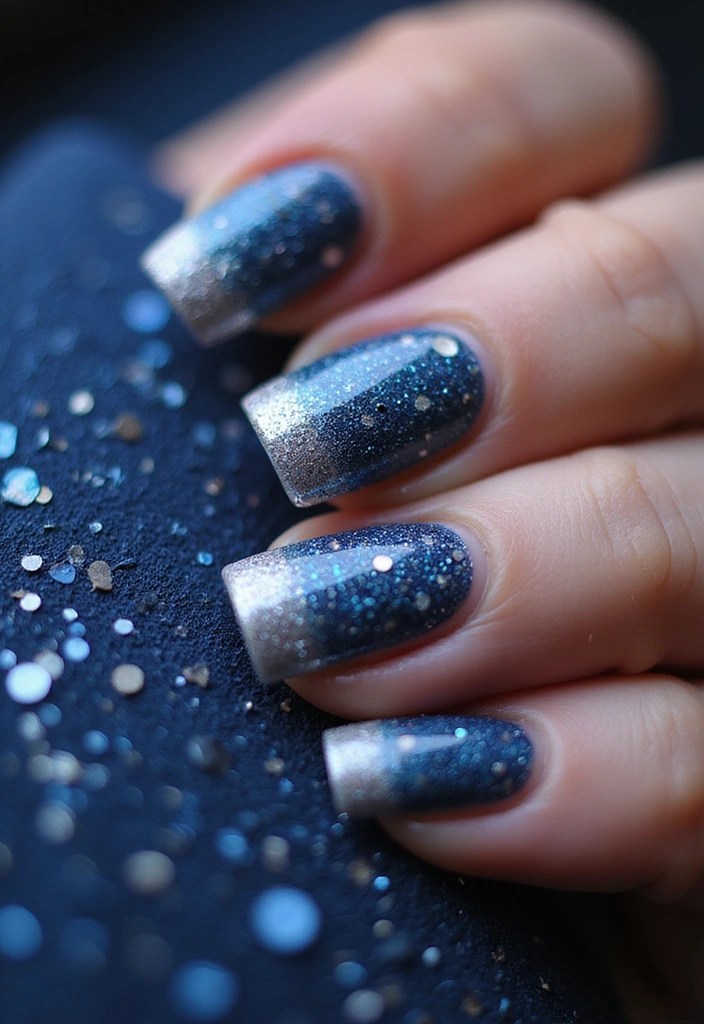
Blend the beauty of ombre with floral designs for a modern twist! This design combines the softness of ombre gradients with the elegance of floral art.
Start with a gradient base, fading from one color to another—think pink to white or purple to blue. Once the gradient is dry, carefully paint floral designs that flow with the gradient.
Tip: Use a sponge for the ombre effect and a fine brush for the floral details. This design perfectly marries the two techniques for a chic and stylish look.
Ideal for special occasions, this design stands out while remaining sophisticated. Pair it with subtle jewelry that won’t distract from your beautiful nails.
To keep your nails looking fresh, apply a top coat regularly and avoid using harsh soaps.
Product Recommendations:
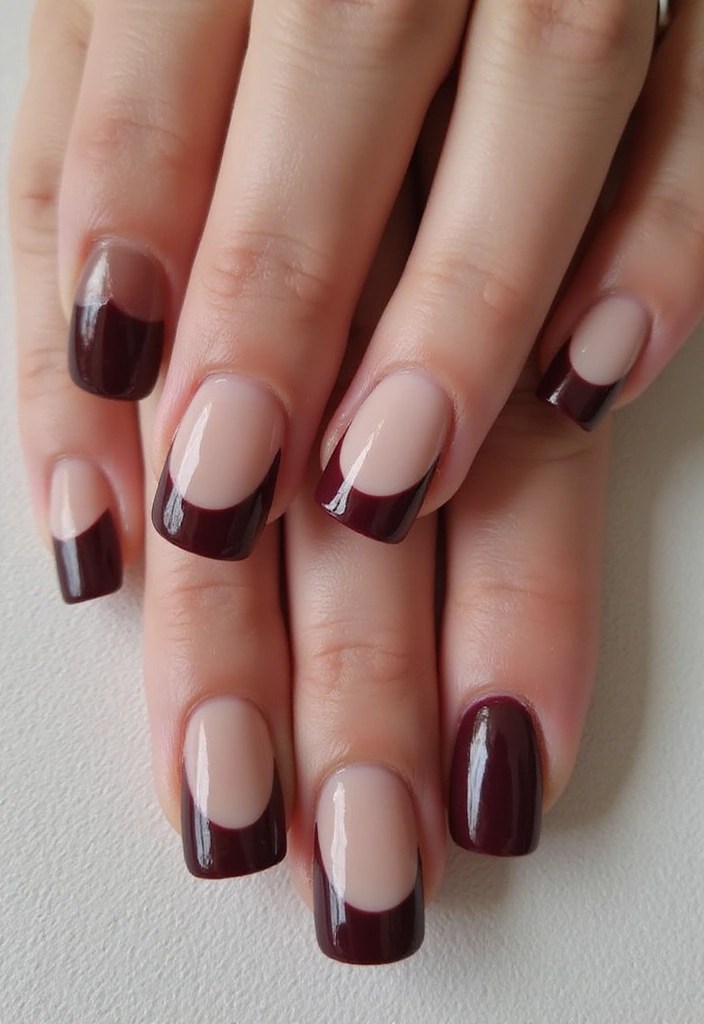
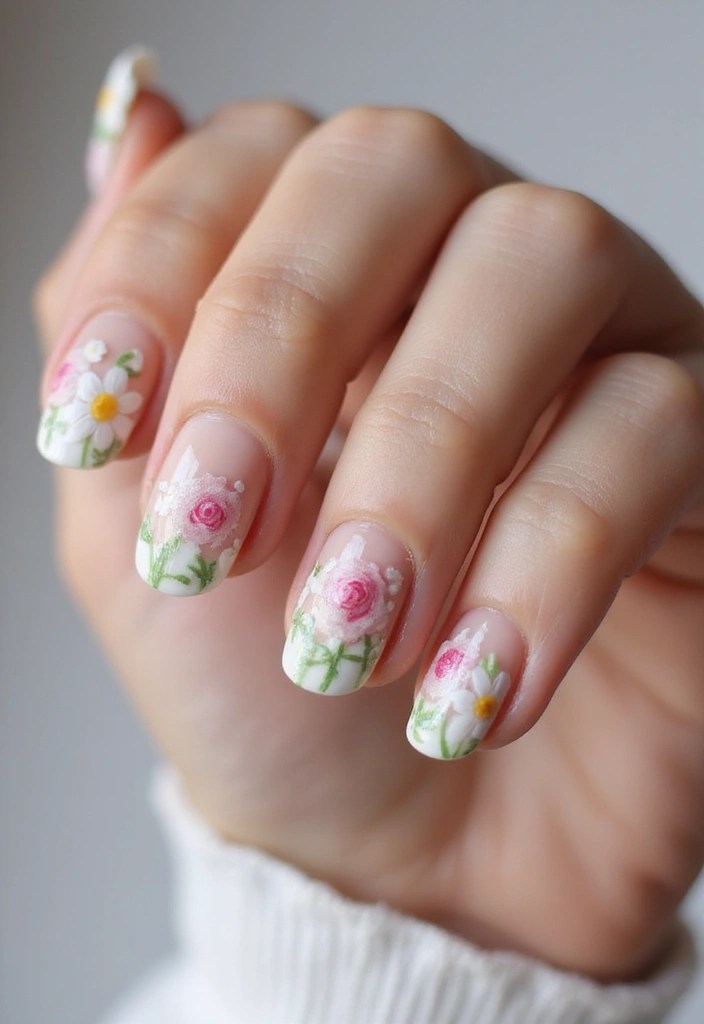
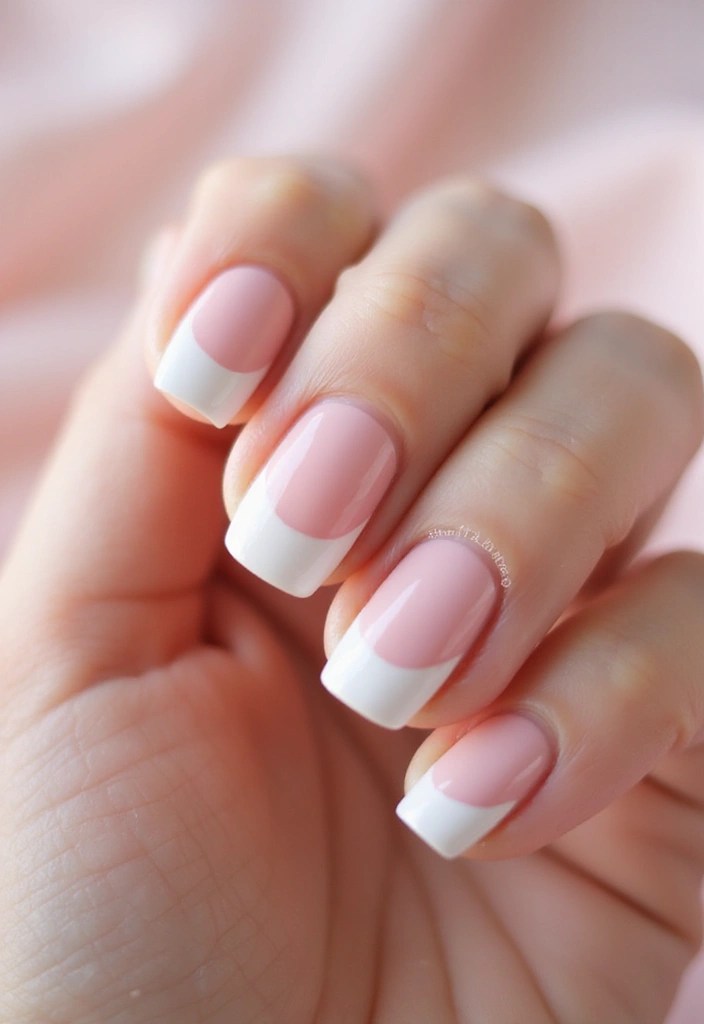
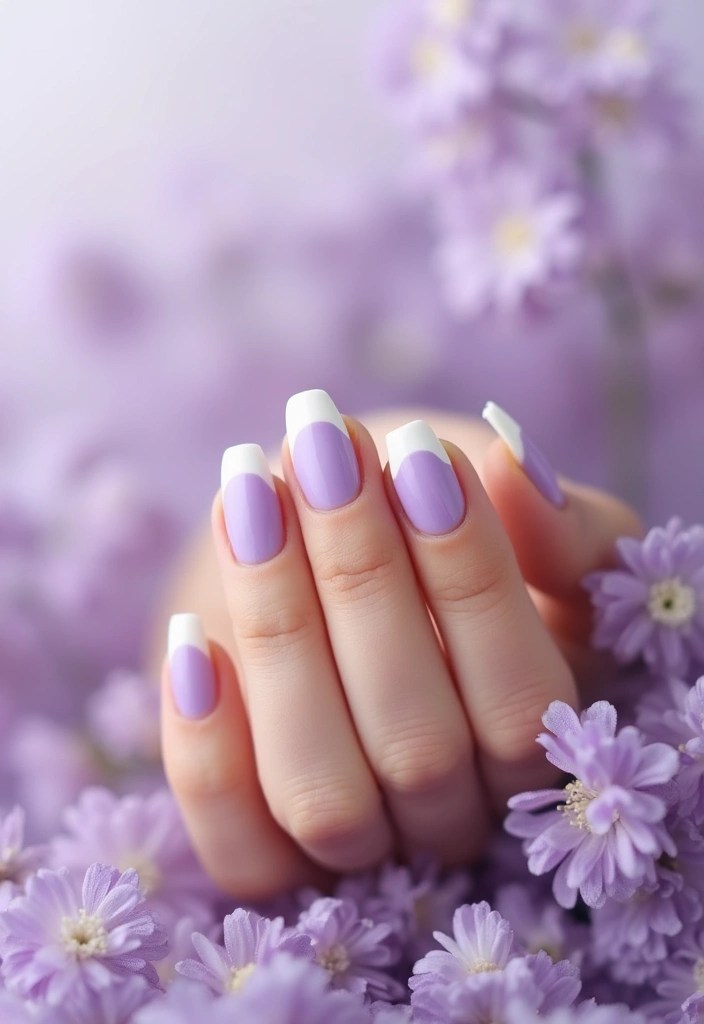
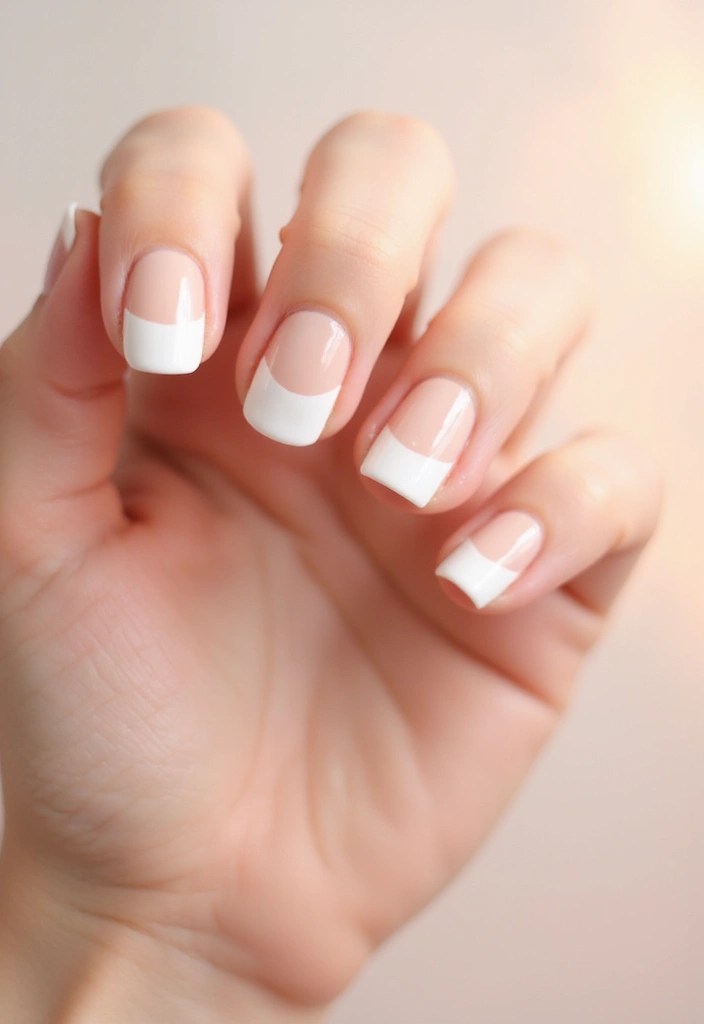
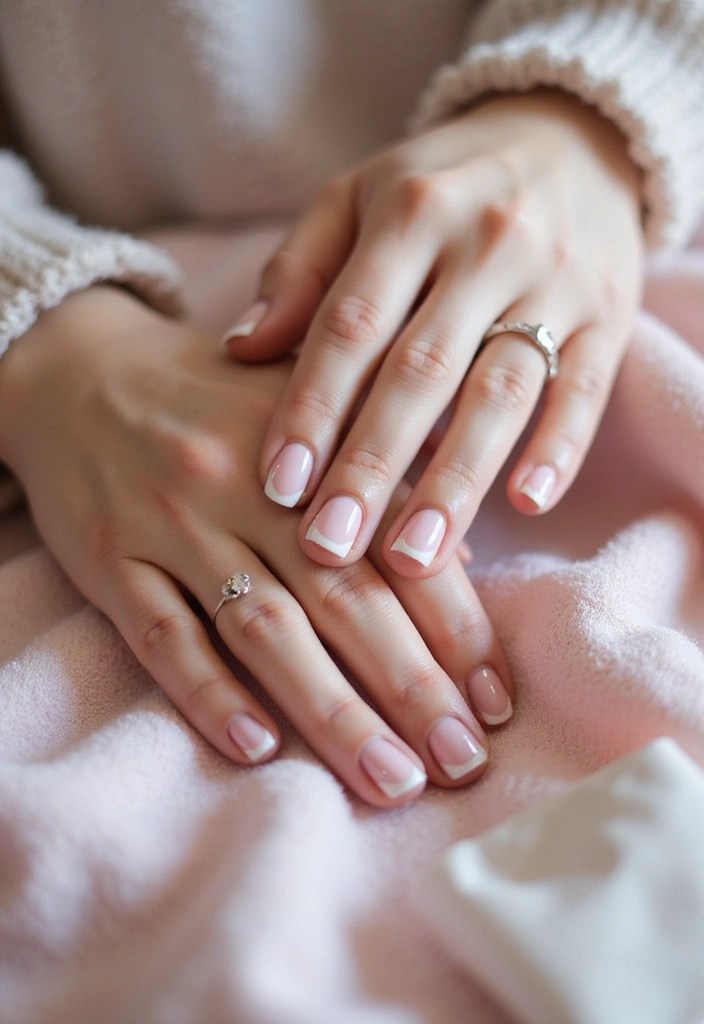
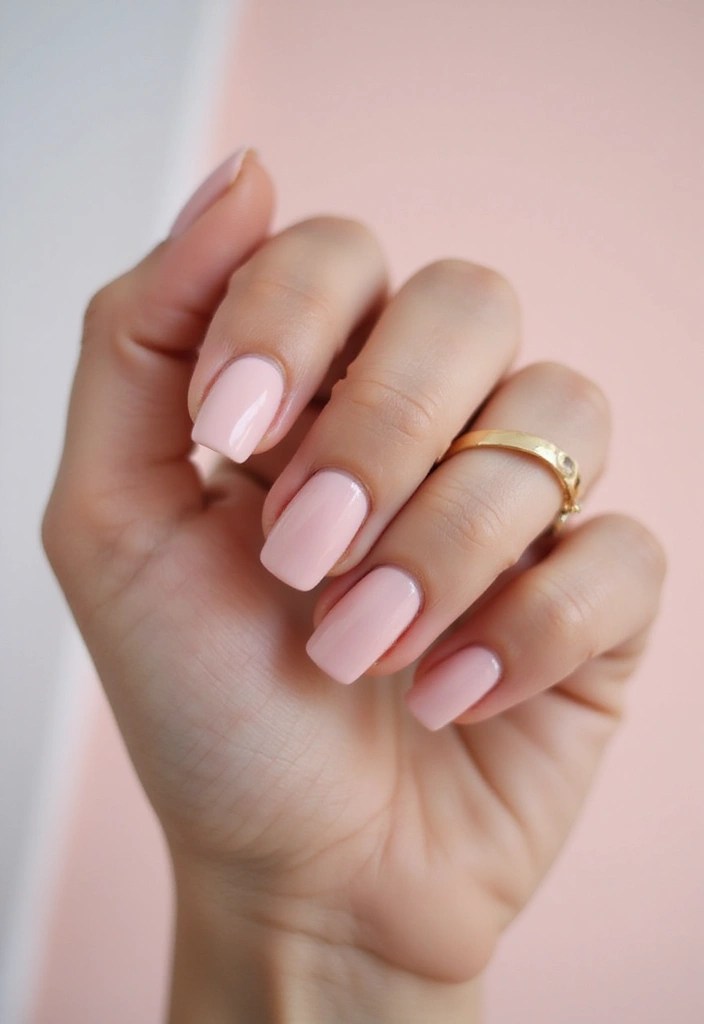
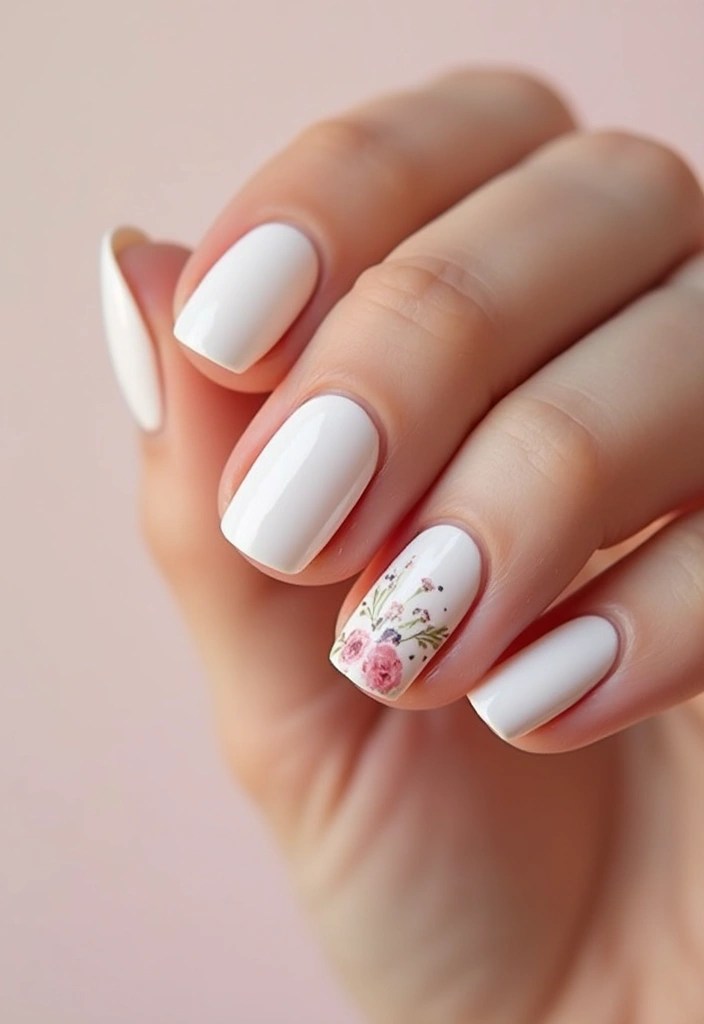
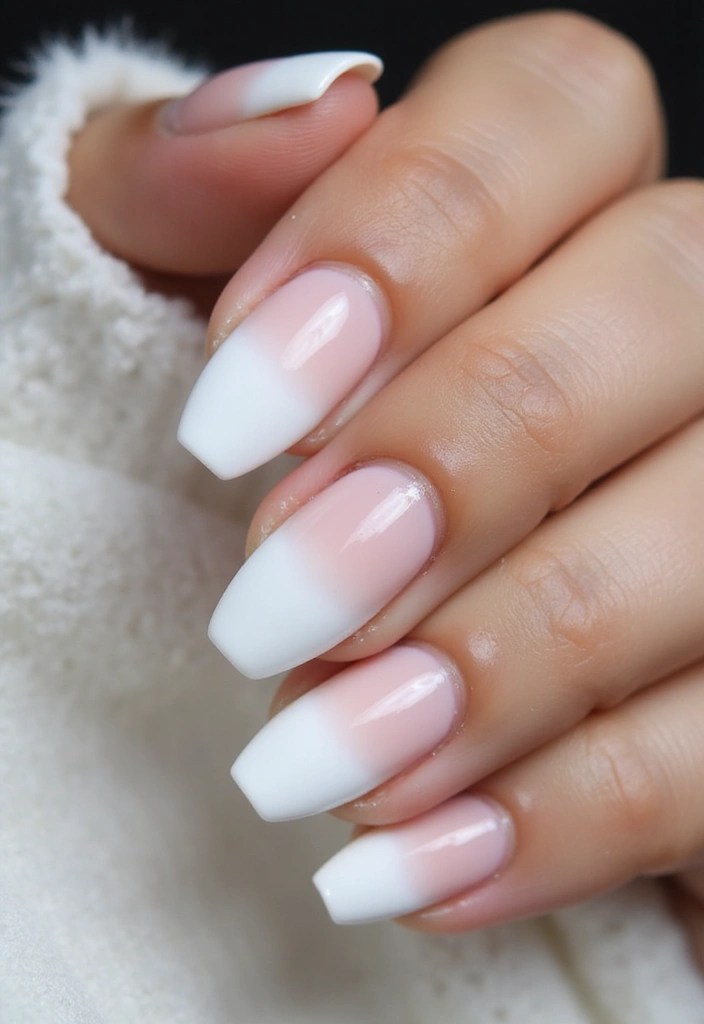
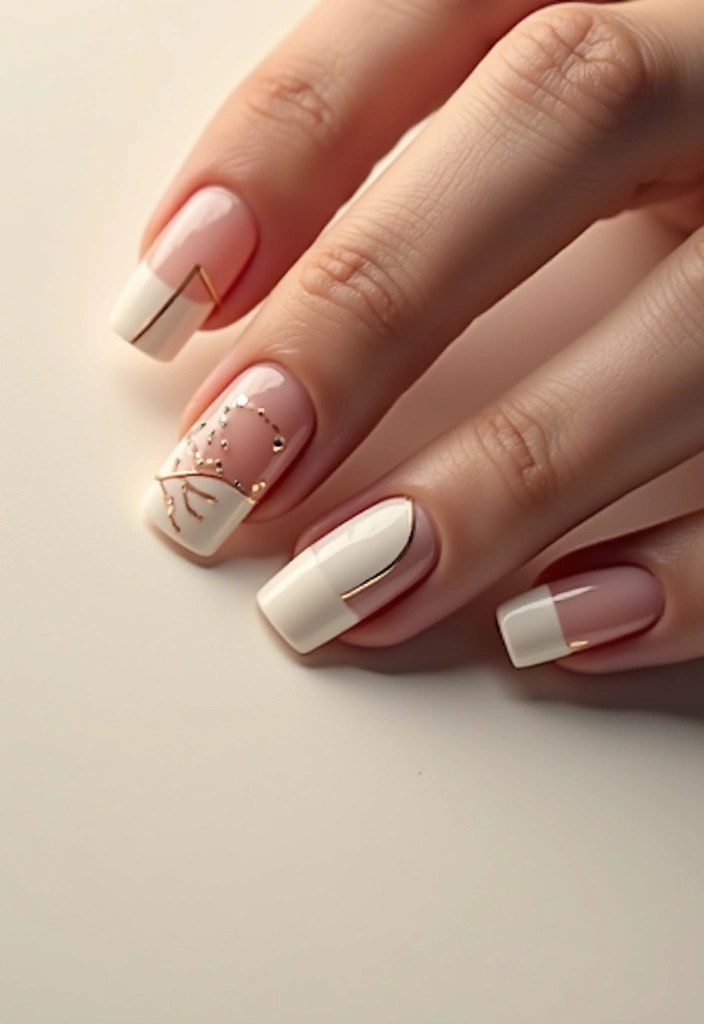
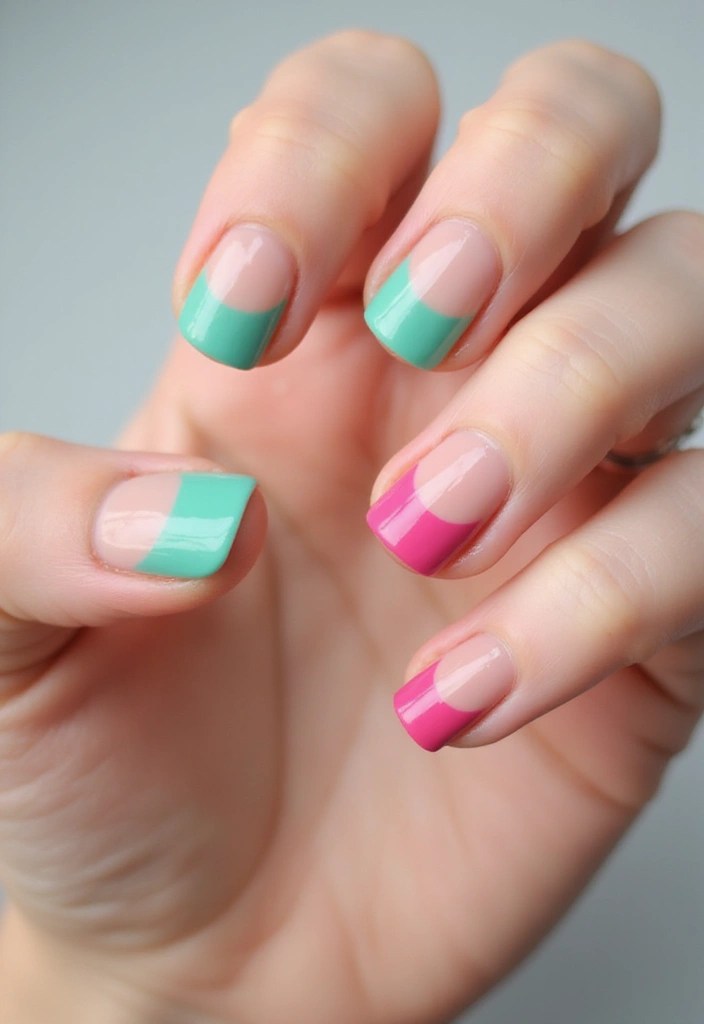
11. Floral French Tips
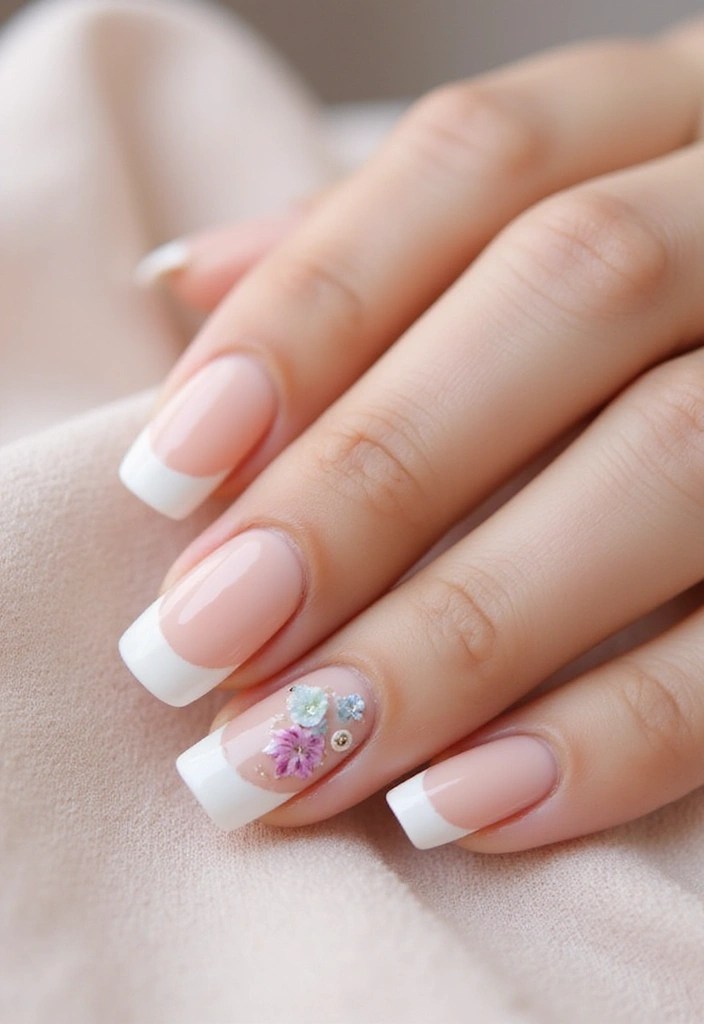
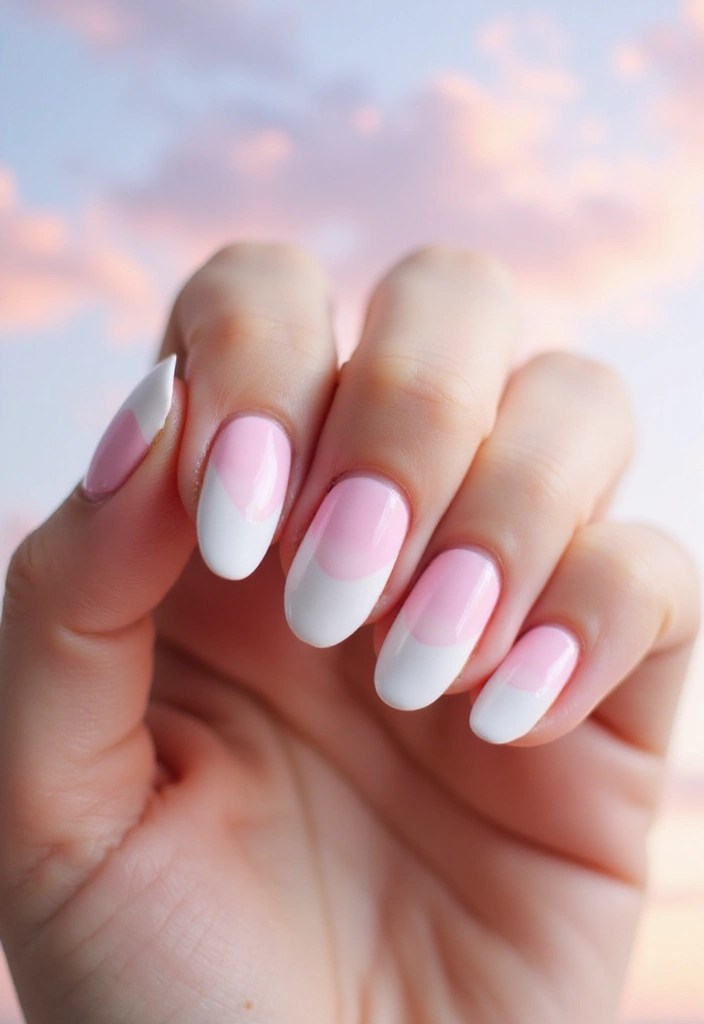
Give the classic French manicure a floral update! This design is perfect for those who love the elegance of French tips but want to add a touch of spring.
Start with a nude base and paint the tips in a pastel color of your choice. Once that’s dry, use a fine brush to add tiny floral designs along the base of your nails or on one accent nail.
Tip: Stick to small, delicate flowers to maintain the elegance of the French tips. This design is suitable for any occasion, from casual to formal, making it incredibly versatile.
Consider pairing this look with a soft pink or nude lip for a complete, polished look. To maintain your manicure, apply a top coat to protect the design from chips and wear.
This floral twist on a classic style is a great way to celebrate the beauty of spring while keeping it chic.
Product Recommendations:
• pastel nail polish collection
• top coat for nail protection
Conclusion
Spring is the ideal time to experiment with vibrant, floral nail designs that reflect the beauty of the season.
From delicate cherry blossoms to bold tropical florals, there’s a style for everyone to try. Whether you prefer subtle elegance or eye-catching patterns, these designs will surely catch attention and elevate your manicure game.
So, don’t hesitate to express your creativity and embrace the floral trends this spring!